Accessories, Sewing Tutorials
Sewing Tutorial: Frill Tote Bag
The Frill Tote Bag is a basic tote bag featuring a contrast ruffle on the front along with an external pocket. The bag comes with lining and the straps are made from webbing tape. The bag is fairly easy and quick to make. It can also be made without the ruffle for those at the very beginning of their sewing journey.
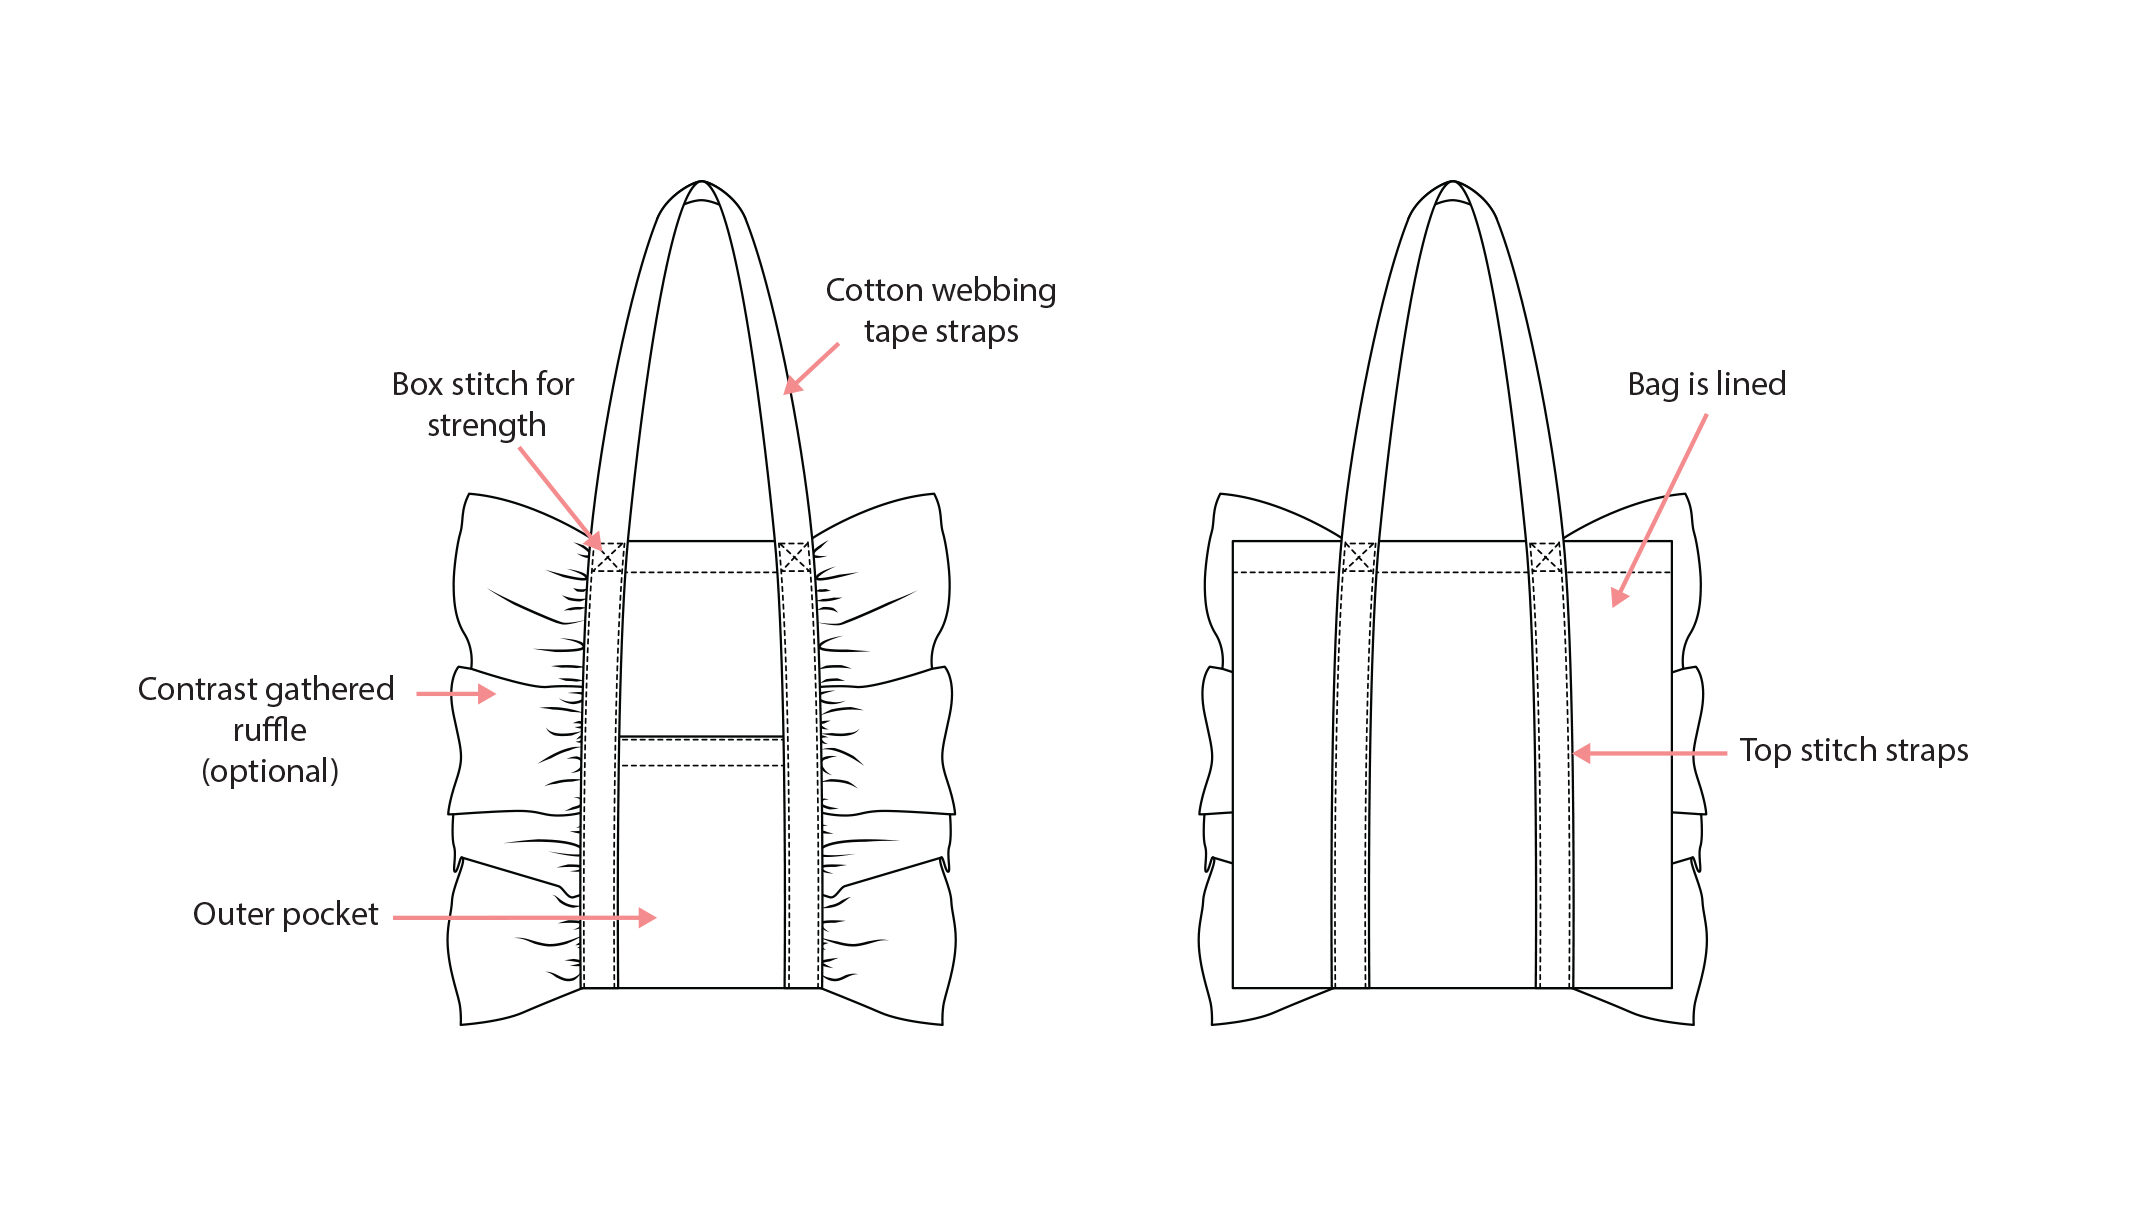
SEWING ABILITY
Beginner to Intermediate

To begin you will need the following things:
Materials
- Frill Tote Bag paper pattern
- Main fabric
- Contrast fabric
- Lining fabric
- 40mm wide cotton webbing tape
- Cotton thread
Tools
- Scissors
- Pins
- Sewing machine with a regular foot
- Iron
Tips
- This style works best in heavy-weight fabrics that hold their shape, think cotton canvas and drill. Anything that is too soft will not hold well and the seams may rip if heavy items are carried.
- Ensure your fabric is washed, dried, and pressed before you start cutting.
If you prefer video instructions – please head over to youtube.
Step 1
Cut all main and lining pieces accurately on the correct grain, ensuring all notches are clipped. Please note all seam allowance is marked on the pattern in a grey dashed line and can also be found on page 3 of the booklet provided.
Beginner tip* If you can afford to purchase a rotary cutter and cutting mat, I find this more accurate and time-efficient.
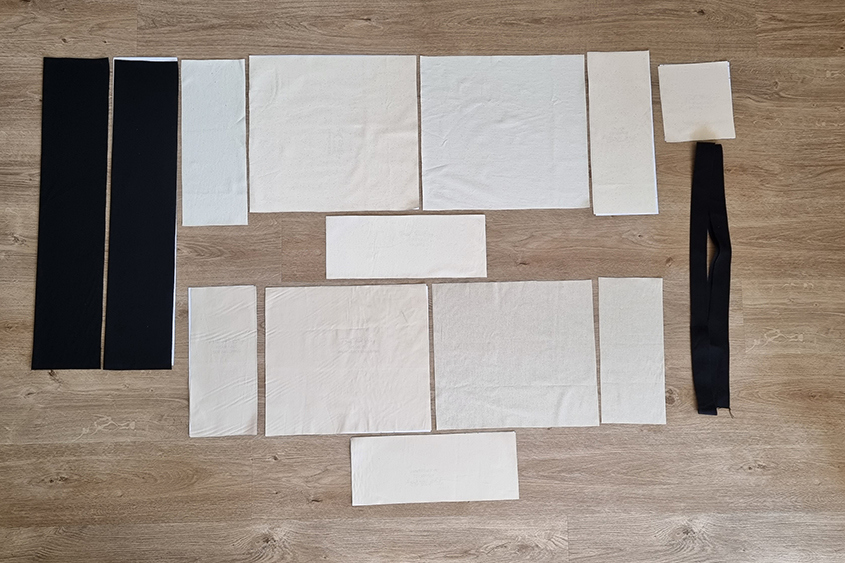
SIDE POCKETS
Step 2
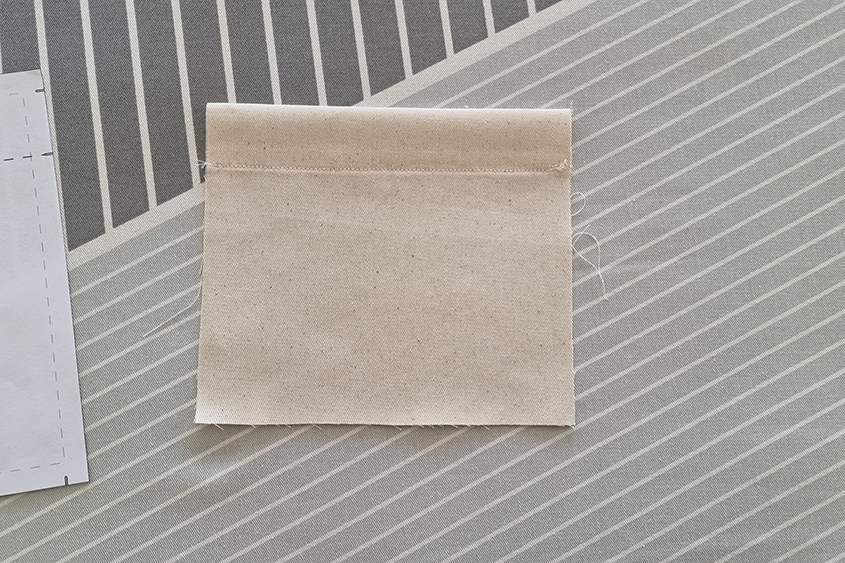
Lay the pocket right side down, fold the top edge over 1cm and press flat, then fold again 3cm and press. Stitch 2.8cm from the top edge and set aside.
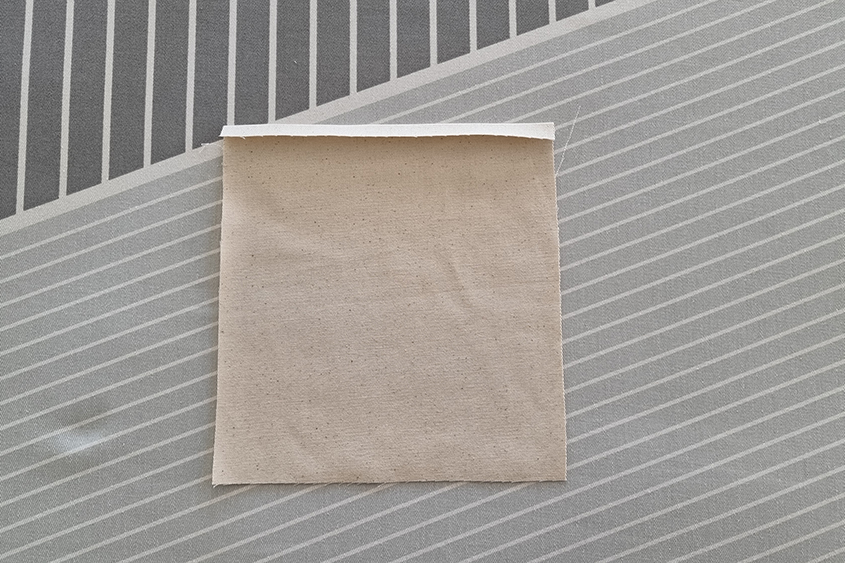
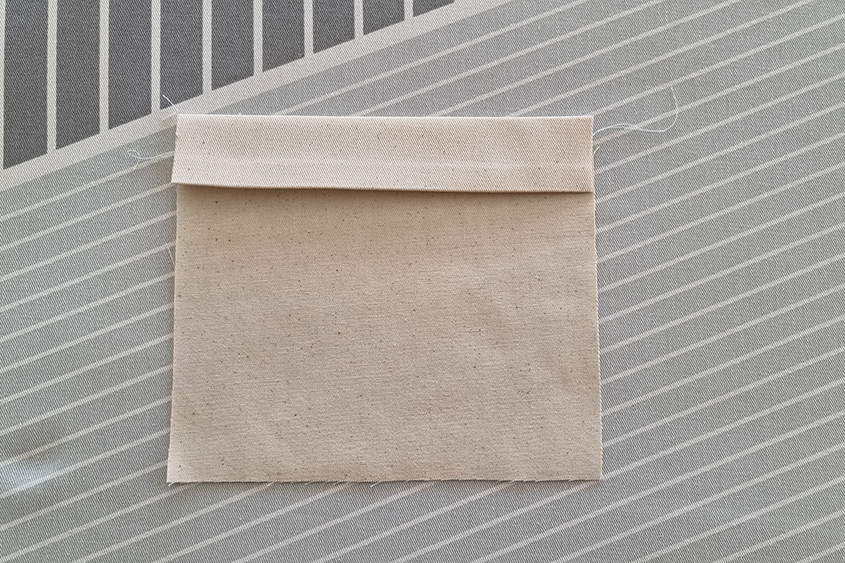
CONTRAST FRILLS
Step 3
The bag can be made without the contrast frills if you prefer. If you want to make them without – proceed to step 6.
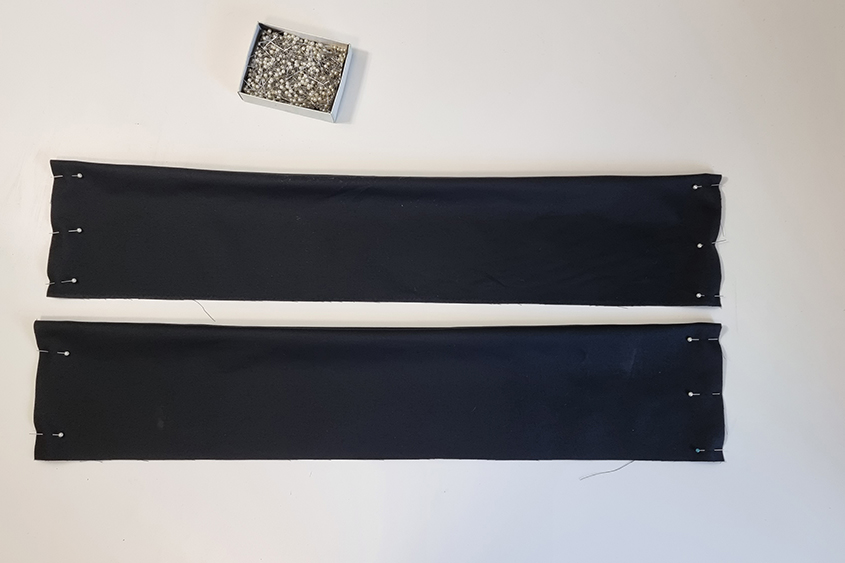
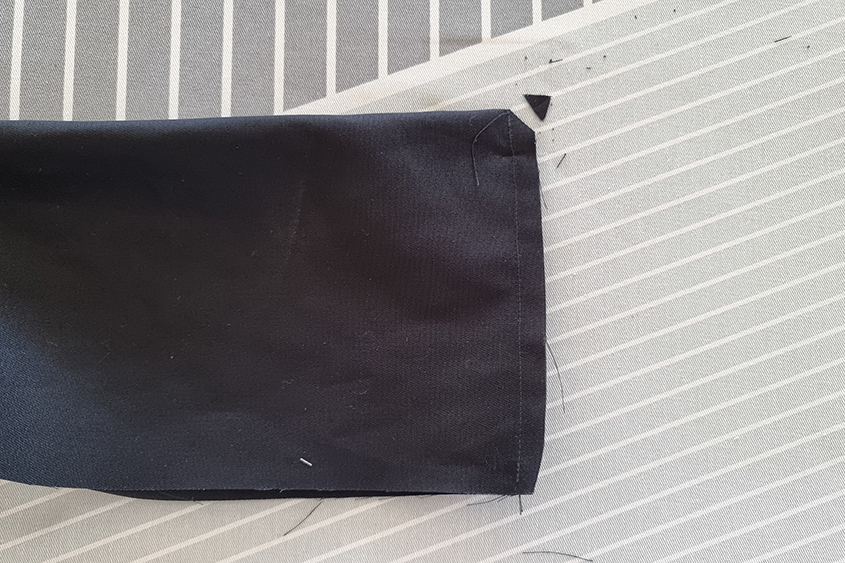
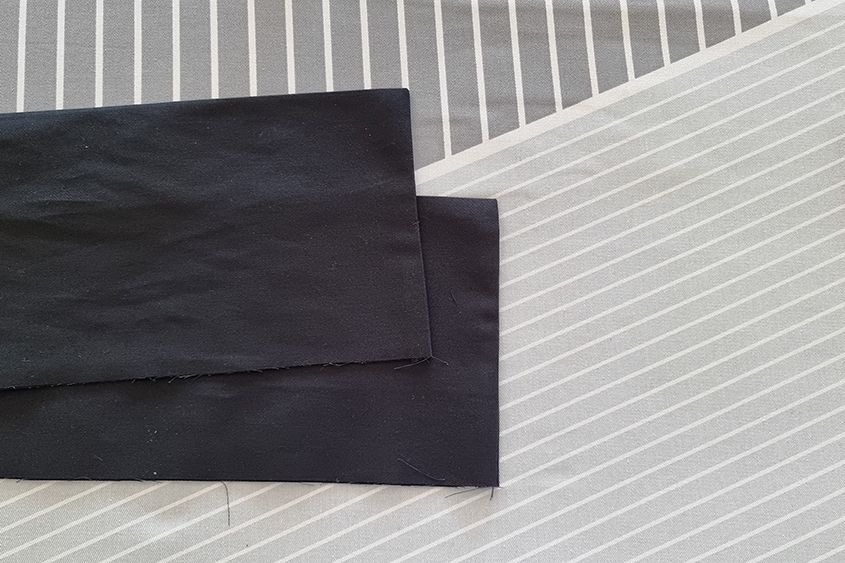
Prepare the frills by folding the fabric right sides together and stitching across the top and bottom edges with a 1cm seam allowance. Clip the corners, turn through, and press.
Step 4
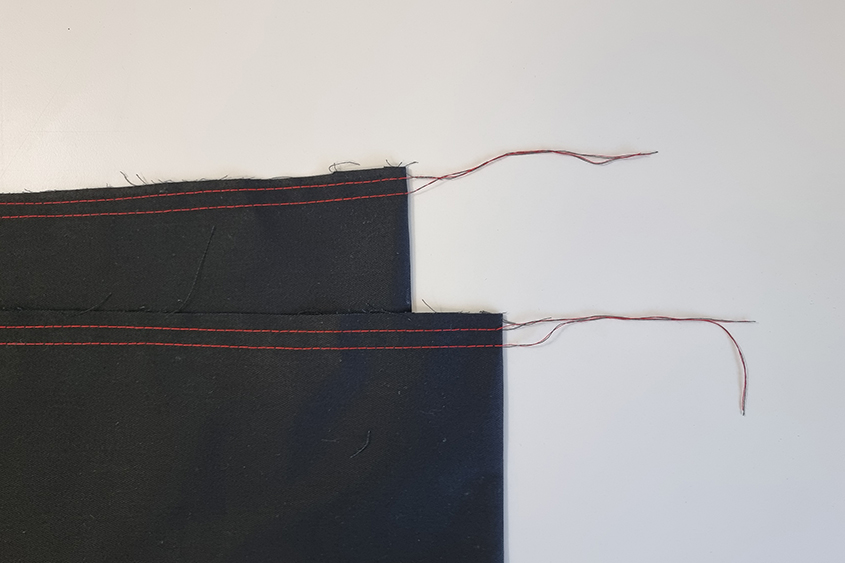
Then run 2 rows of gathering thread along the open edge of both frill pieces.
Sewing tutorial for gathers can be found here
Step 5
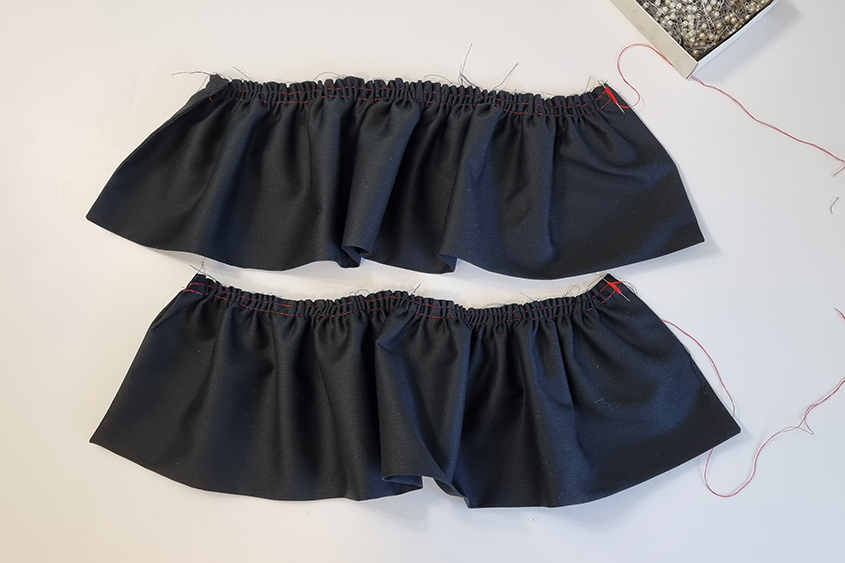
Gather the fabric to 35cm long and set aside.
Step 6
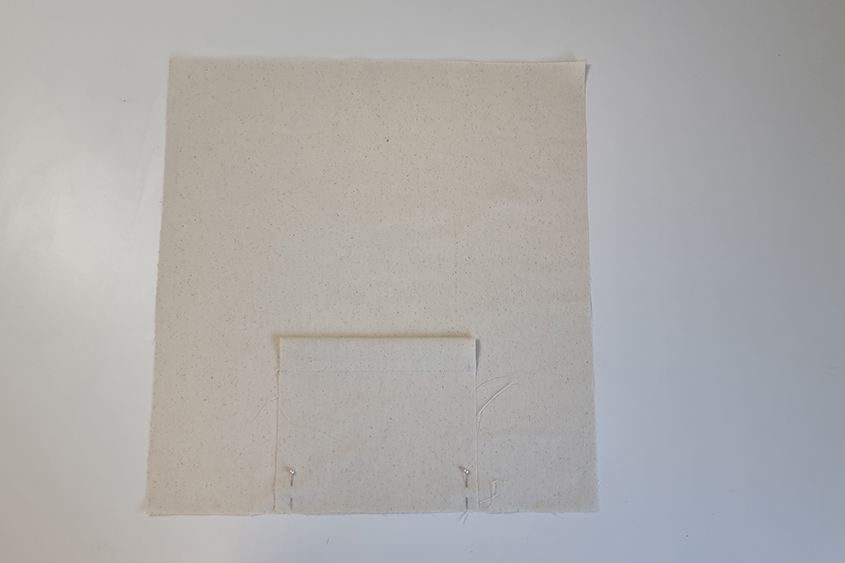
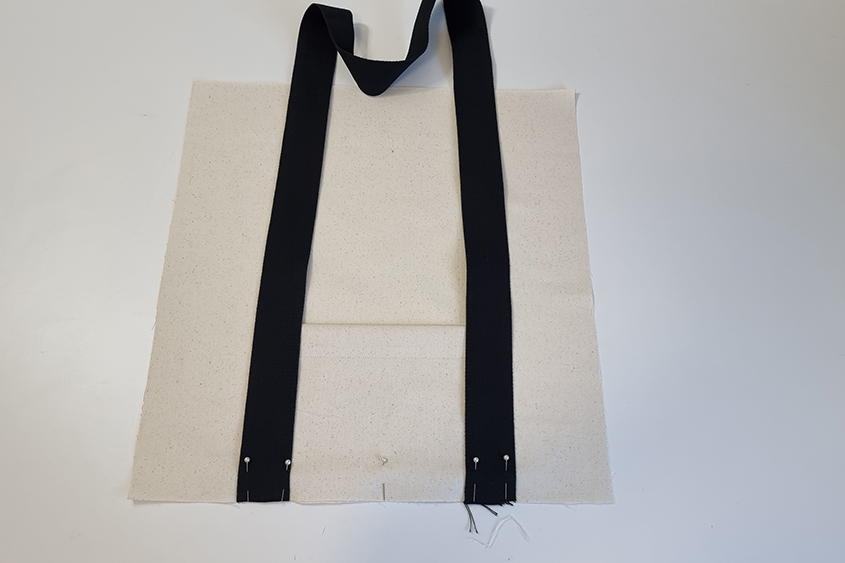
Take the front piece of the bag and pin the bottom edge of the pocket to the bottom edge of the bag using the notches on the pattern for placement. Then pin the ends of the straps on top. The straps should overlap the pocket by 1cm.
Step 7
Then take the back of the bag and pin the ends of the straps to the bottom of the bag.
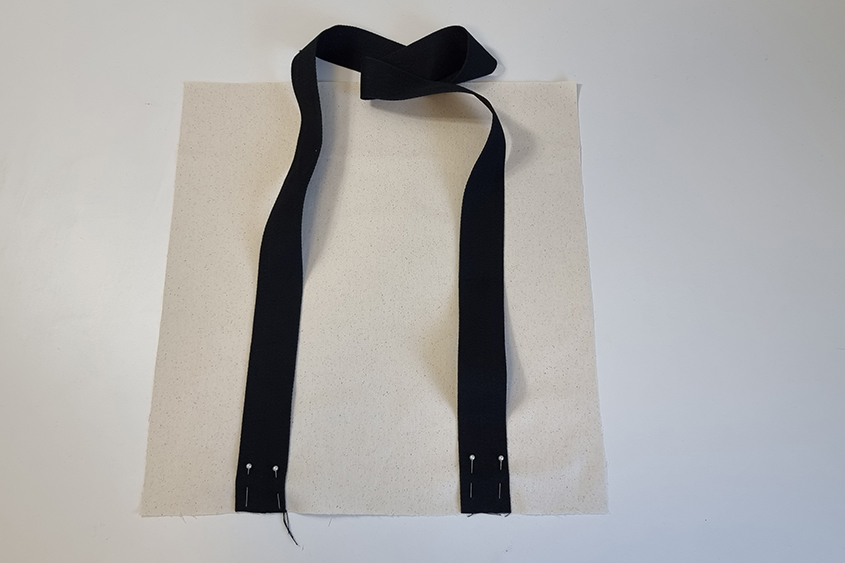
Step 8
Using a 0.7cm seam allowance. Stitch across the bottom of the straps and pocket to hold them in place.
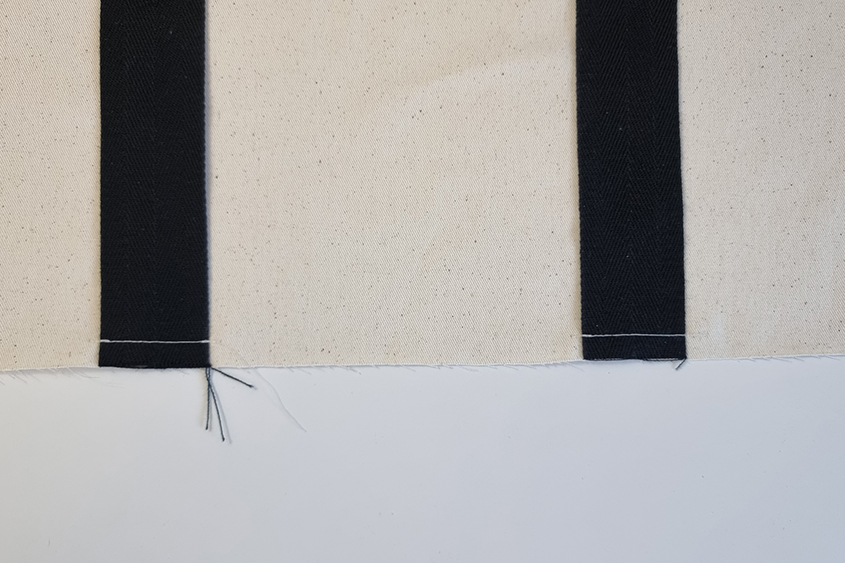
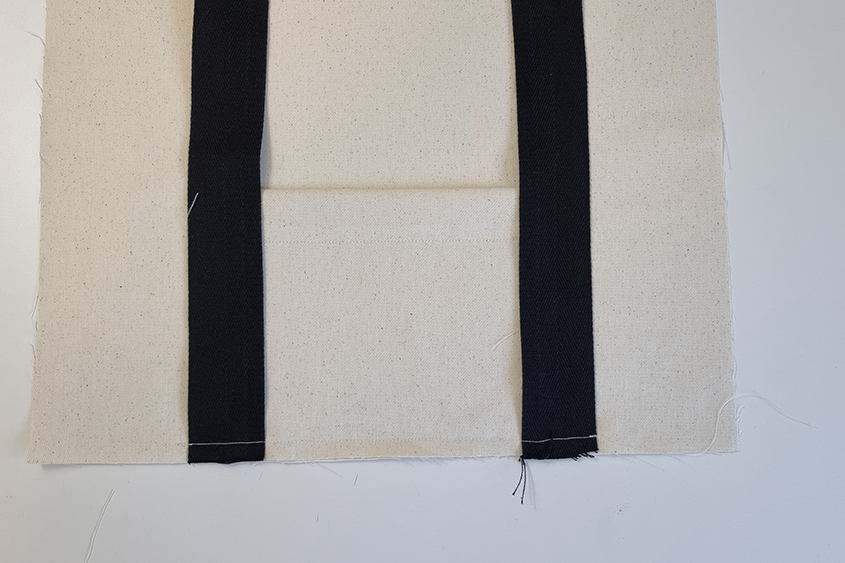
Step 9
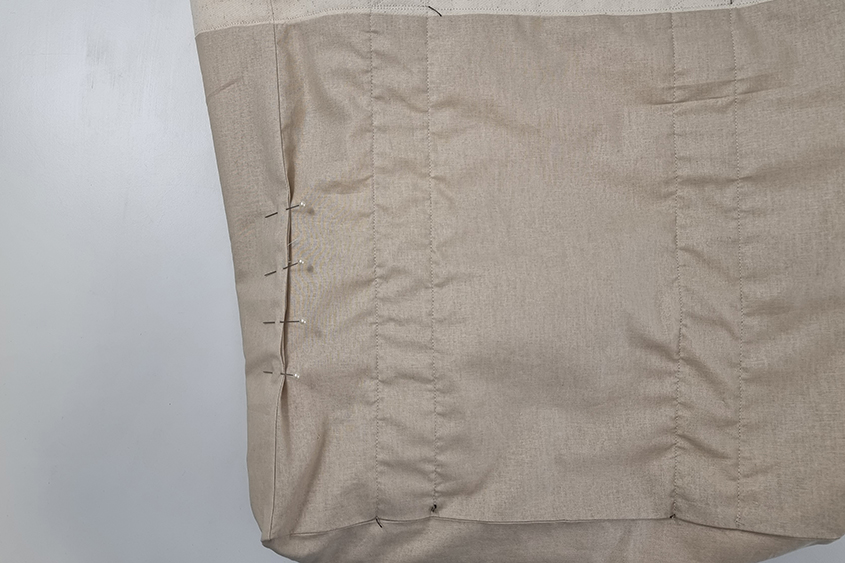
Next, pin the side seams of the bag right sides together. Stitch closed with a 1cm seam allowance and press the seams neatly.
Beginner tip* If you want your bag to be extra strong you may wish to double-stitch the seams.
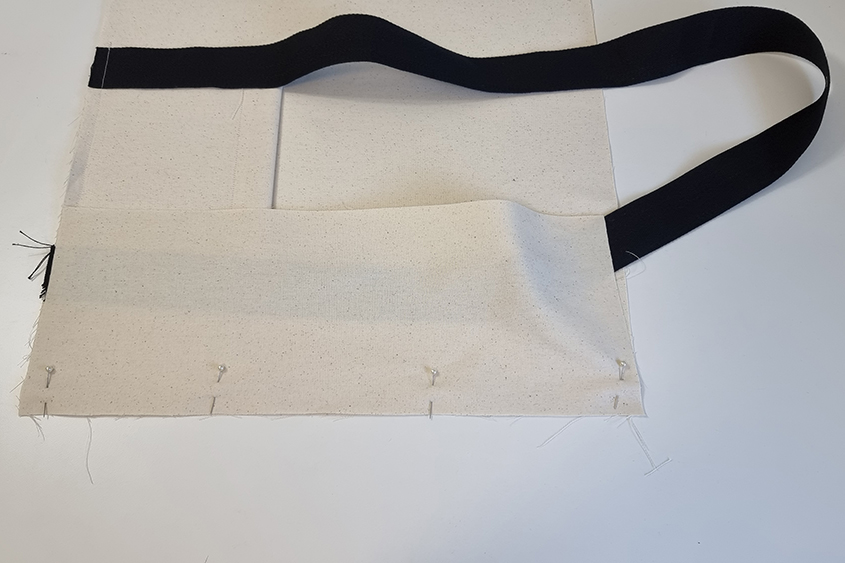
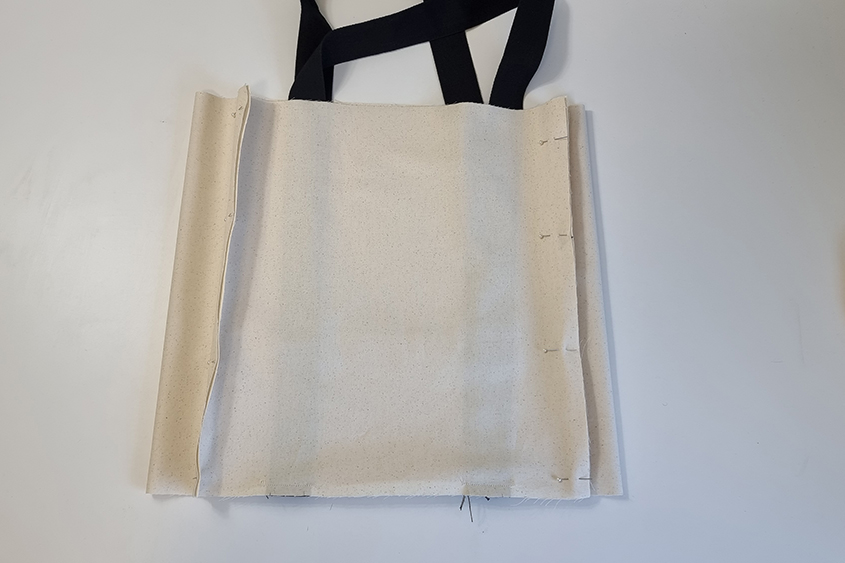
Step 10
Pin the bag base to the bag right sides together and stitch closed with a 1cm seam allowance. Take care to ensure the corners match at the side seams. Press seams neatly.
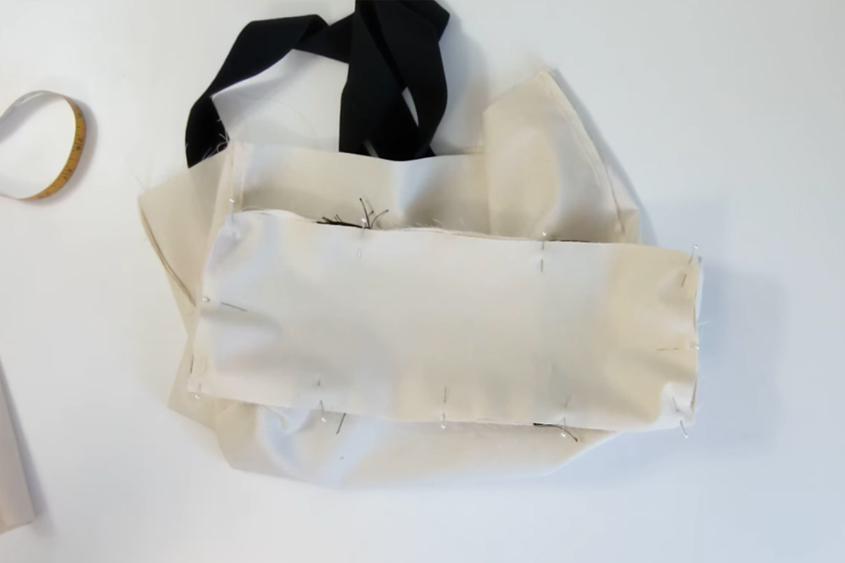
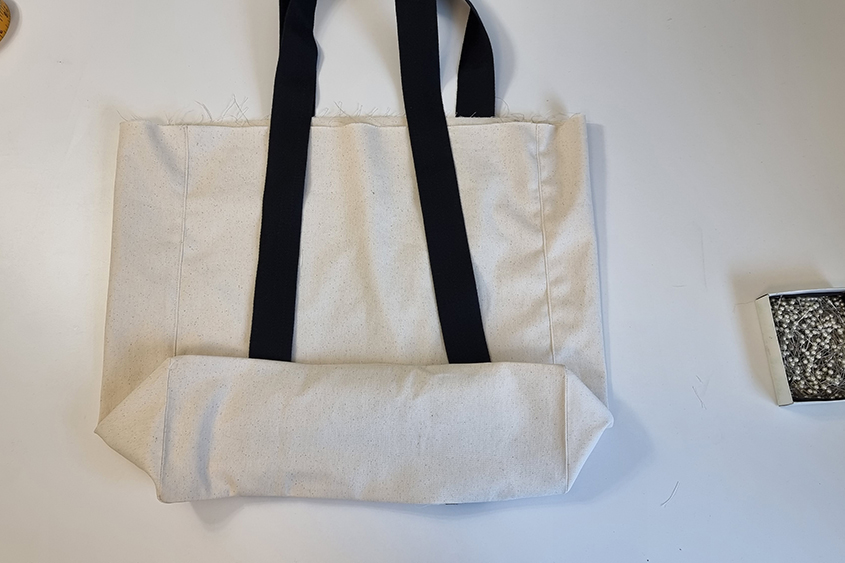
Step 11
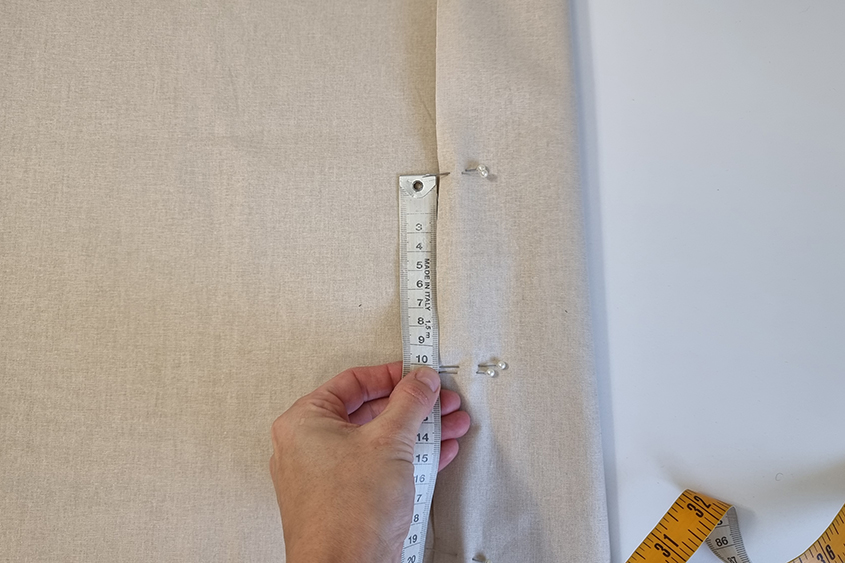
Repeat steps 9 & 10 on the lining side seams and base. Leave a 10cm gap in the middle of one of the side seams (to turn the bag through later)
Beginner tip* To add more additional strength to the bag you may wish to top stitch the seams after pressing.
Step 12
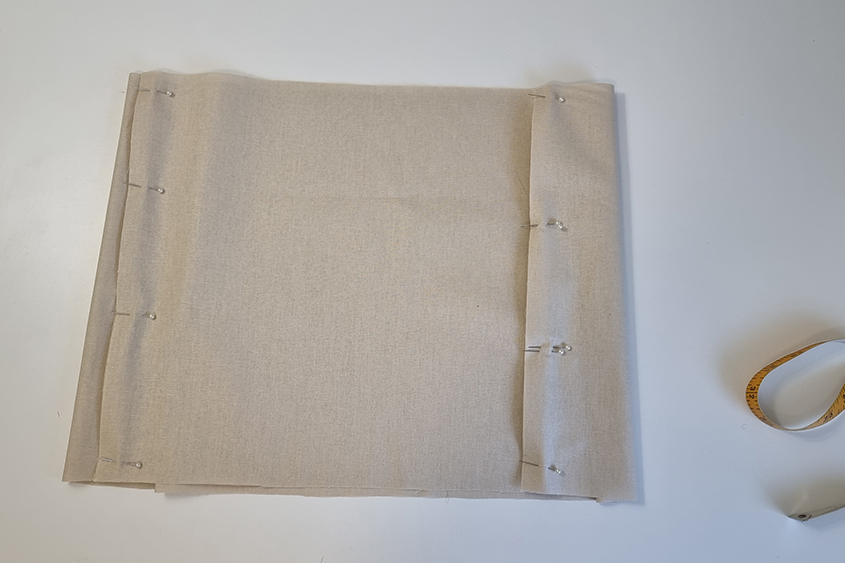
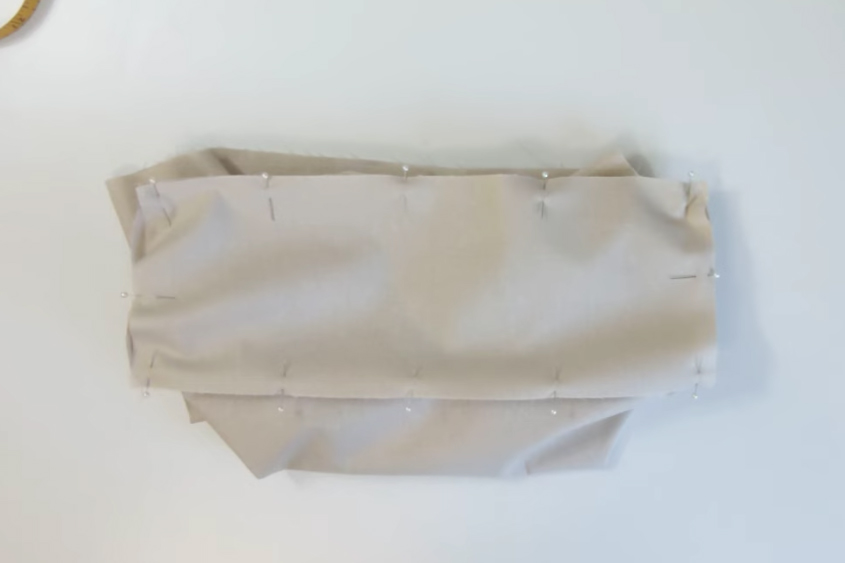
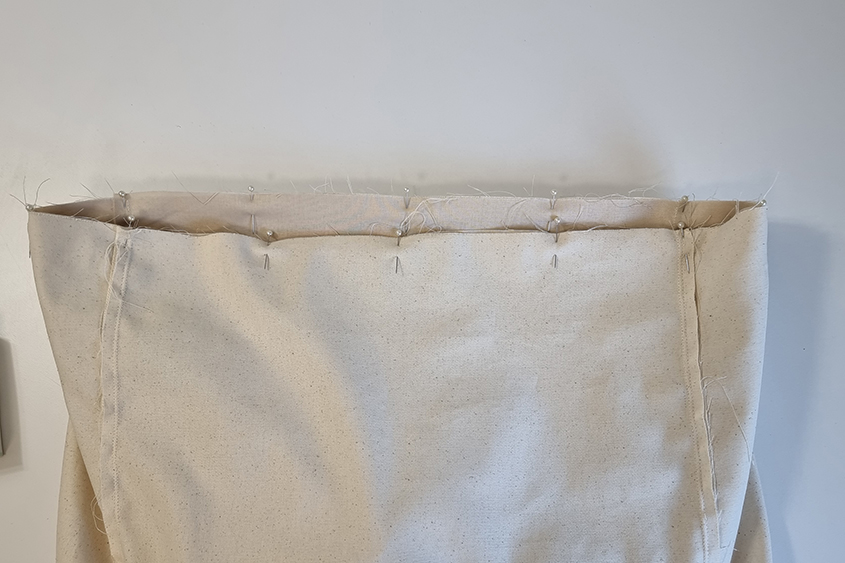
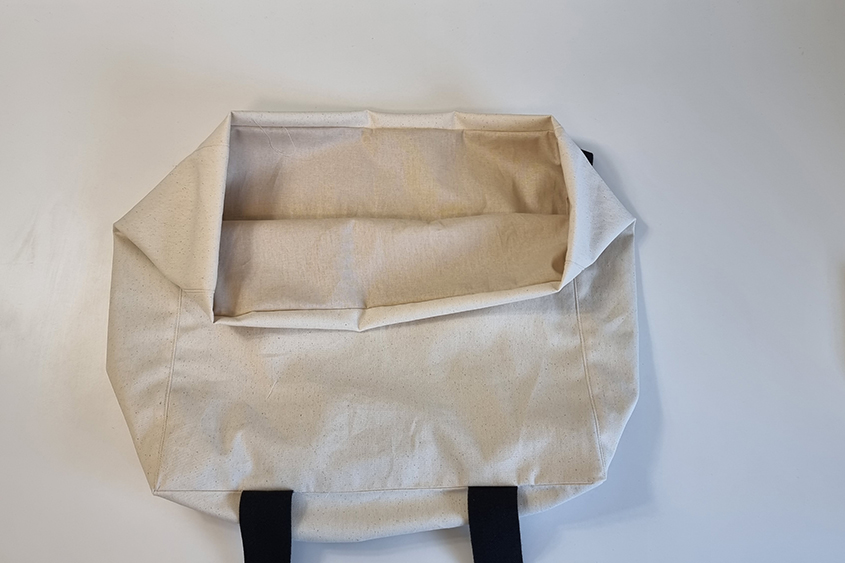
Turn the main fabric part of the bag inside out and keep the lining the correct way. Place the lining inside the bag so that the right sides are together and pin together along the top edge. Stitch closed with a 1cm seam allowance.
Step 13
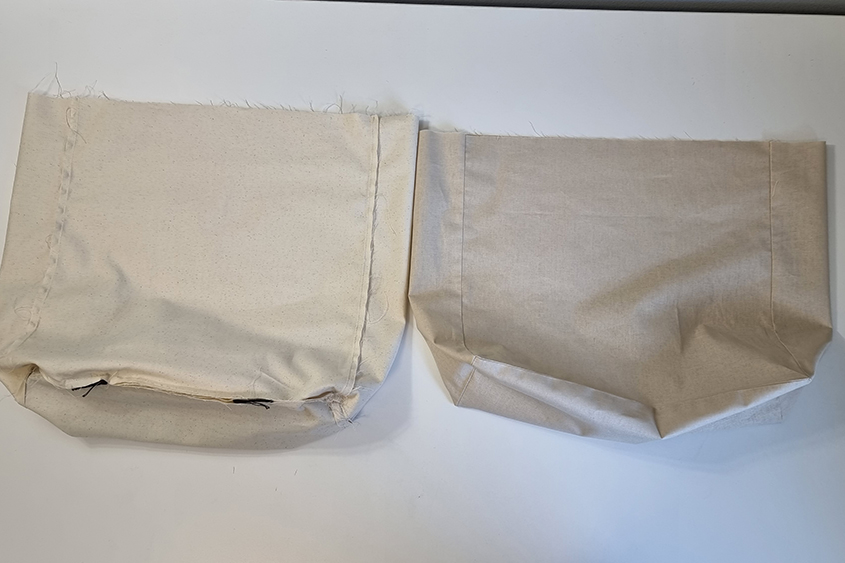
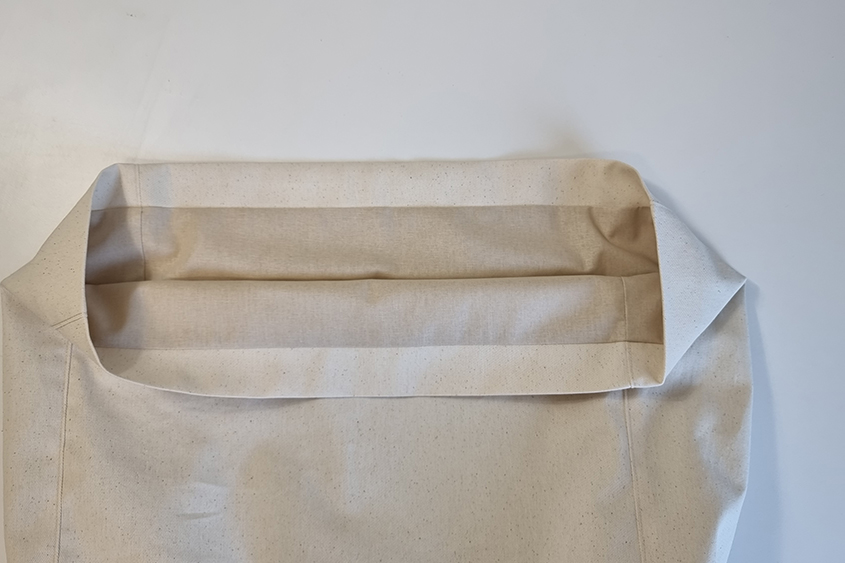
Turn the bag the right way through using the hole left in the side seam of the lining. Push the lining neatly into the corners of the bag. The main fabric should fold 3cm over at the top edge.
Step 14
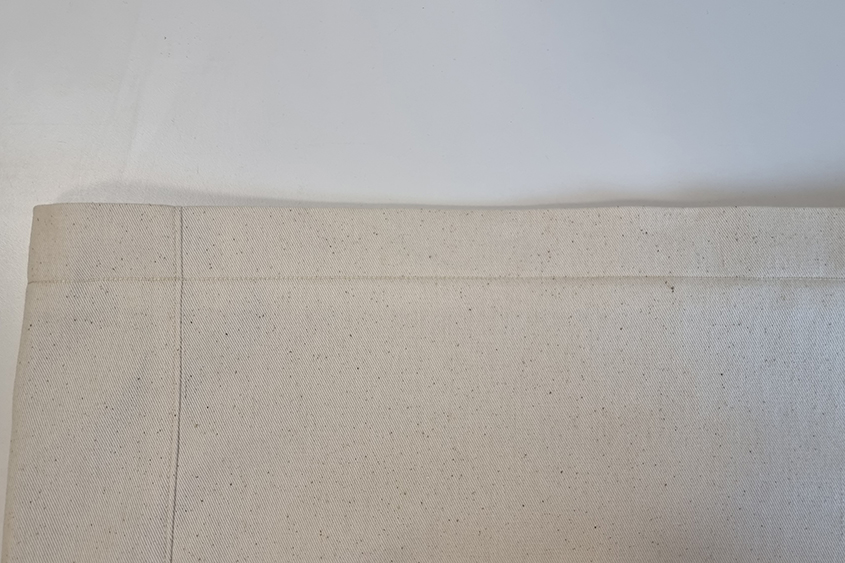
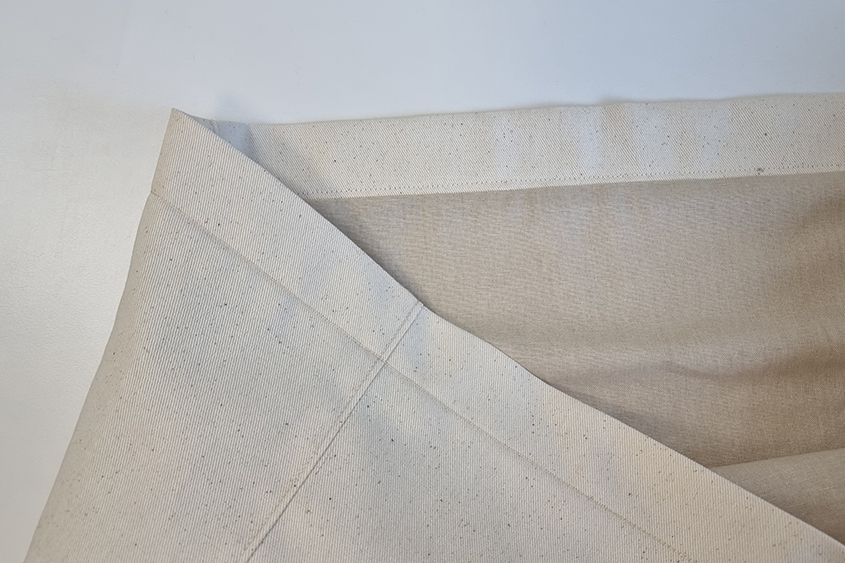
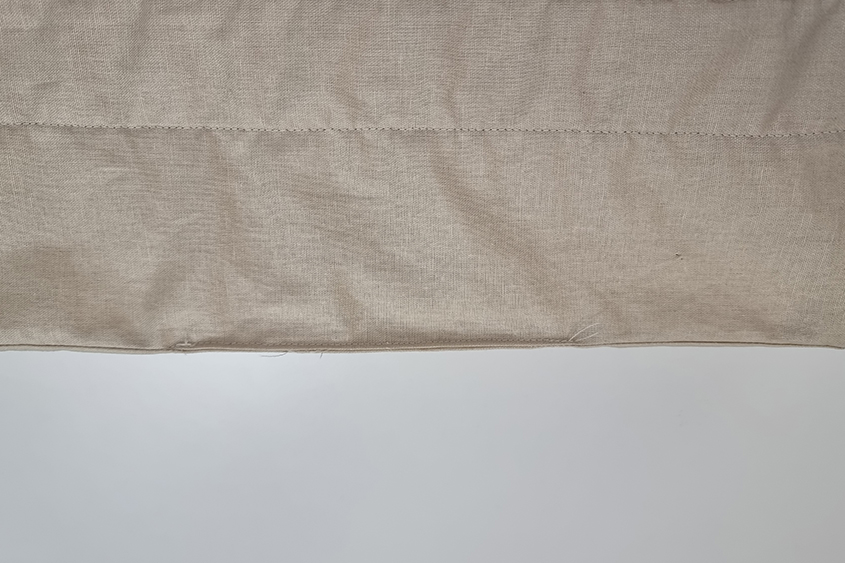
Press the top edge so there is a neat fold and top stitch 3cm from the edge to hold it in place.
STRAPS
Step 15
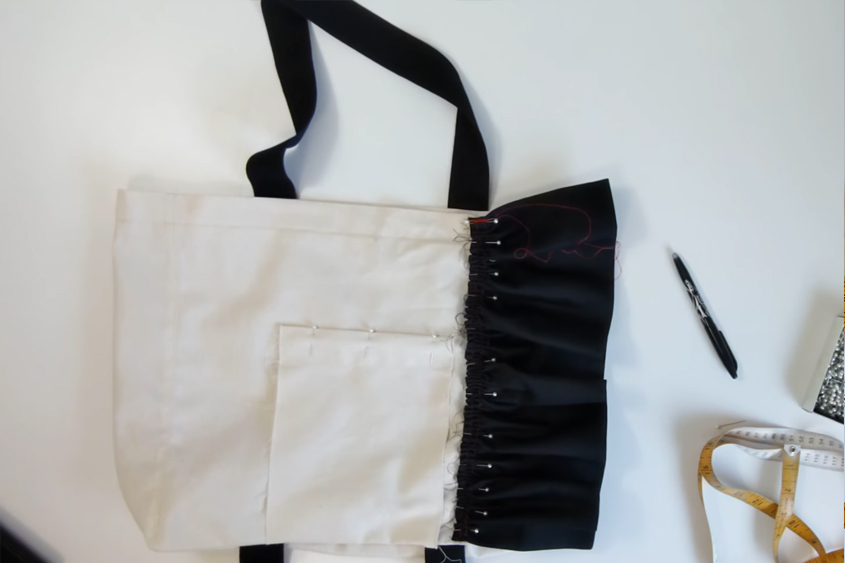
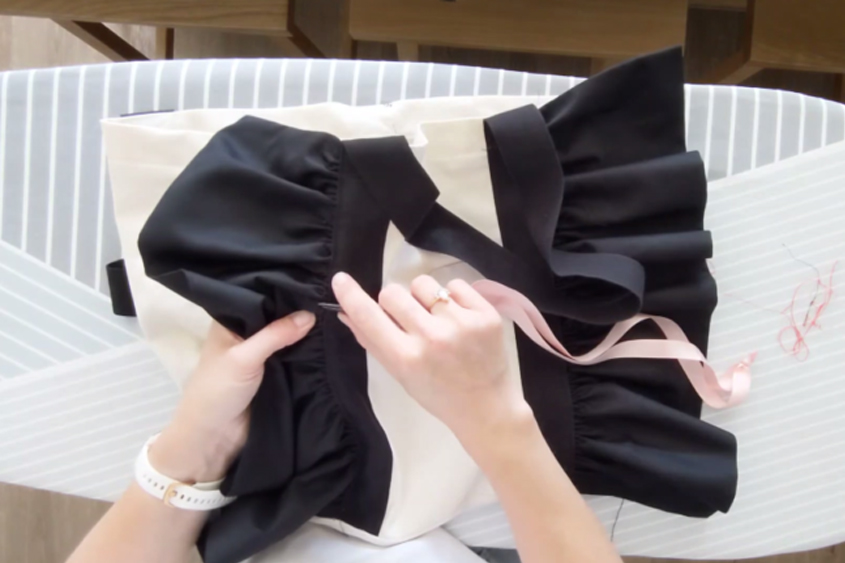
On the front of the bag, pin the pocket to the bag along the side edges. Then pin the frills on following the marking on the pattern.
Beginner tip* You can use dress-makers chalk or pins to mark a line on the bag so that you know where to pin the frill.
Step 16
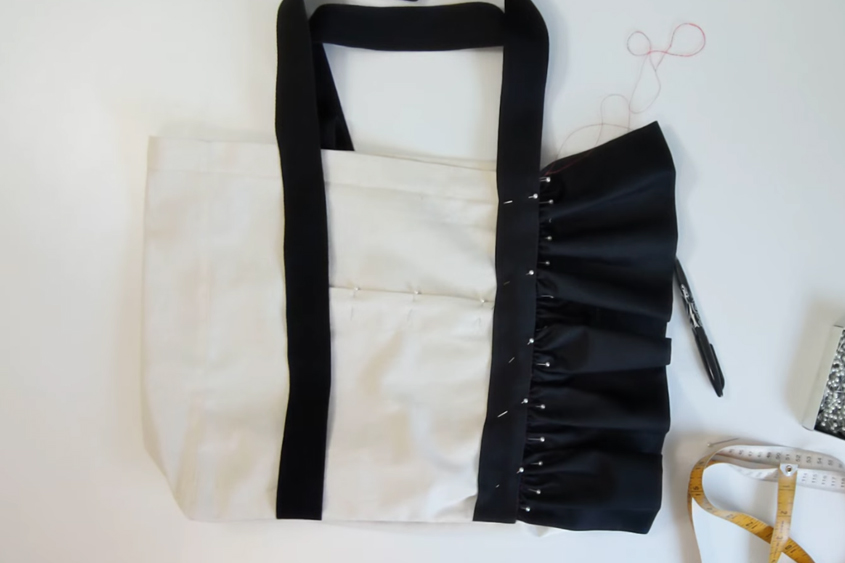
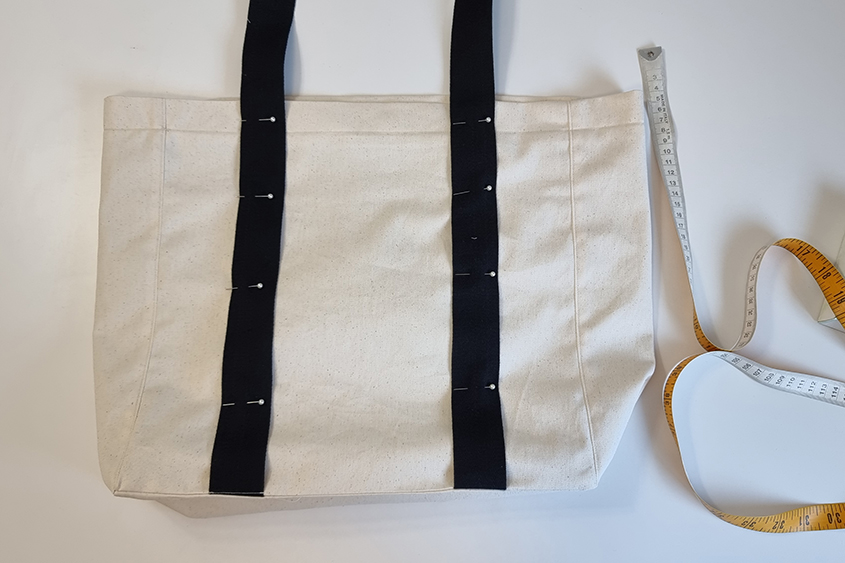
Then pin the straps on top of the pocket and frill on the front. Then directly onto the bag on the back.
Step 17
Stitch the straps down on each side of the strap 3mm from the edge.
Beginner tip* The thread colour on the top and bottom will need to be different colours – ensure the main thread matches the strap and the bobin thread matches the lining.
Step 18
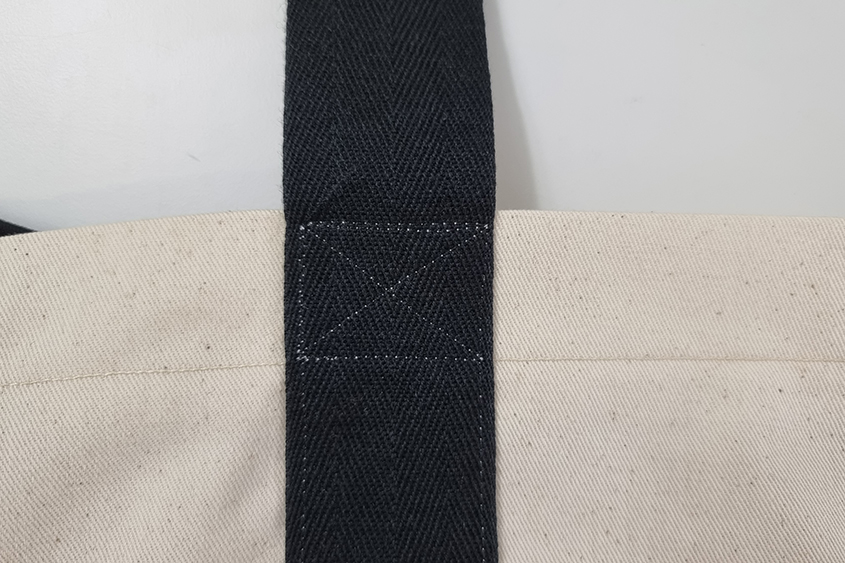
Then stitch a box stitch at the top of the strap for extra strength.
Step 19
Remove any visible gathering threads.
Step 20
Pin the opening in the side seam of the lining closed and machine or hand stitch closed.
The Frill Tote Bag is now complete. Please feel free to contact me if you need any extra help.
Another easy weekend sewing project for a beginner is the Reversible Bucket Hat.
I’d love to see your creations, tag me on Instagram at @at_the_seams_patterns
x