Dresses, Sewing Tutorials
Sewing Tutorial: Amelia Puff Sleeve Dress
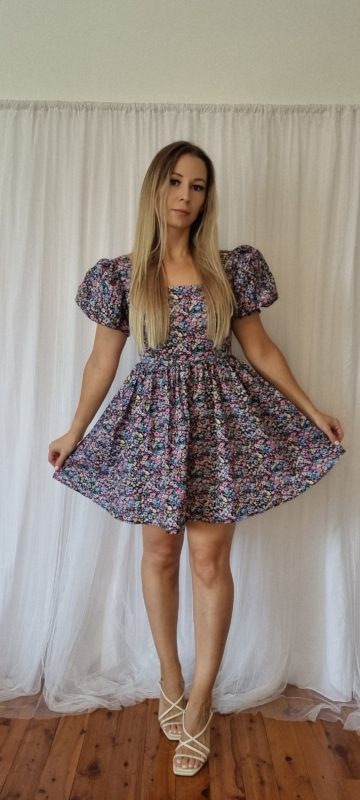
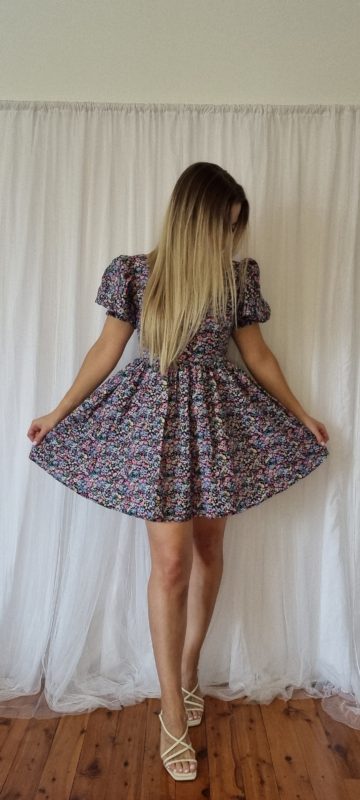
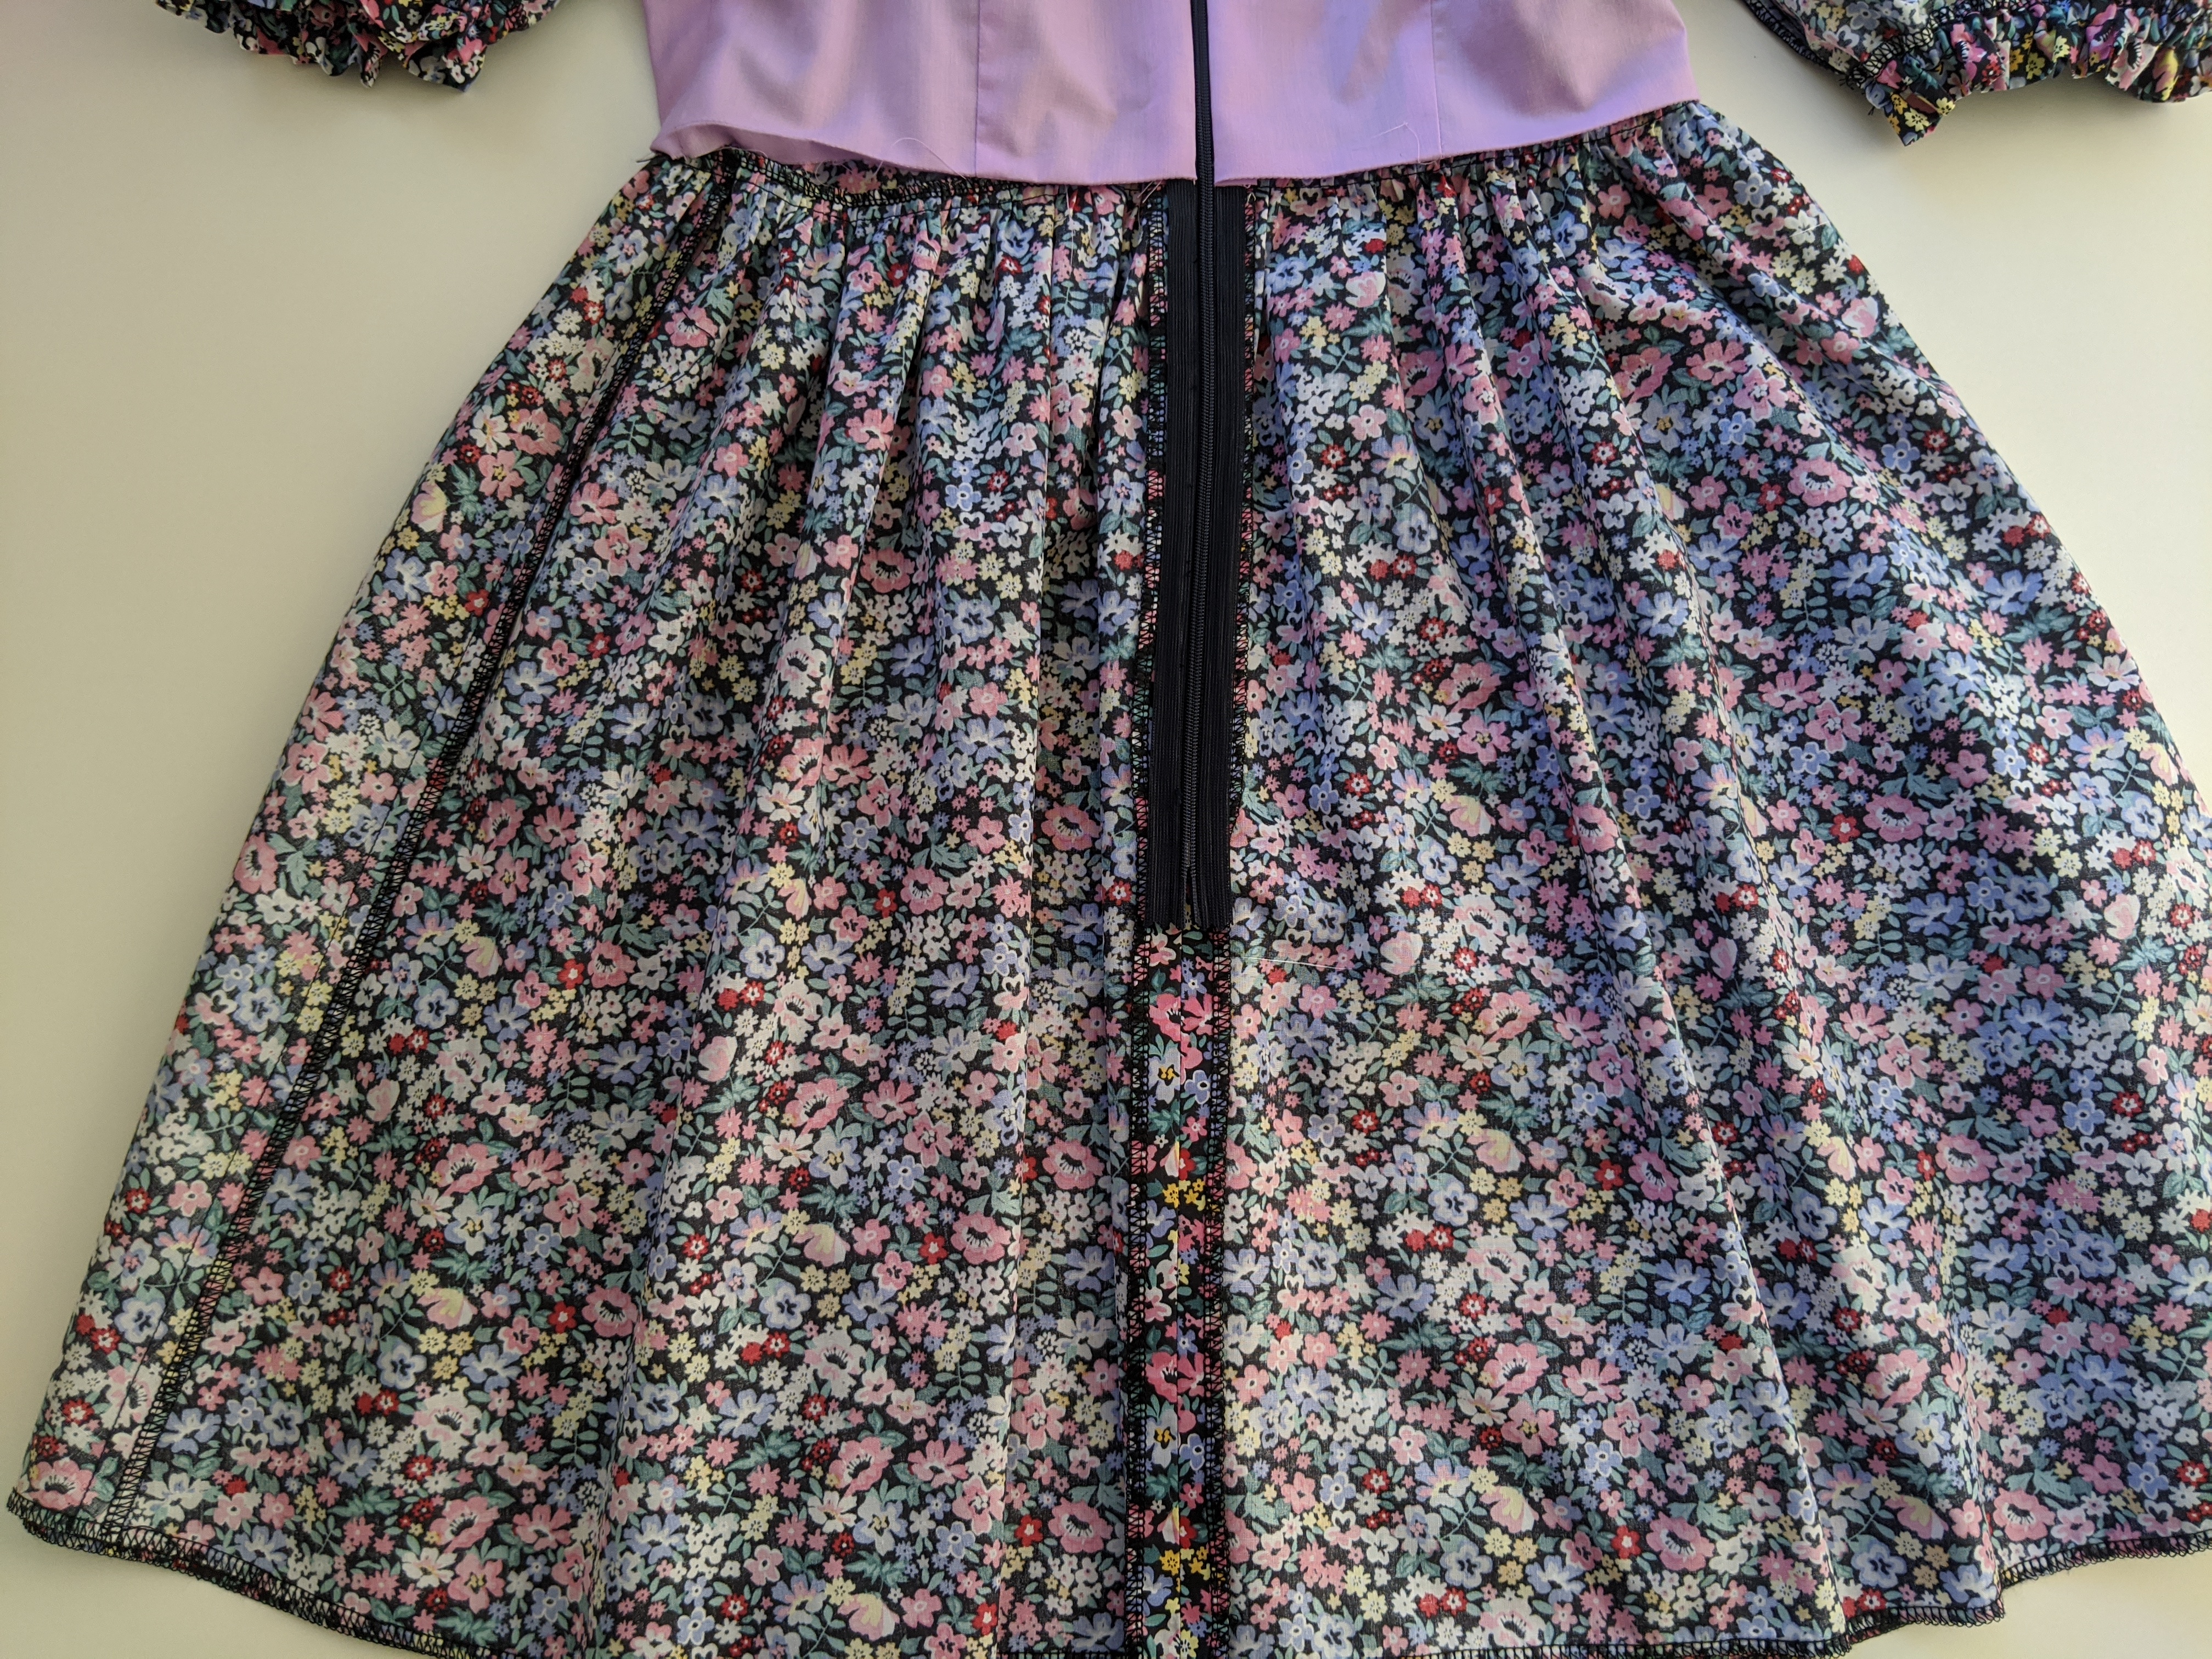
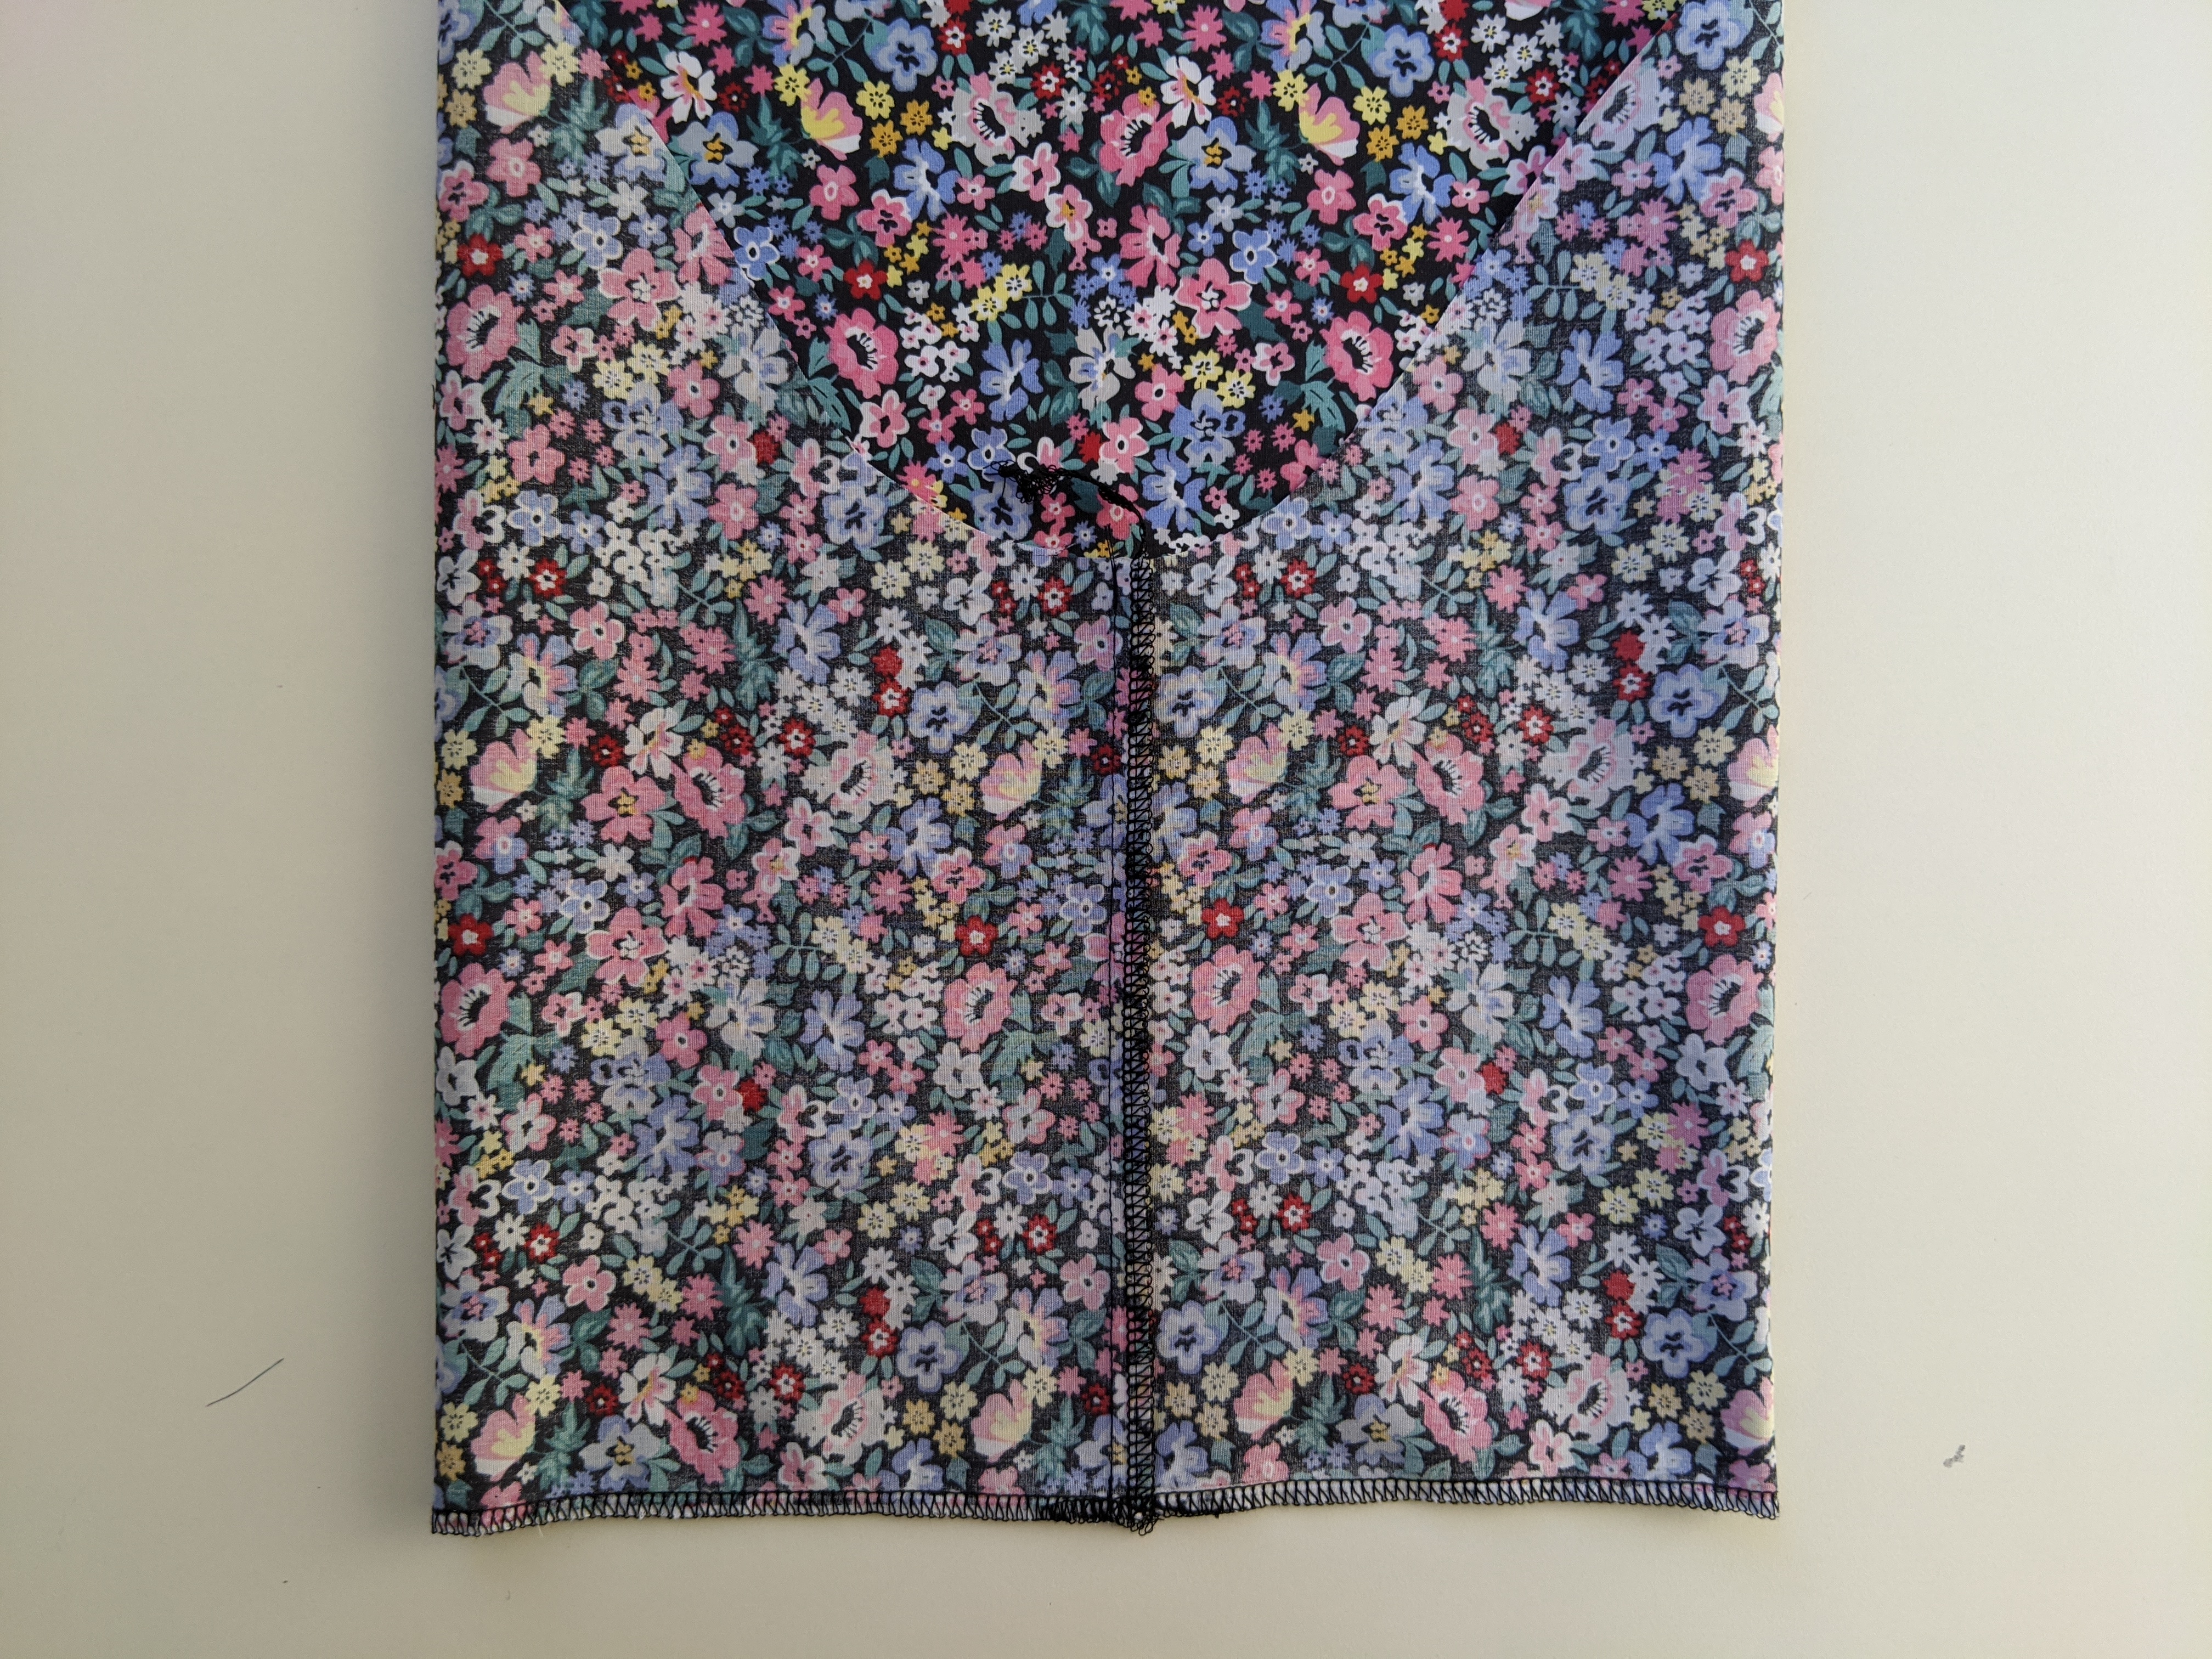
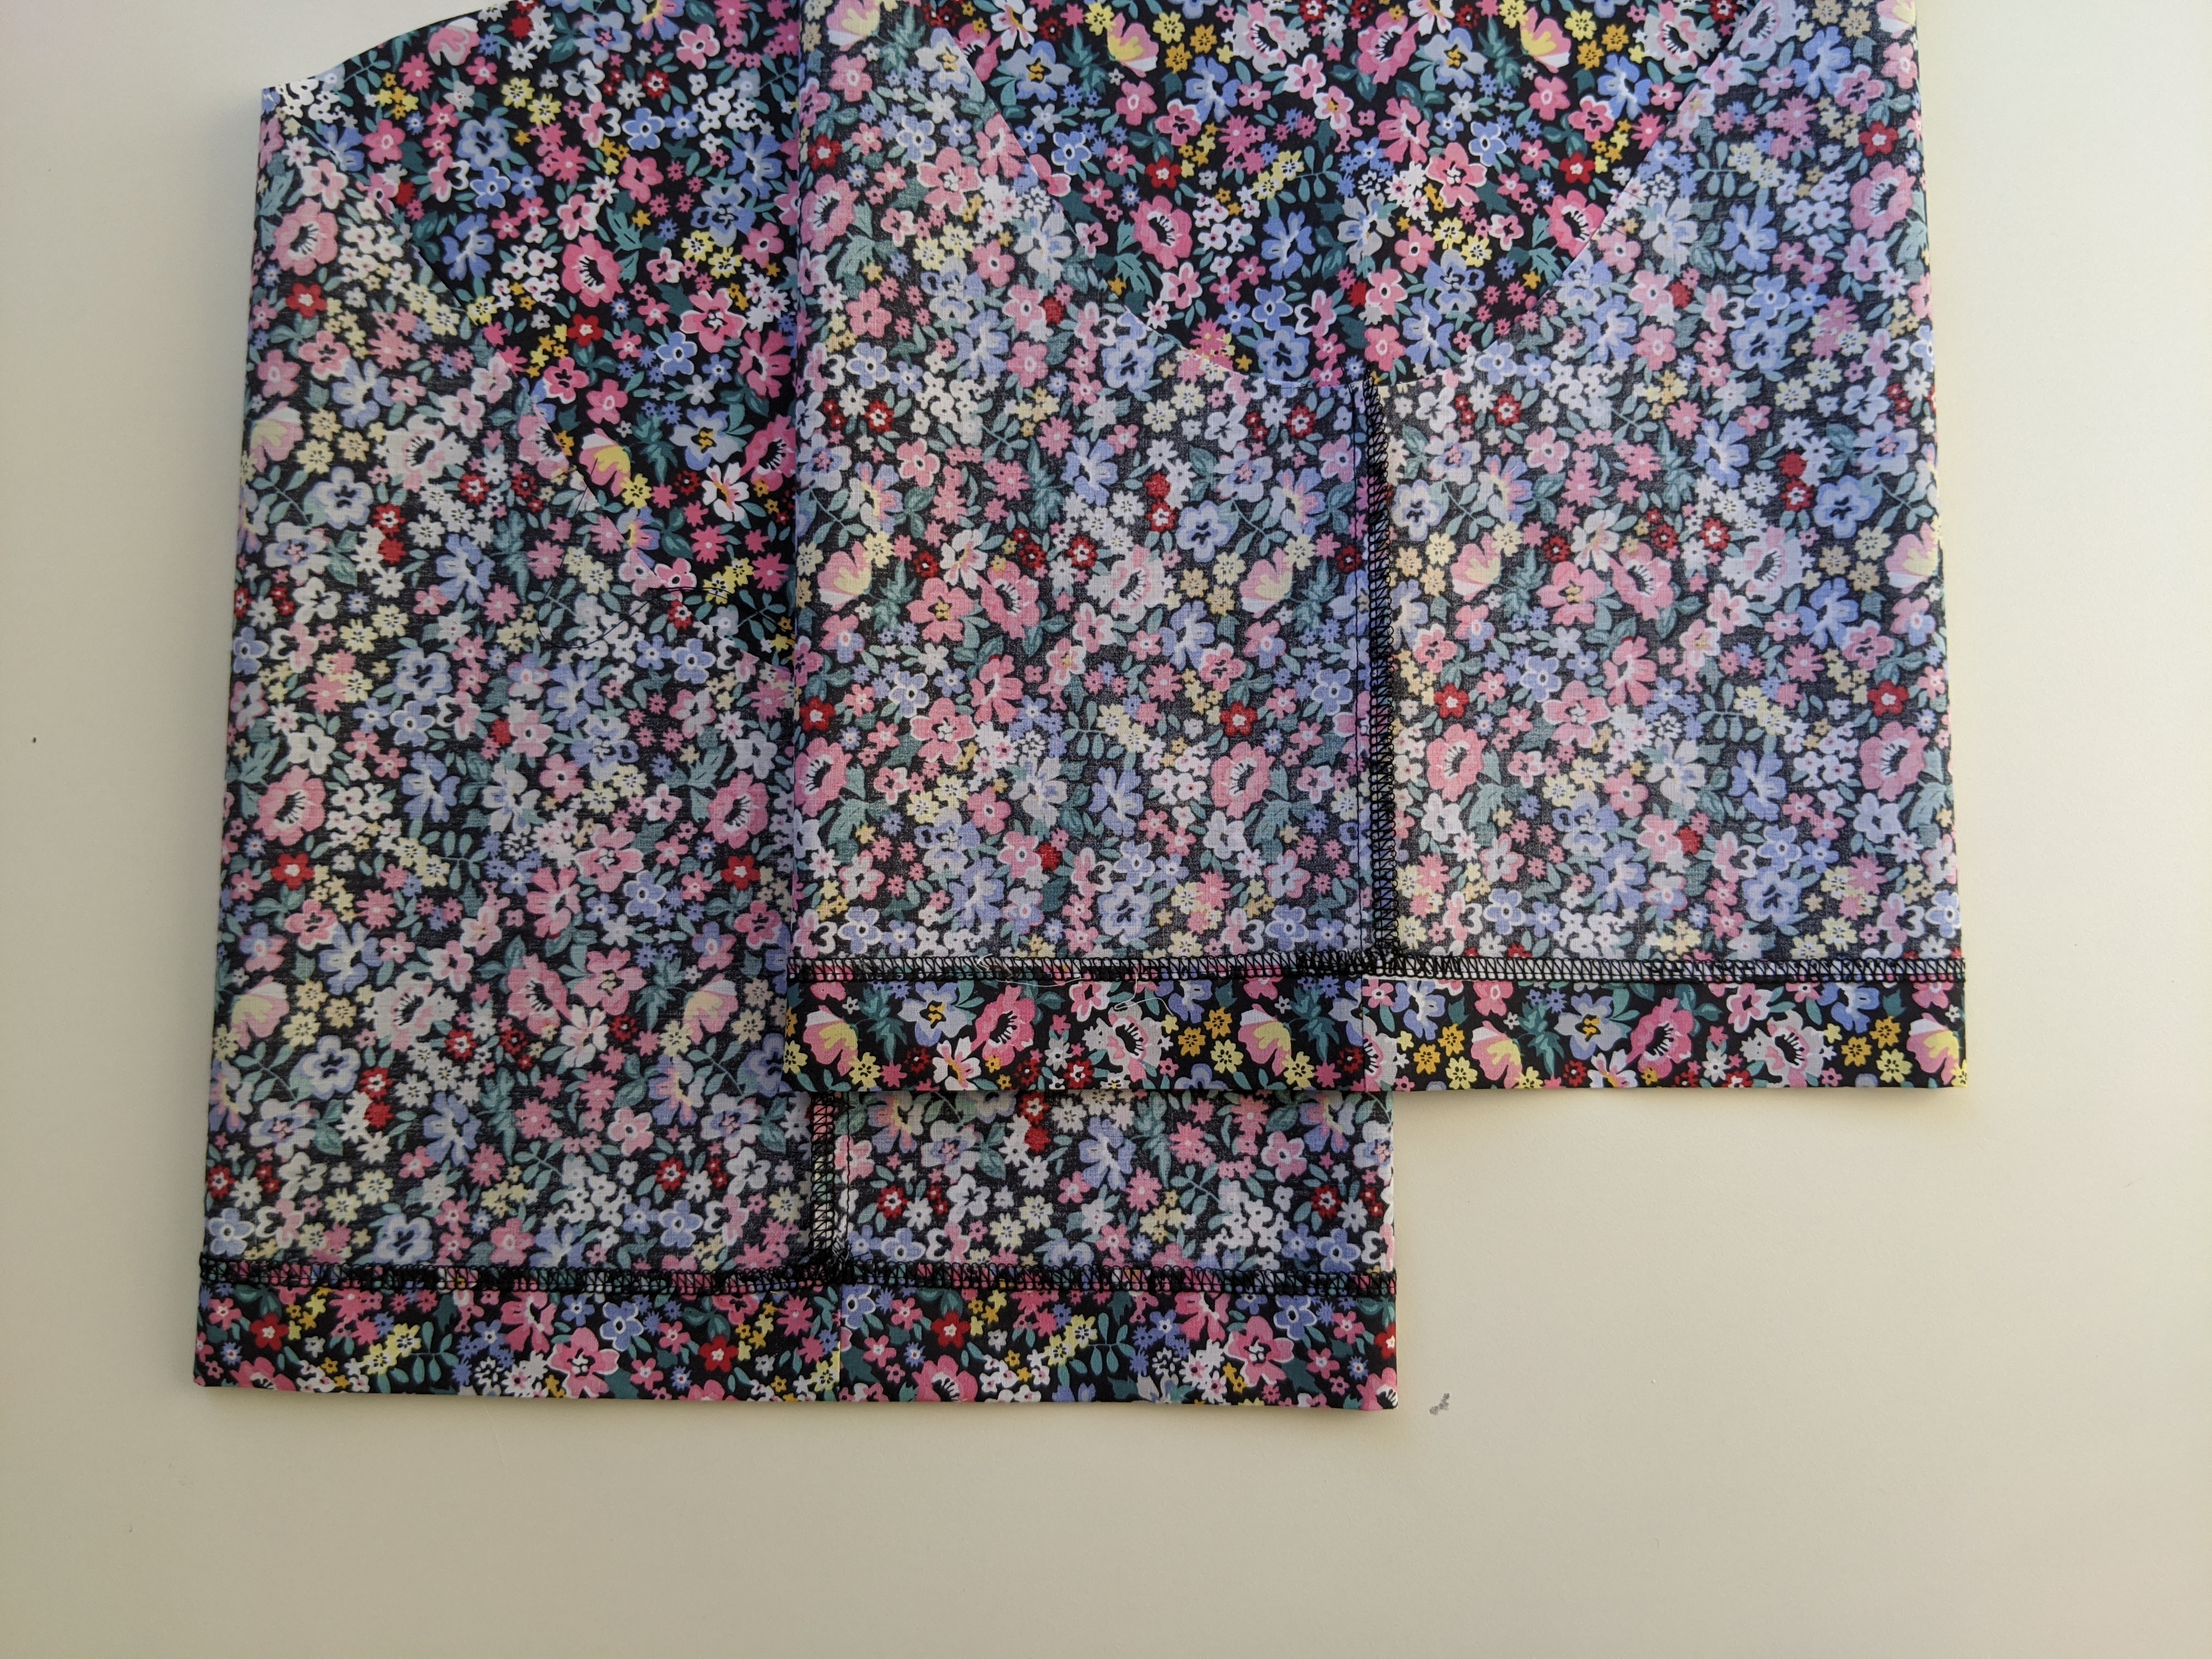
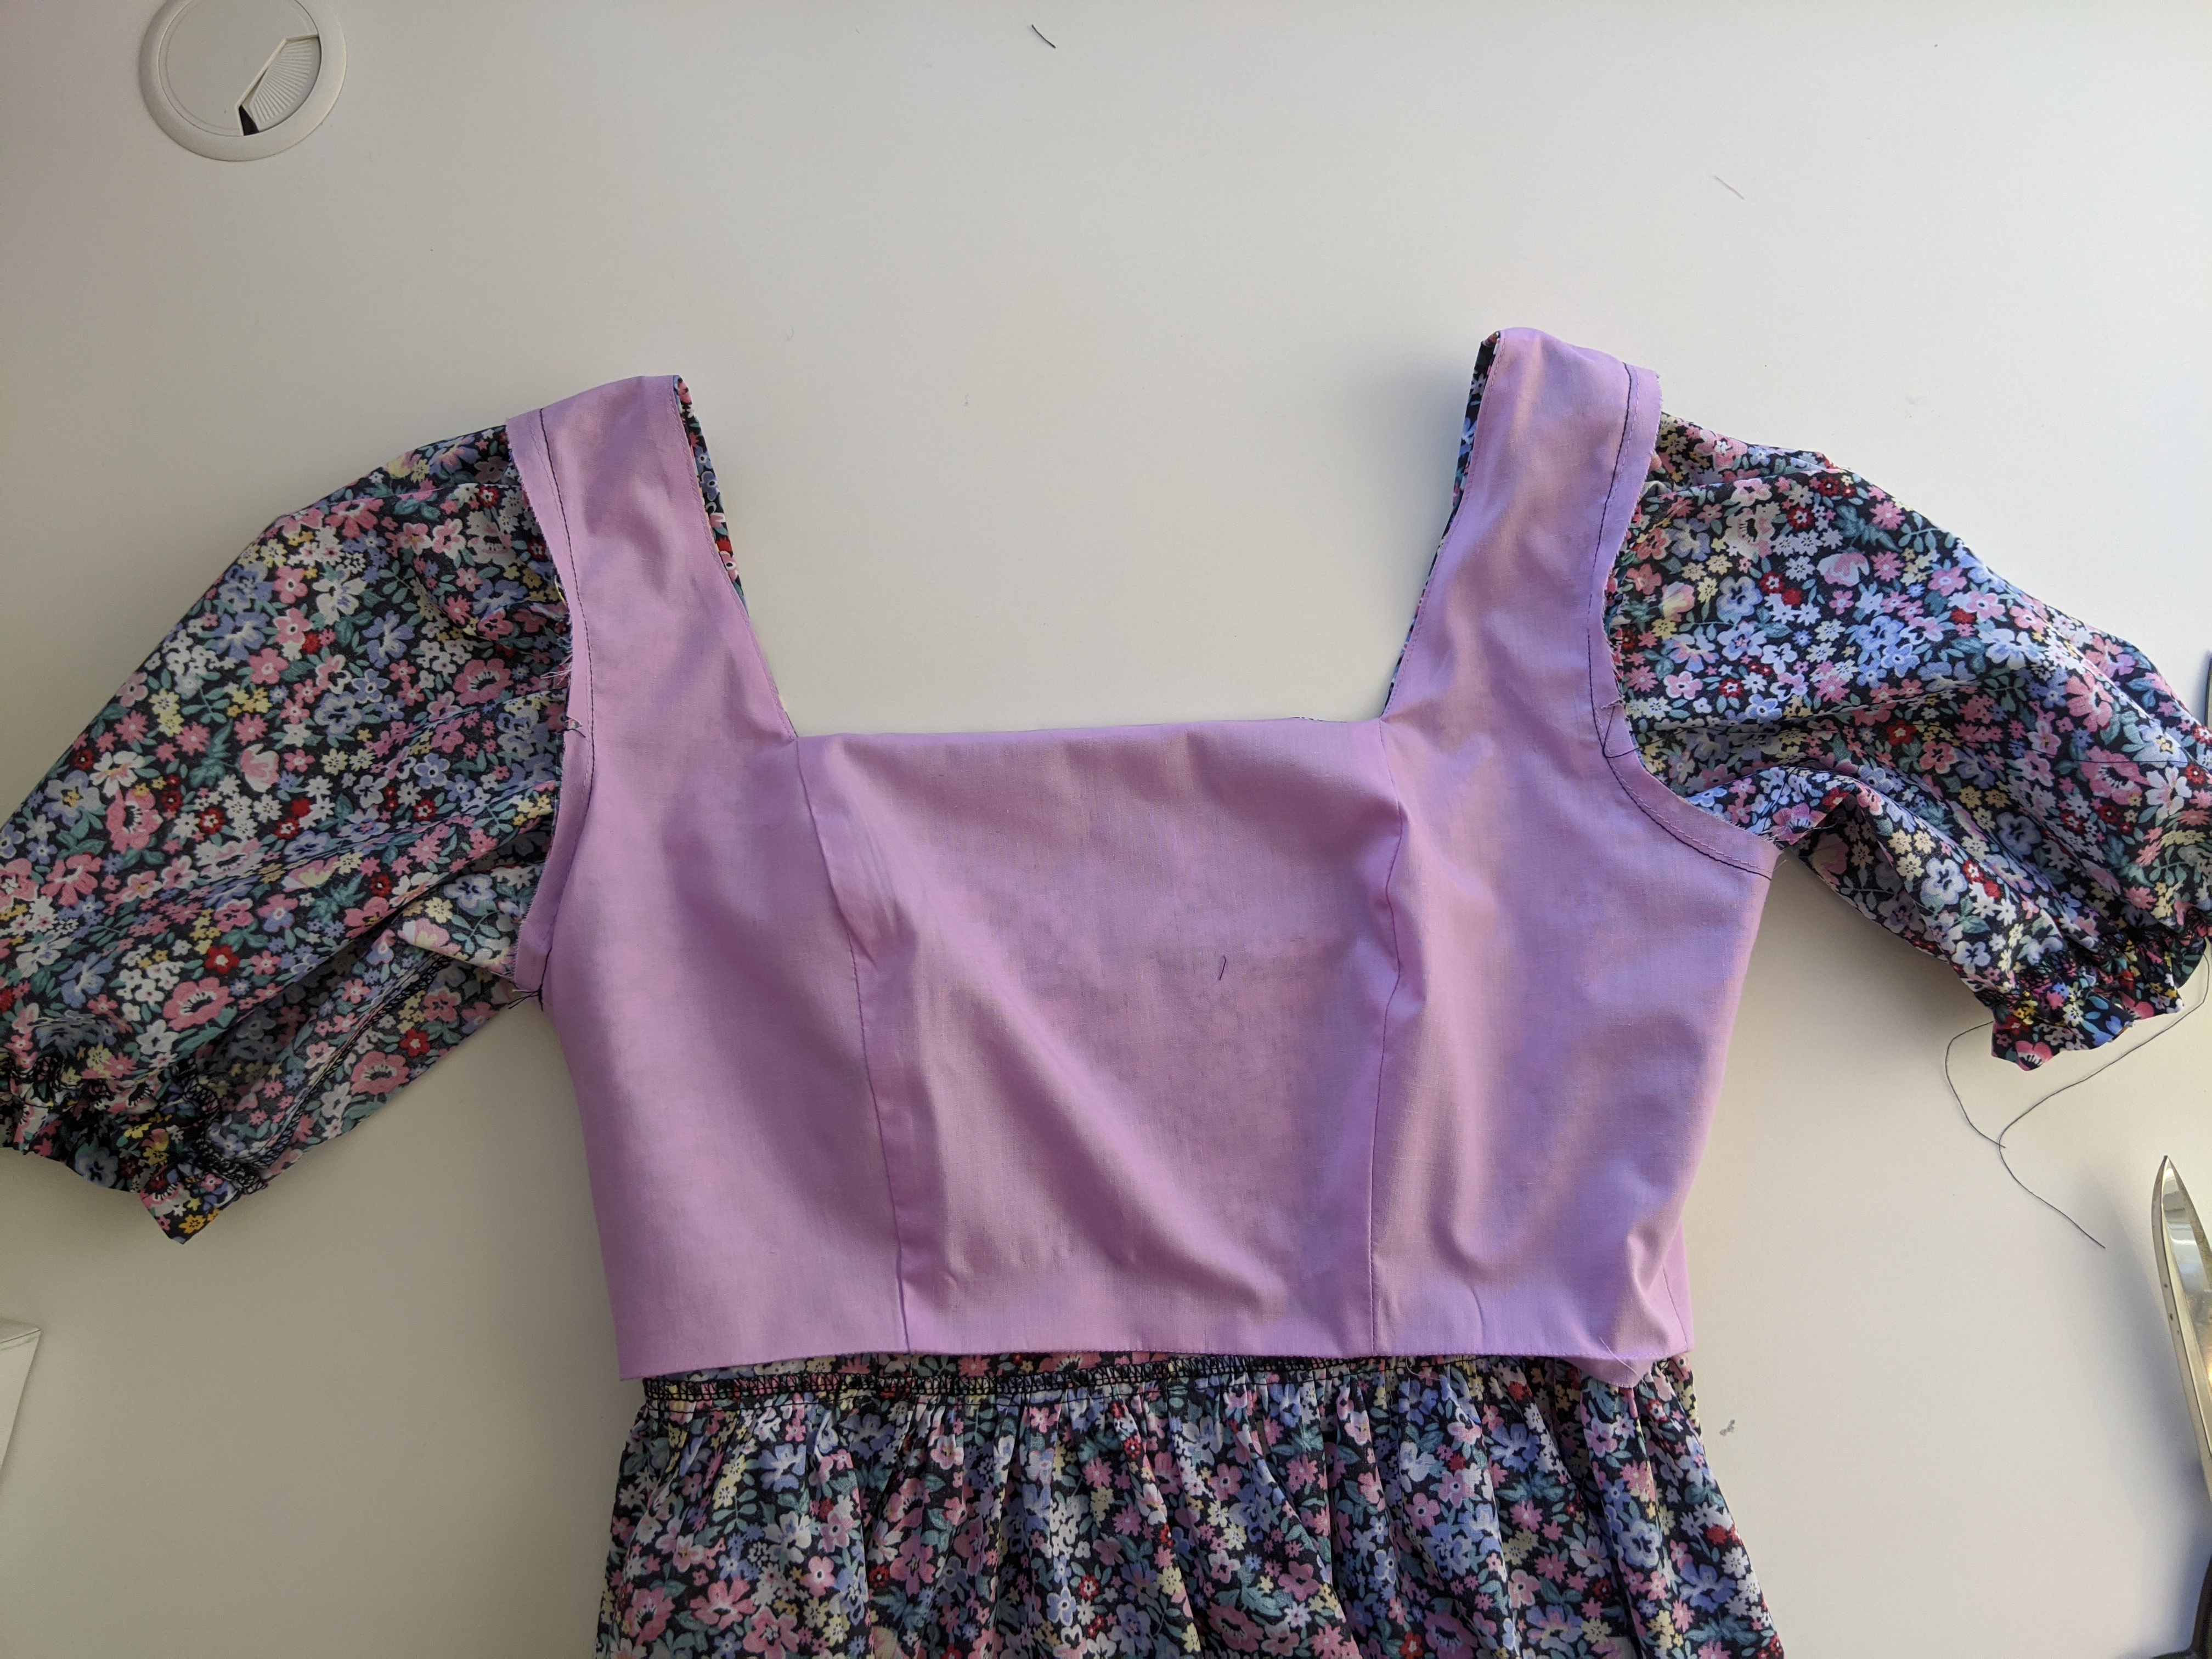
The Amelia Puff Sleeve Dress is a cute summer dress inspired by the Selkie dress. The style has a fixed princess line bodice that is fully lined. The sleeve is a set in gathered puffy sleeve with a 2cm wide ruffle on the hem which is gathered with 6mm elastic. The skirt is an unlined semi-circular gathered skirt with a 235cm rolled hem. The invisible back zipper is bagged out between the main and lining on the bodice. This dress is more of an intermediate to advanced sewer level.
The dress length is approximately 79cm (size 10) and is designed to be fitted at the bust and waist.
SEWING ABILITY
Advanced
Don’t be afraid to ask questions in the comments below if you need. I’m here to help. So let’s get started.
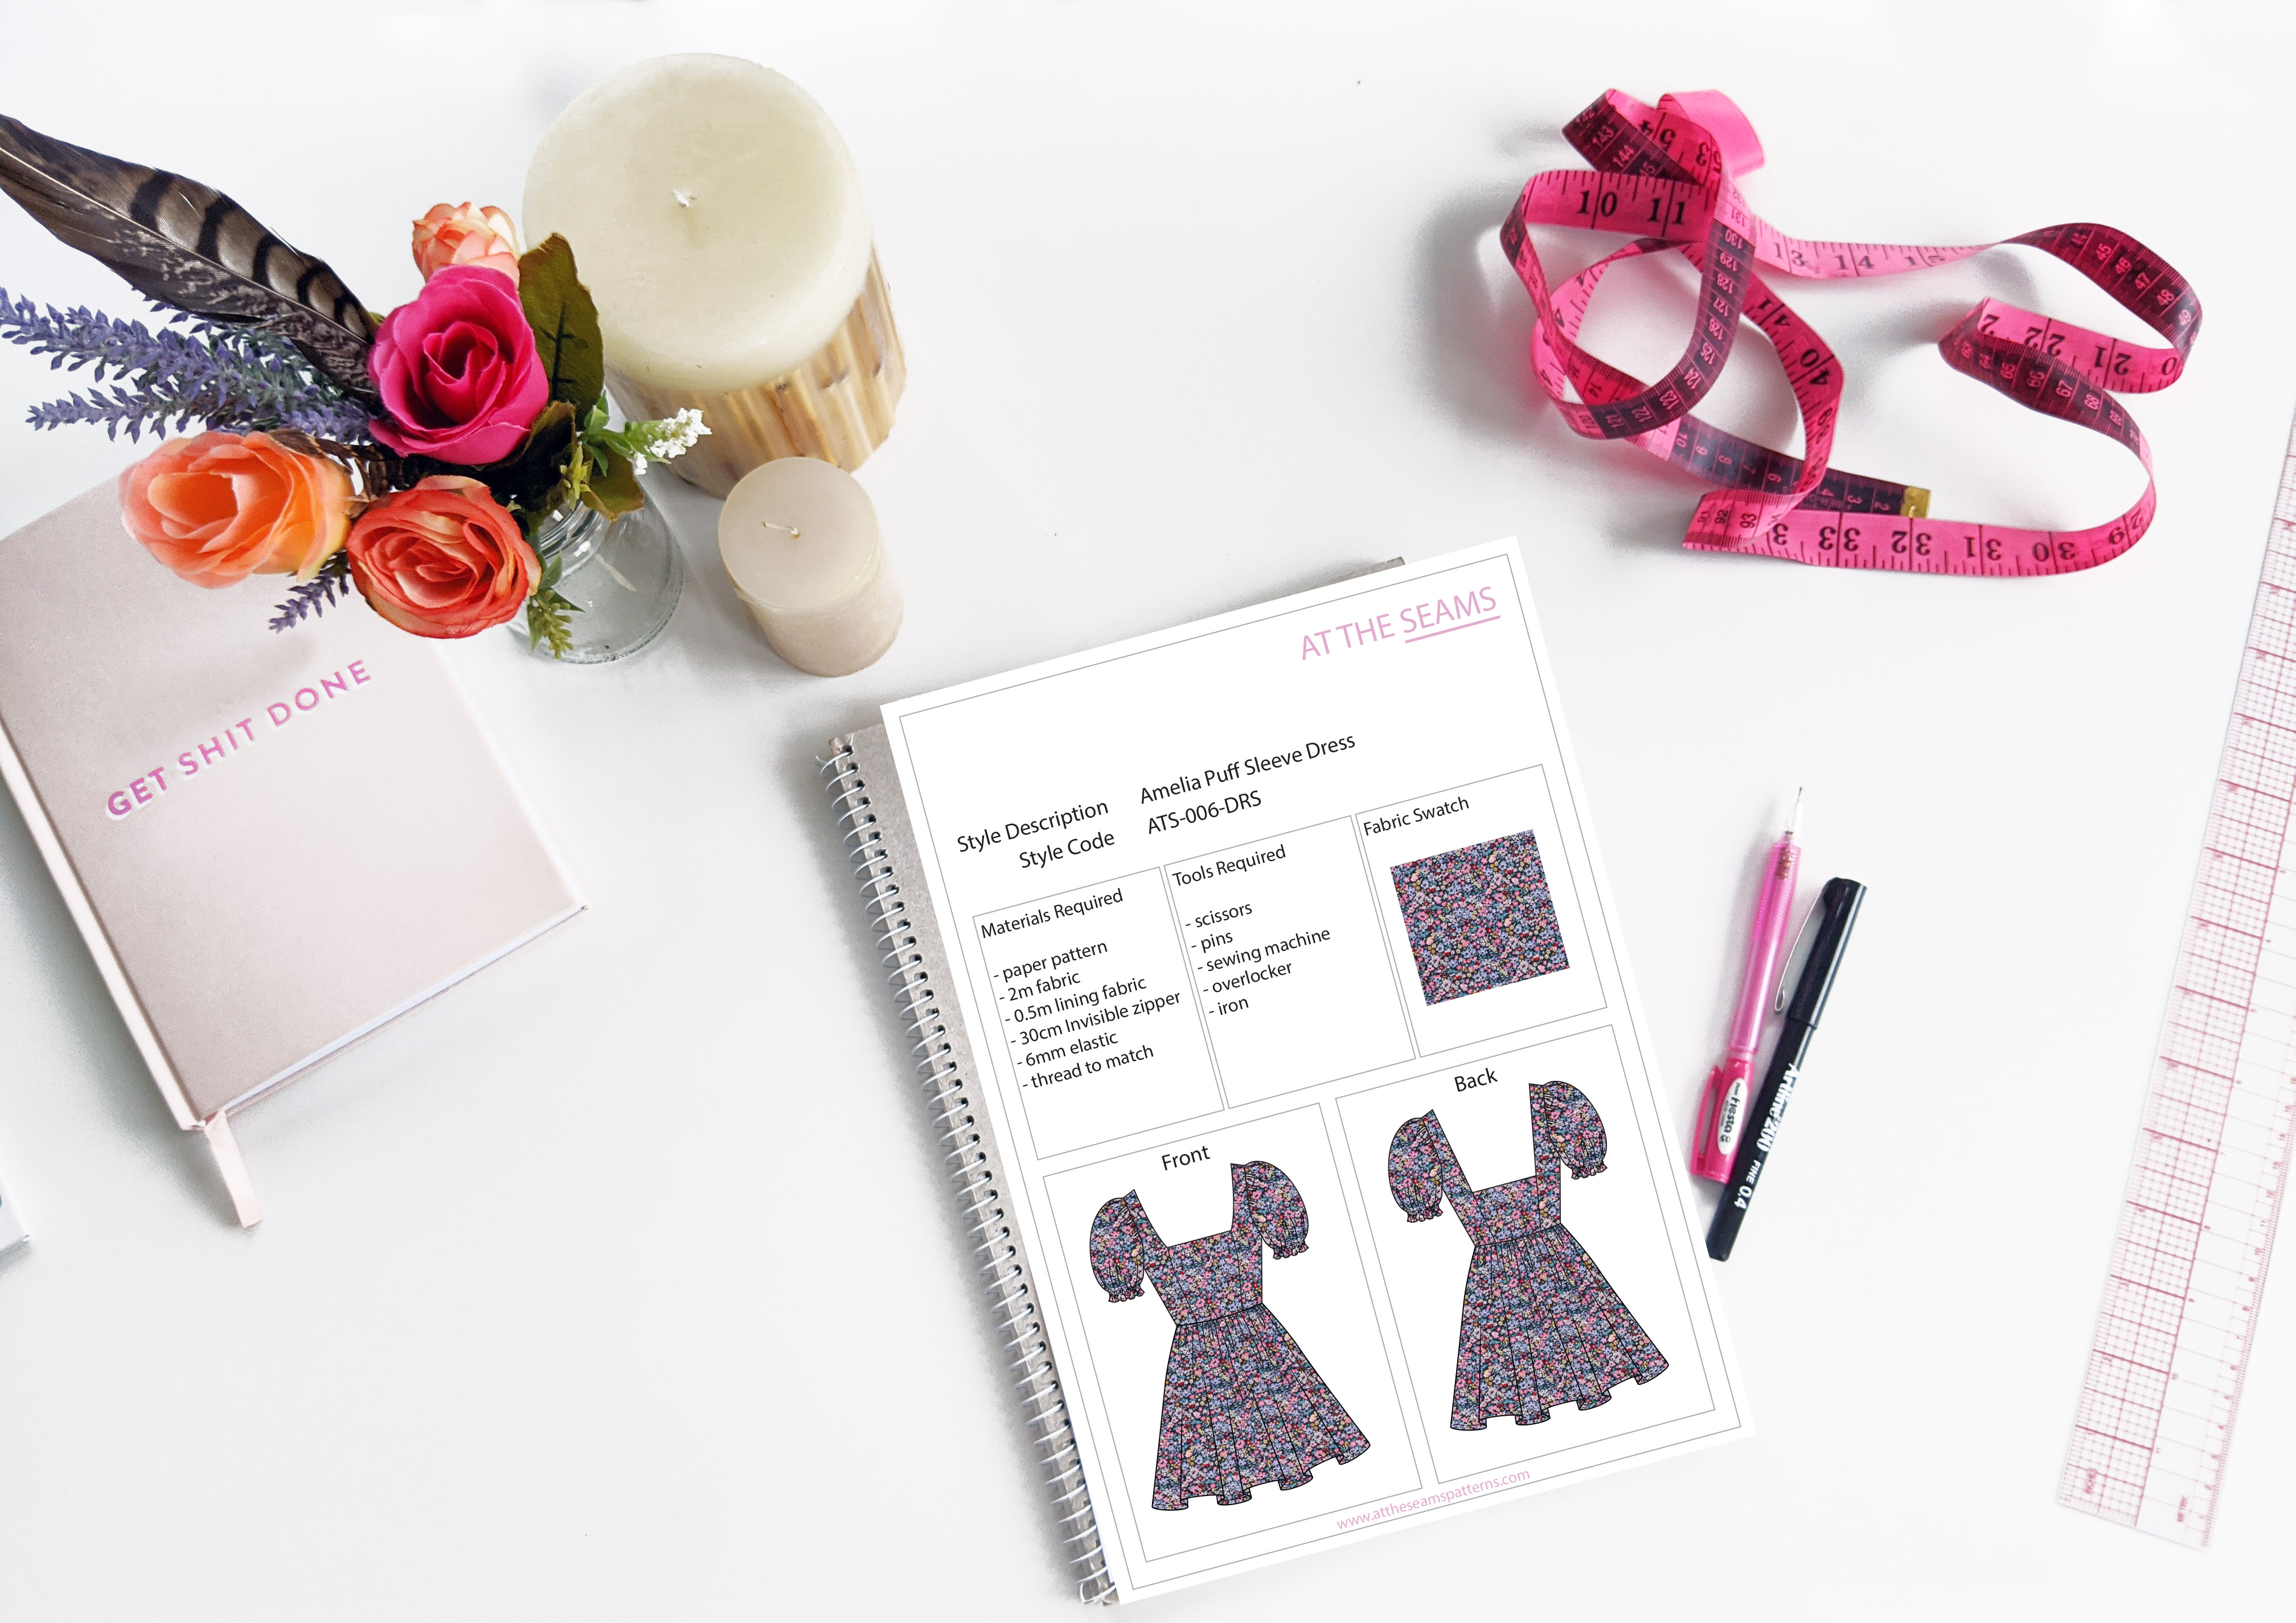
To begin you will need the following things
Materials
- Amelia Puff Sleeve Dress (size XS-XL) paper pattern
- Amelia Puff Sleeve Dress (size XL-5XL) paper pattern
- Lining fabric
- 30cm Invisible zipper
- 6mm elastic
- cotton thread (enough to also thread your overlocker)
Tools
- scissors
- pins
- sewing machine with a regular and invisible zipper foot
- overlocker
- iron
Tips
- Ensure your fabric is washed, dried, and pressed before you start cutting. There is nothing worse than washing your beautiful garment and it shrinks, or even more annoying the lining shrinks and the main doesn’t so it’s all pulled out and shape and is unwearable.
Step 1
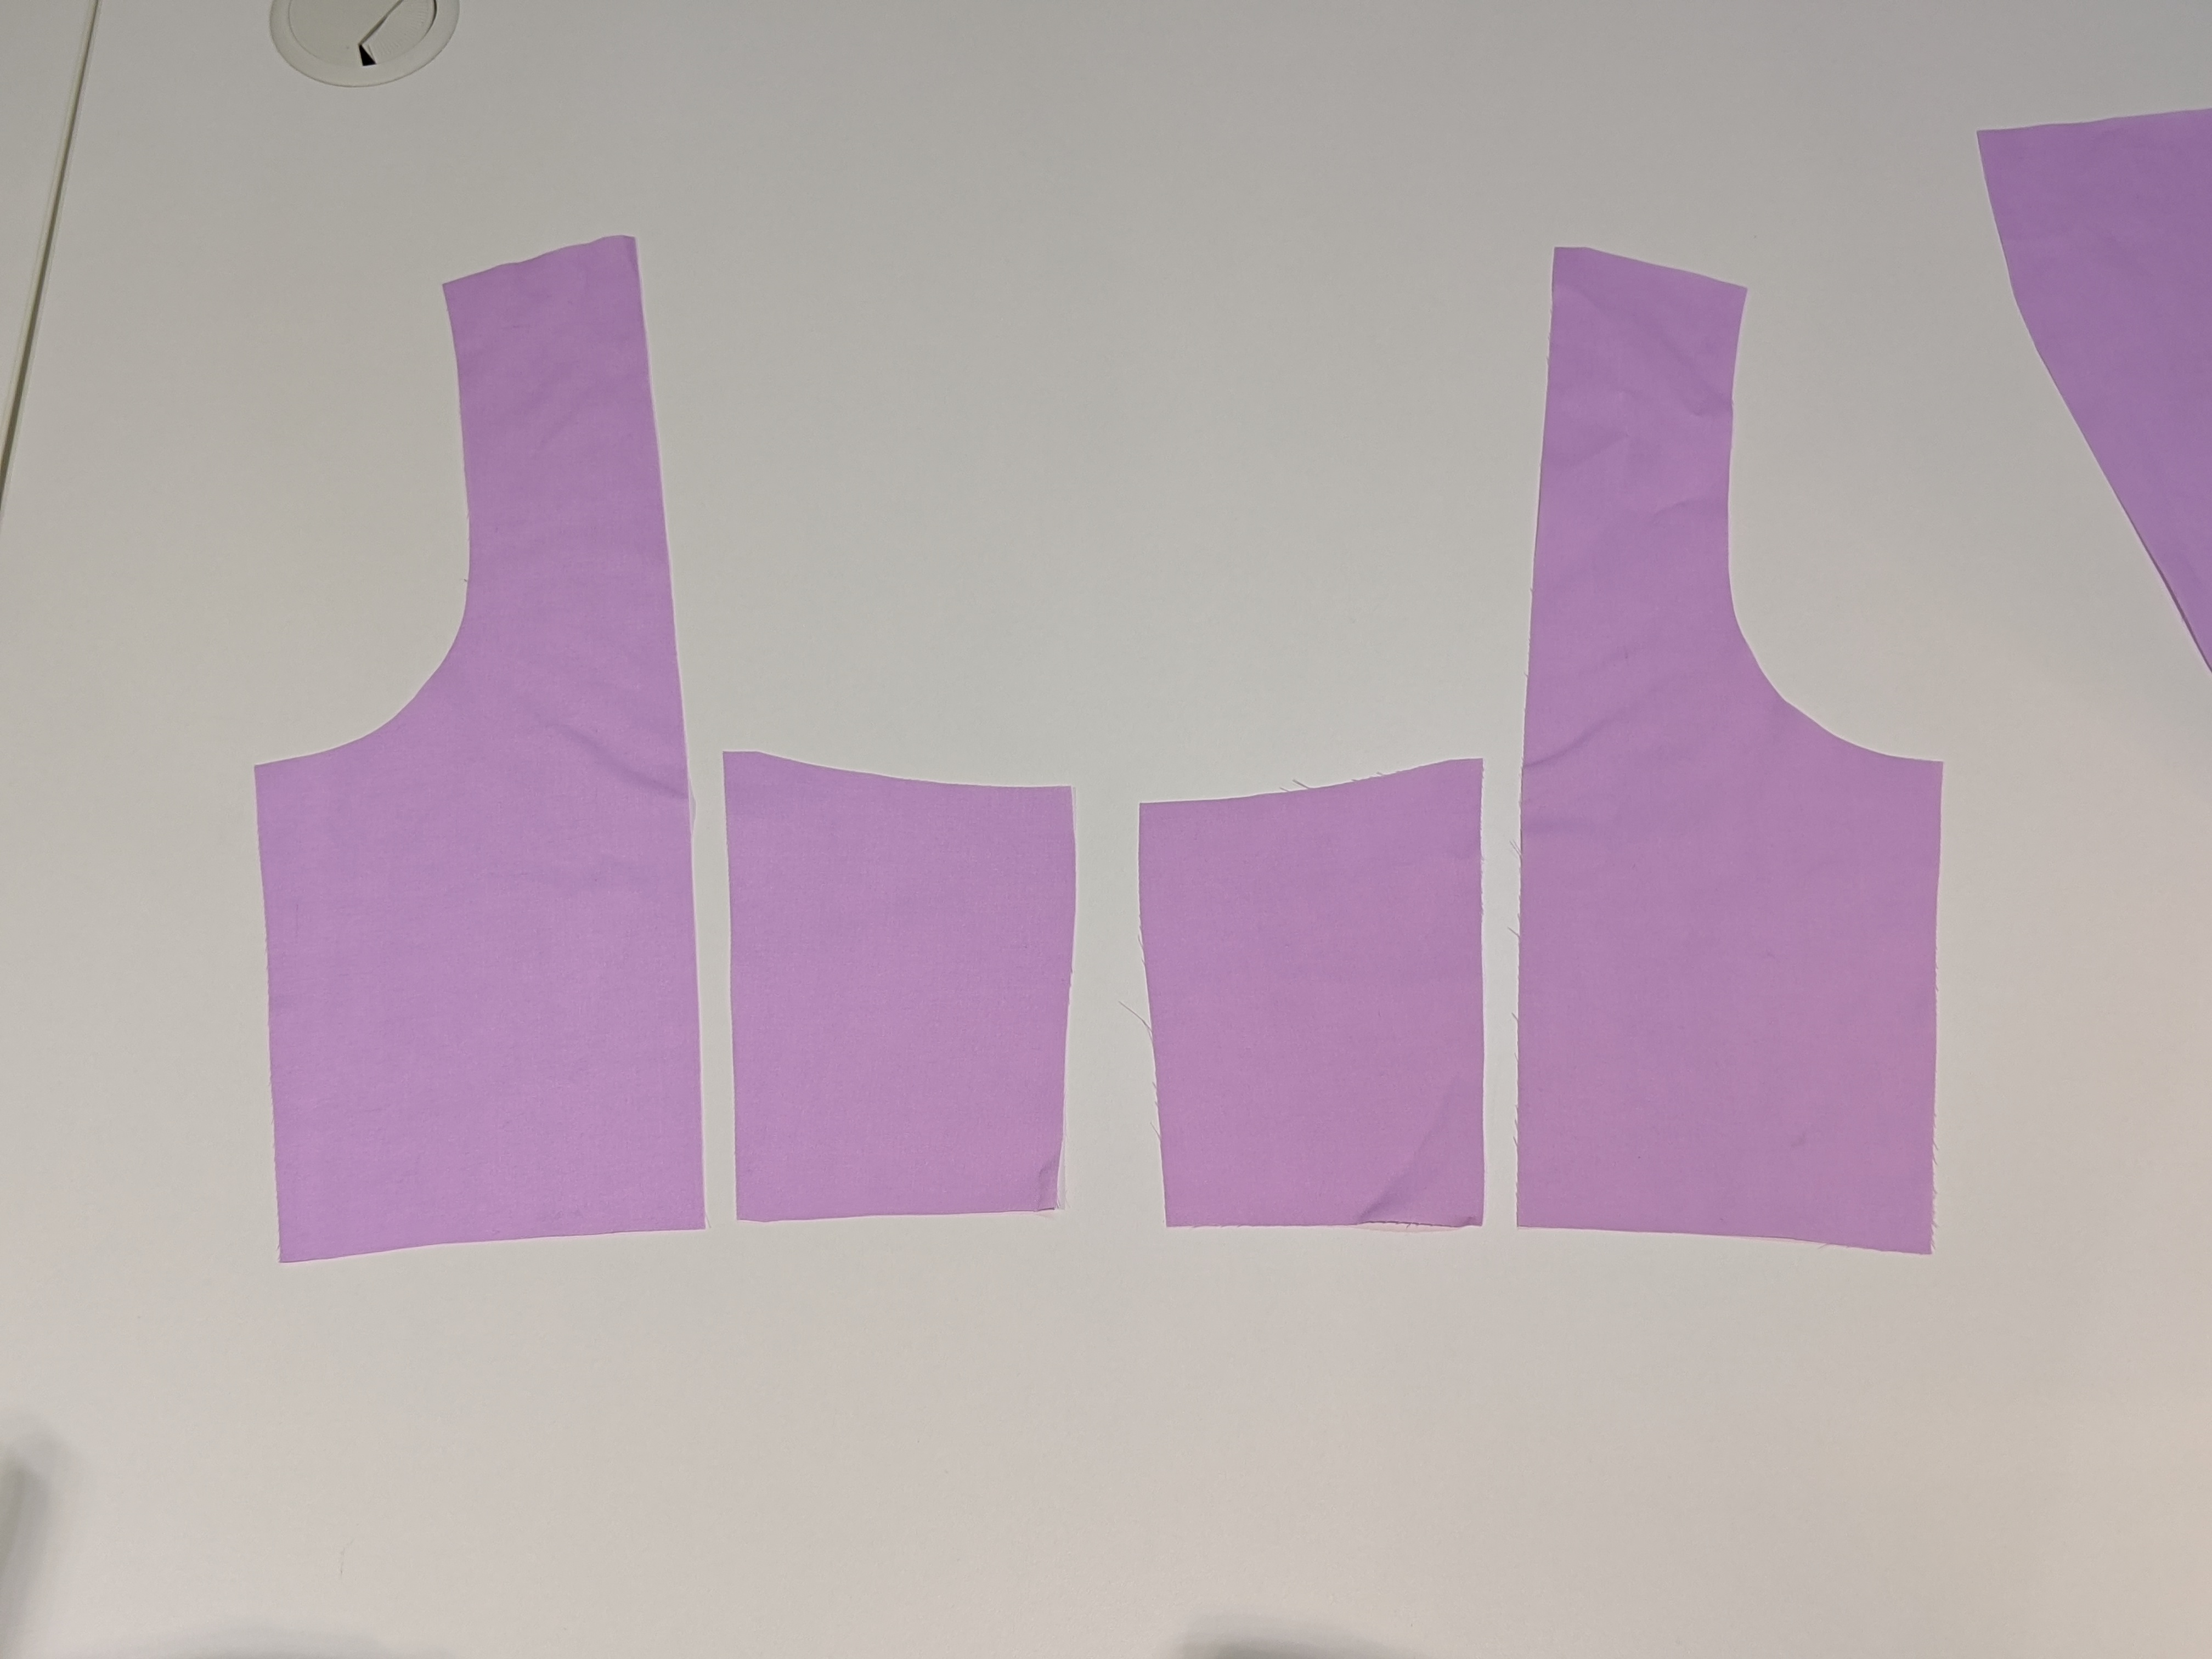
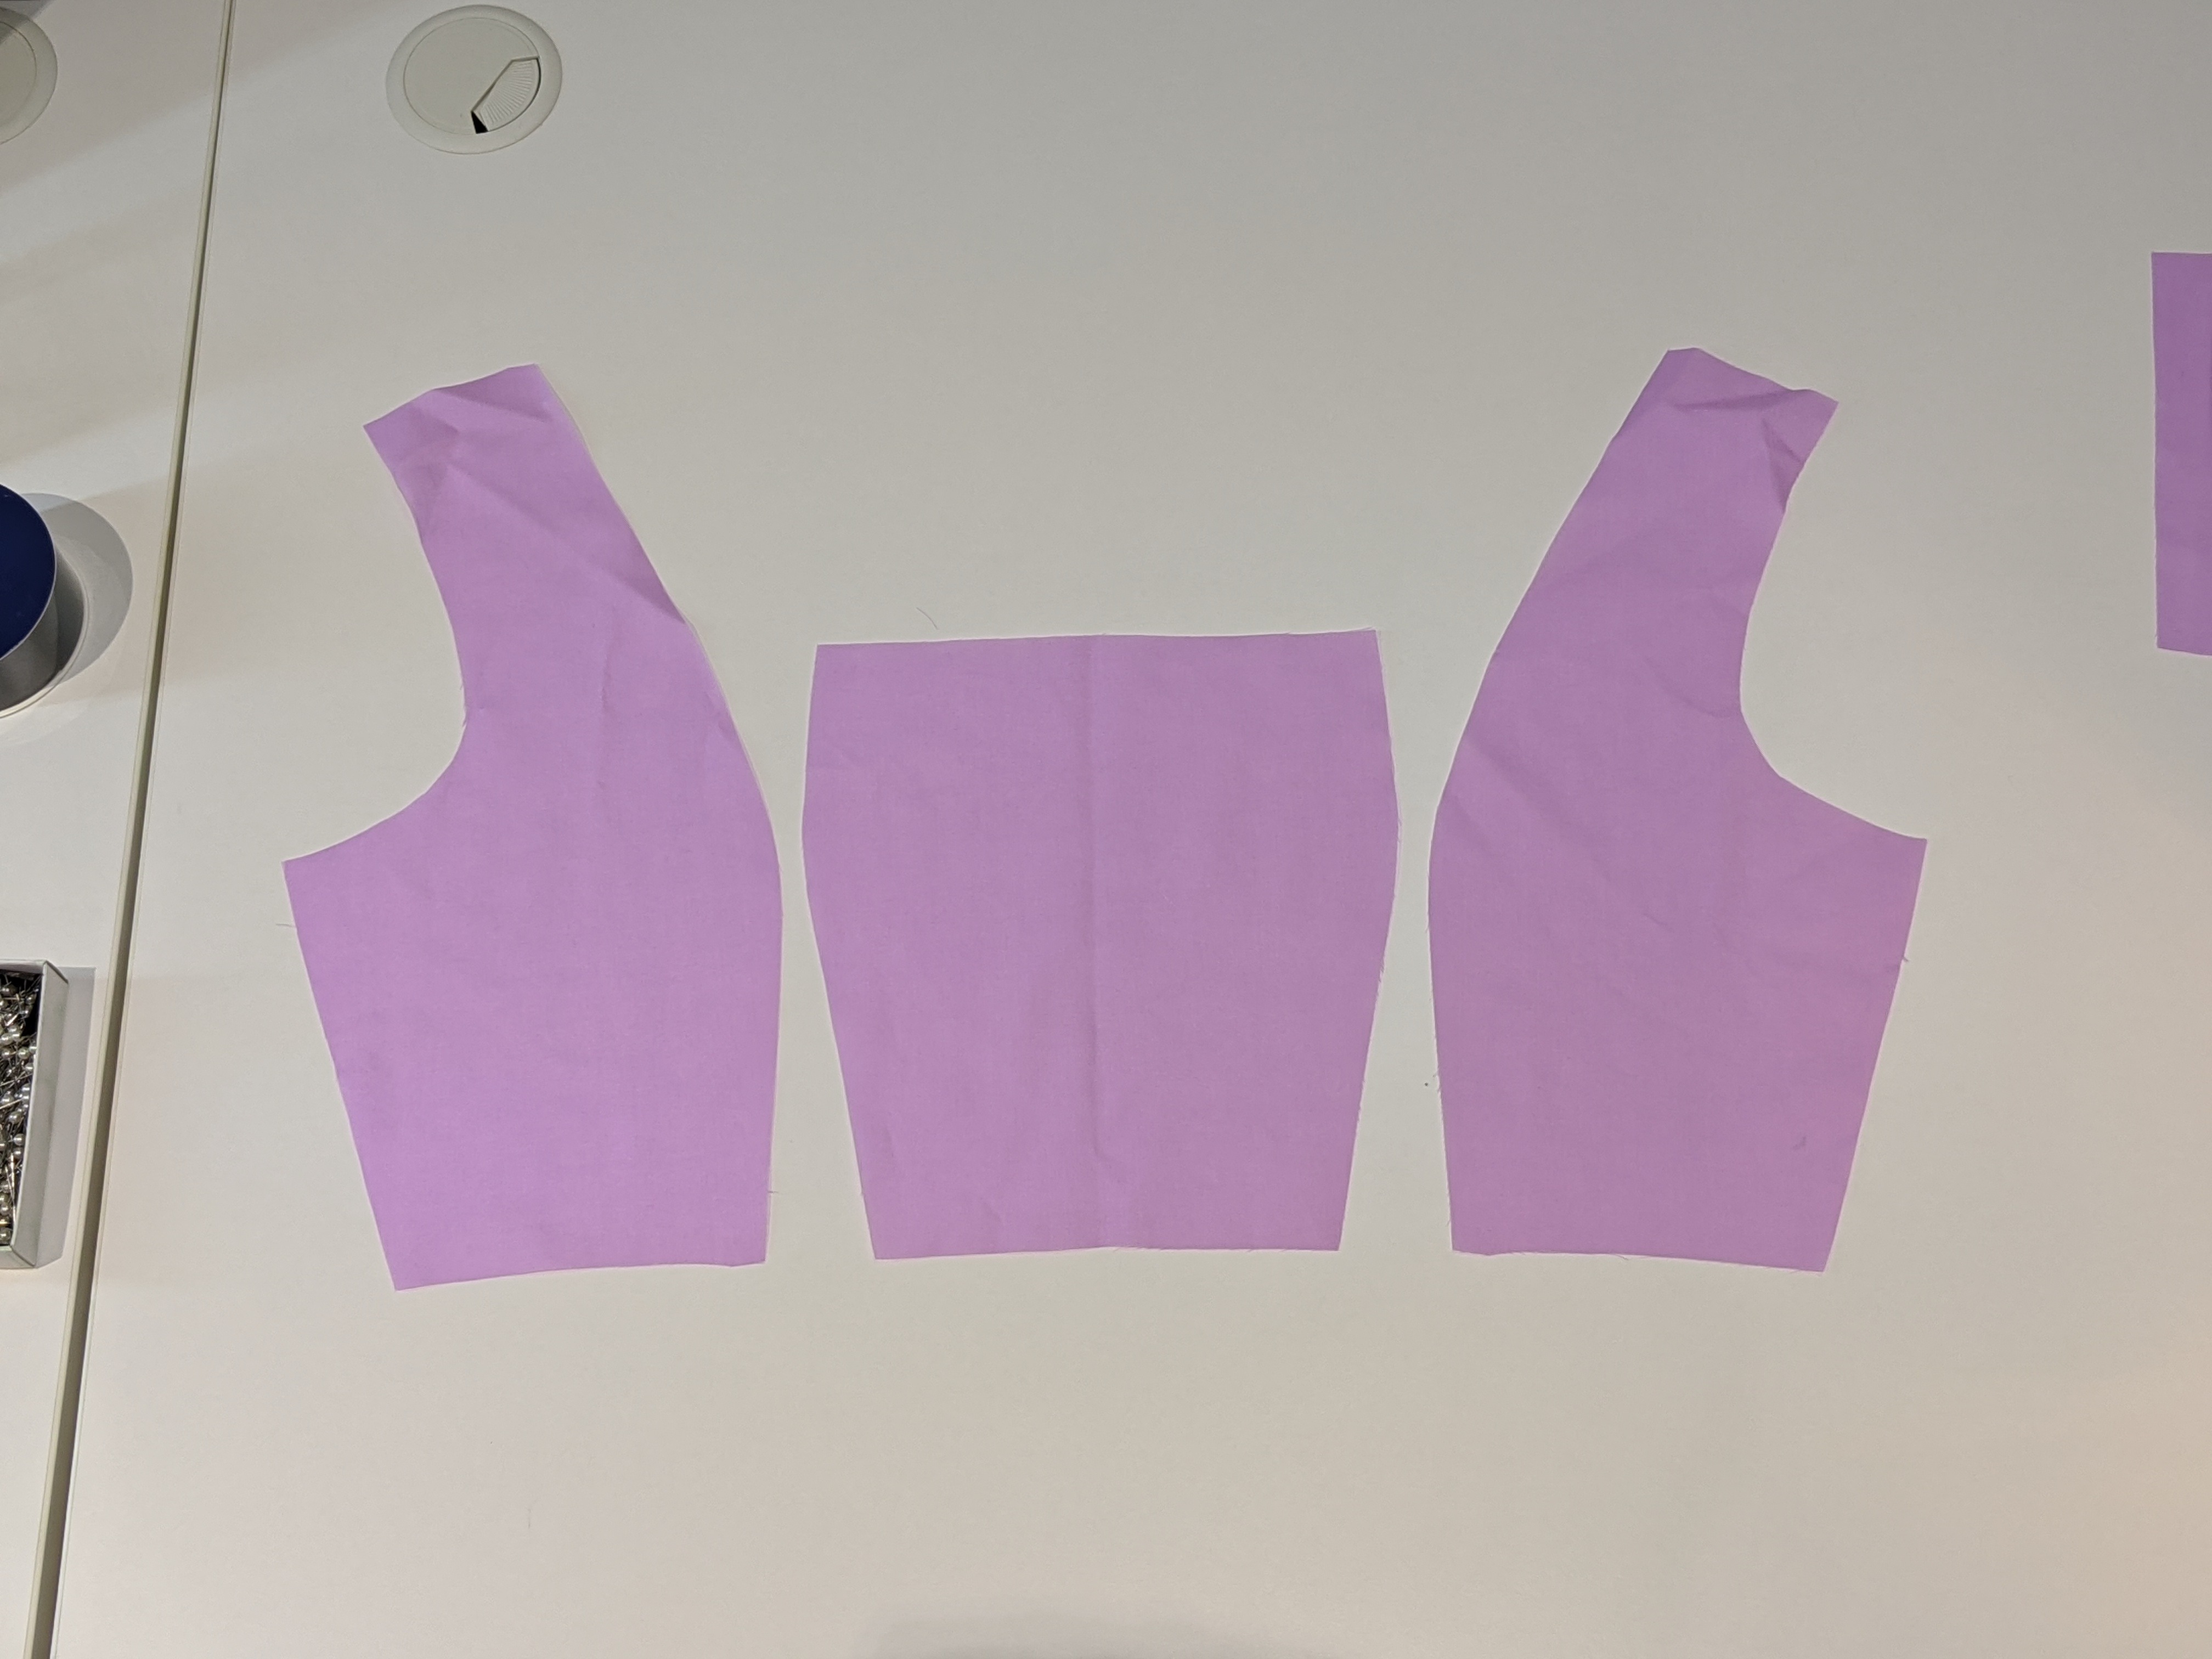
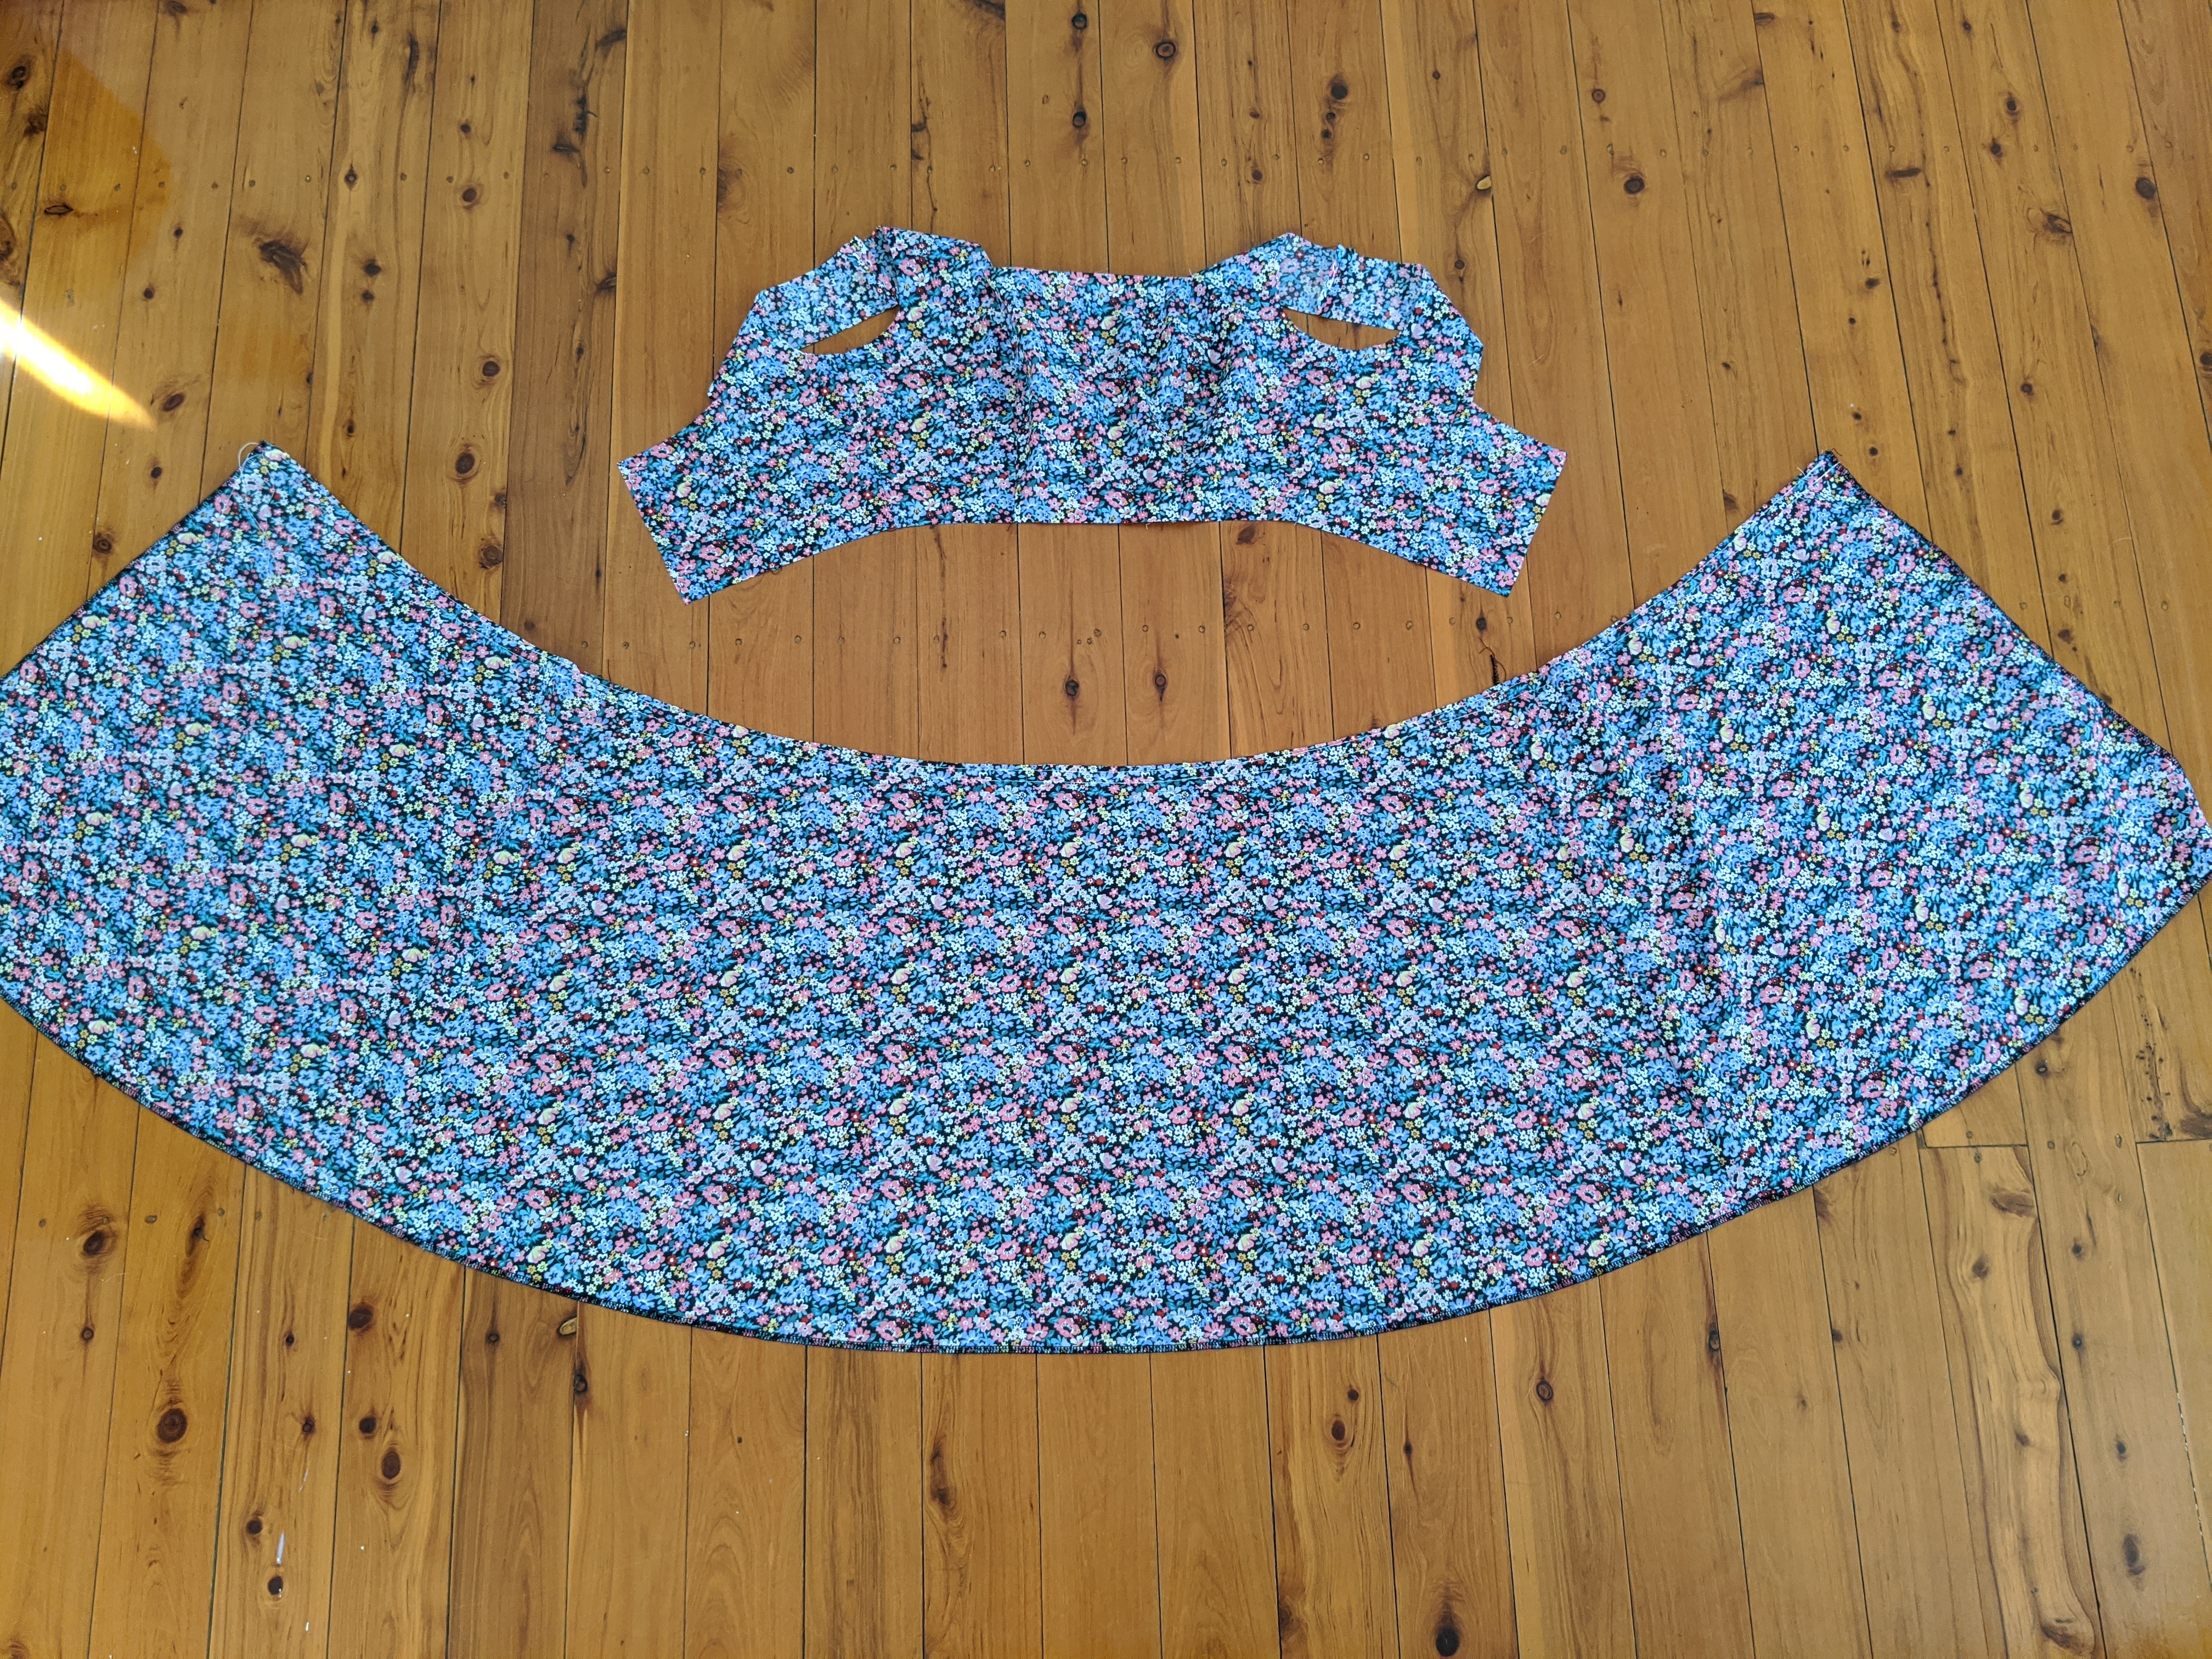
Cut all main and lining pieces accurately on the correct grain, ensuring all notches are clipped. Please note all seam allowance is marked on the pattern.
Beginner tip* If you can afford to purchase a rotary cutter and cutting mat, I find this more accurate and time-efficient.
Step 2
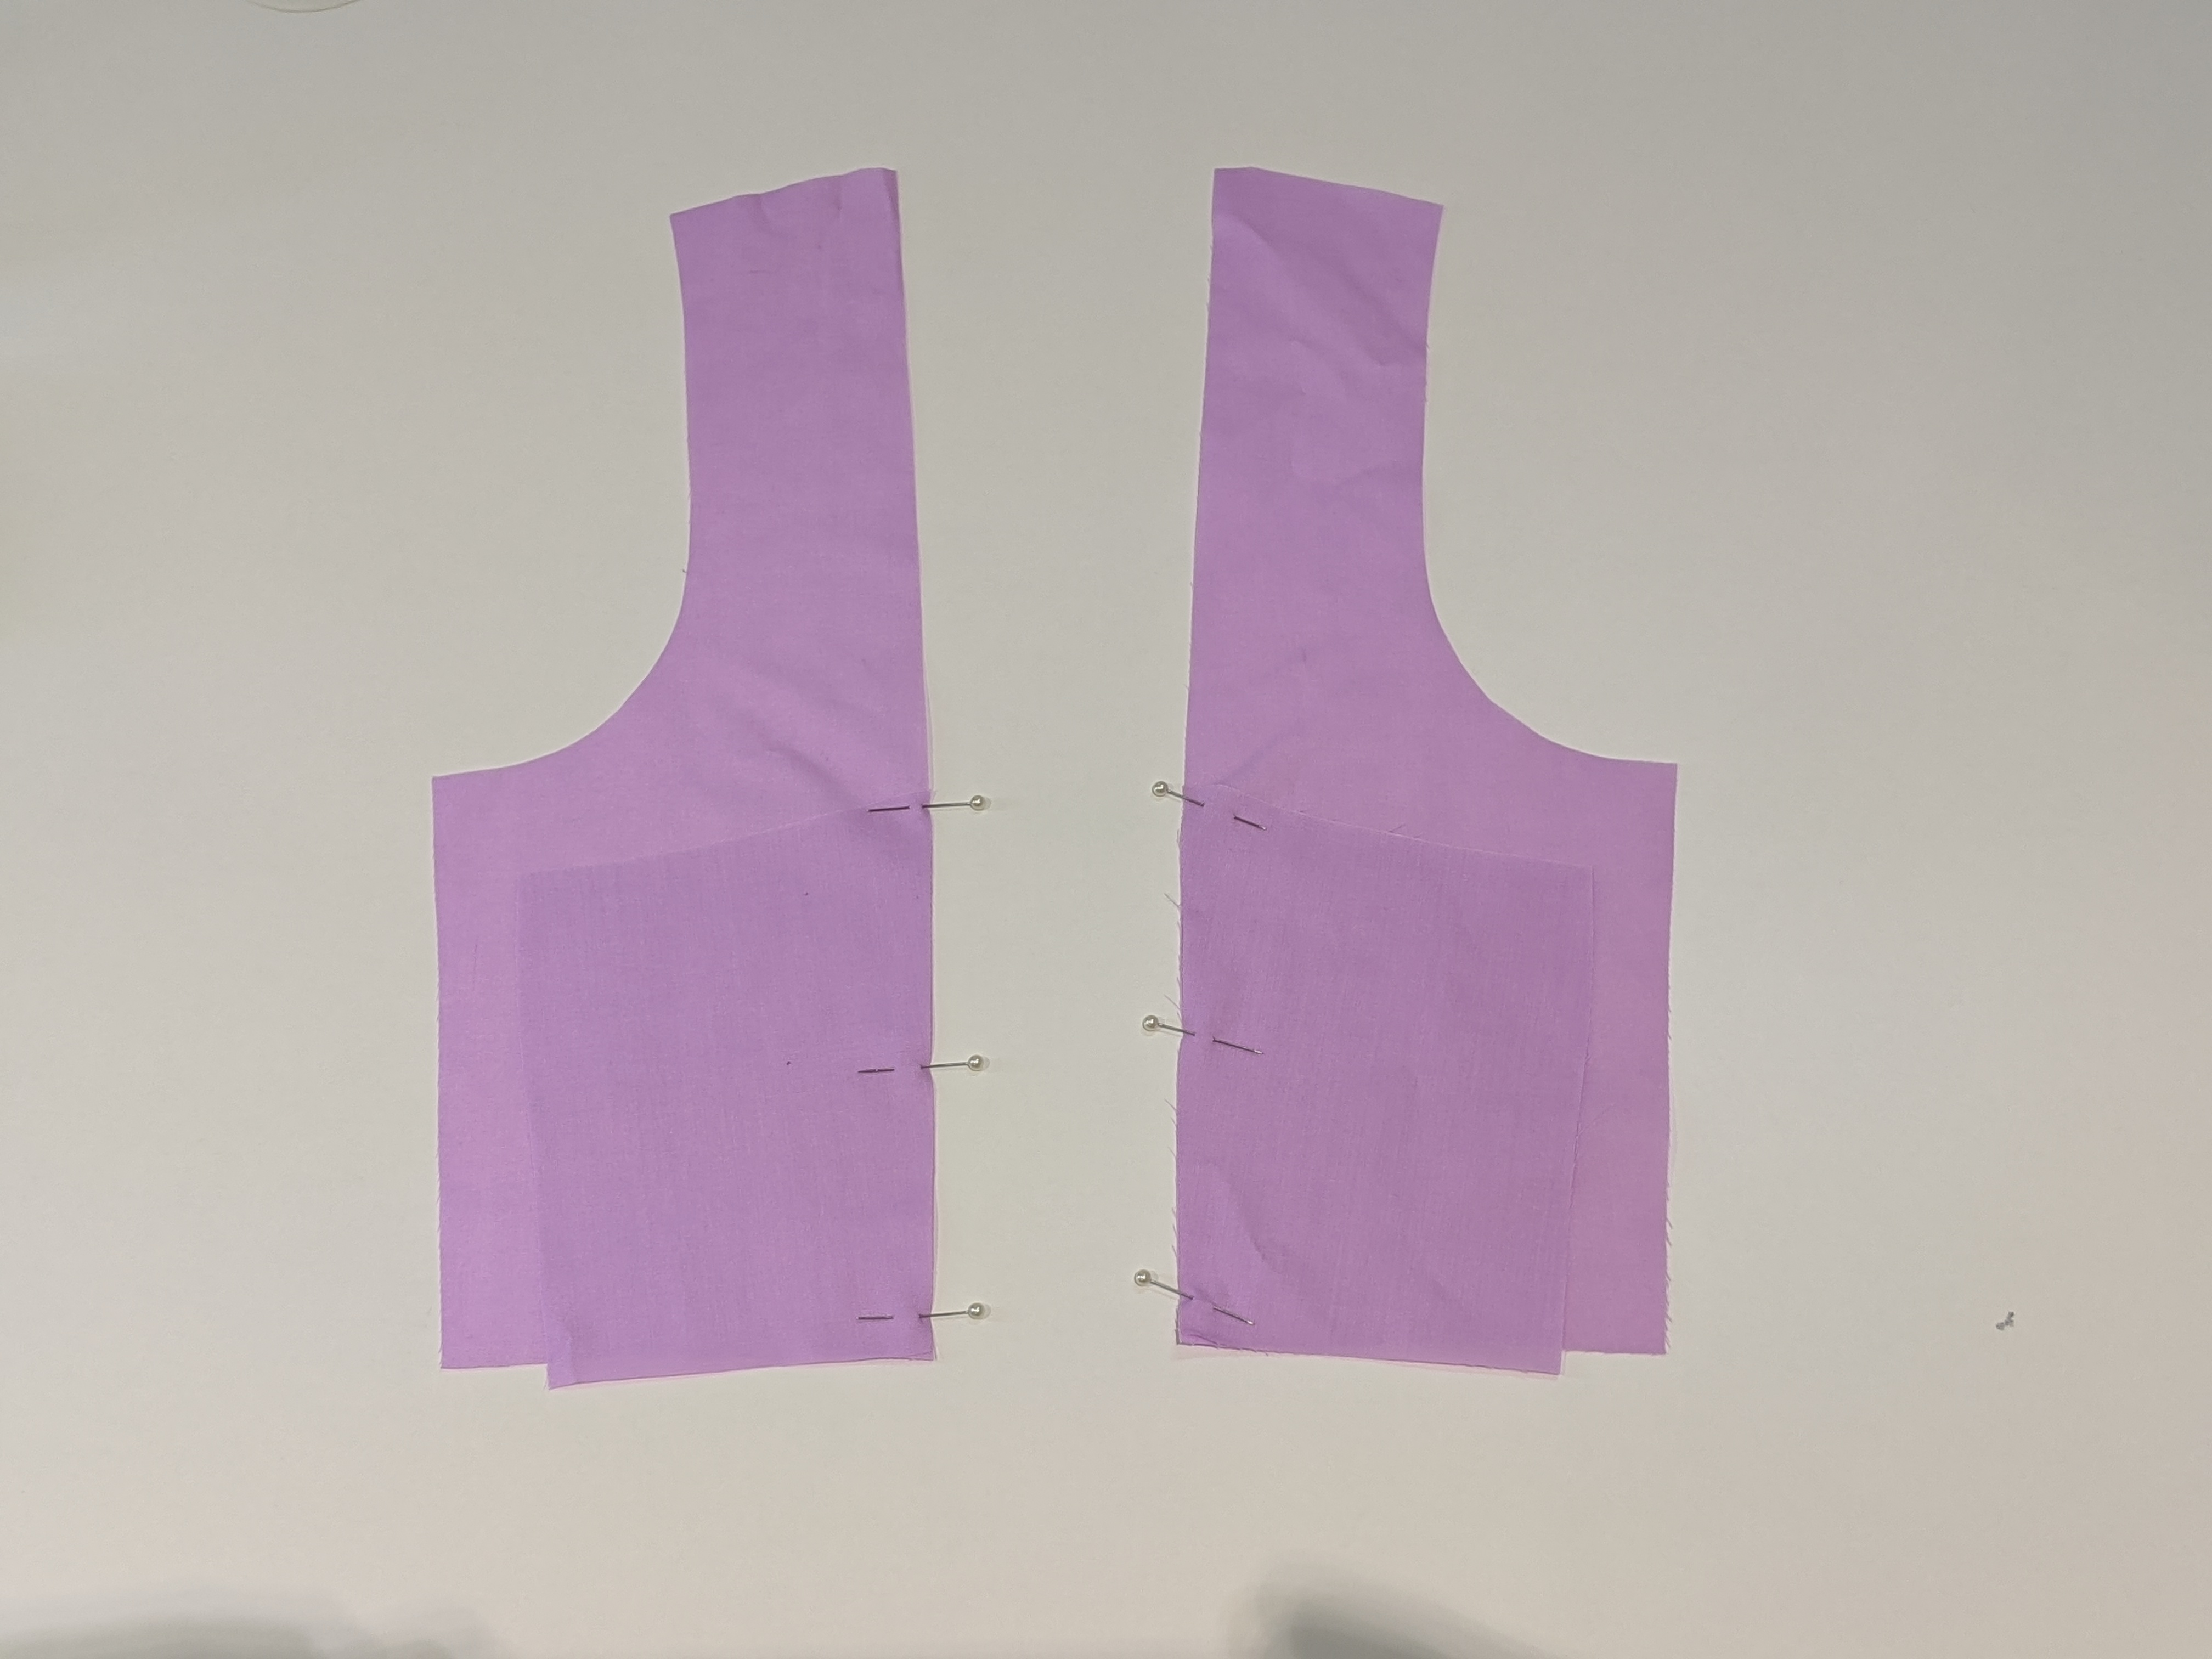
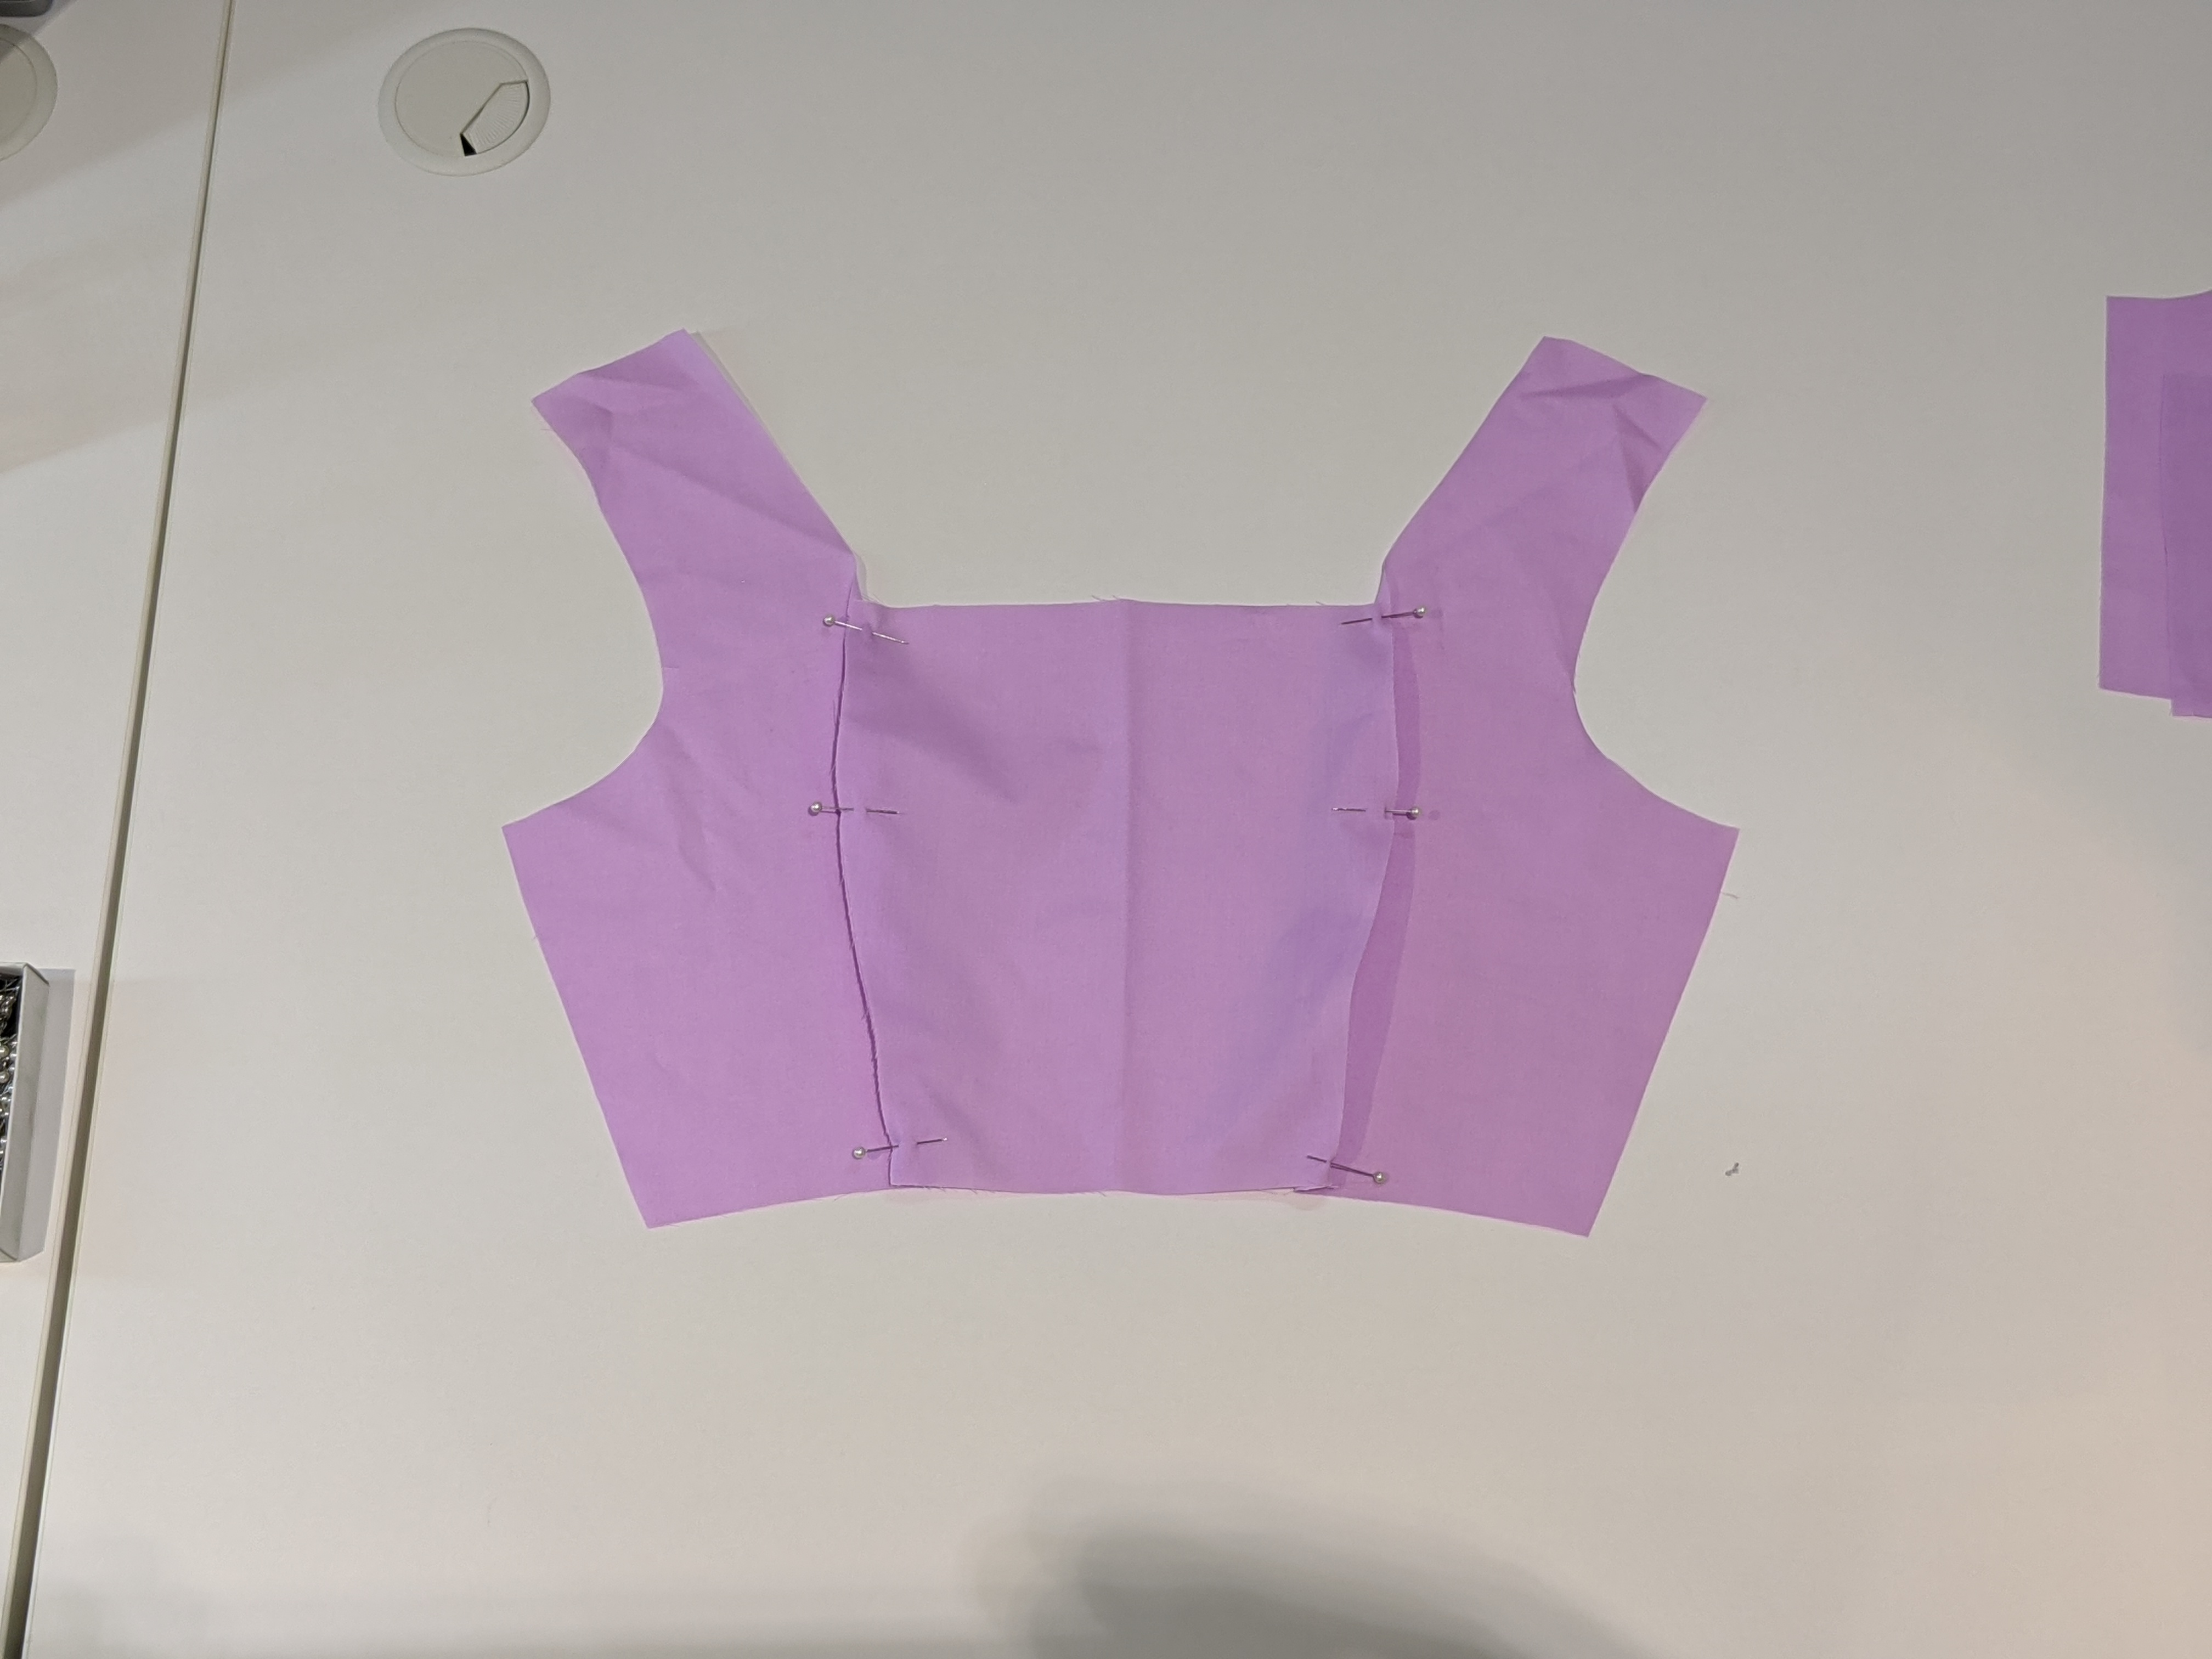
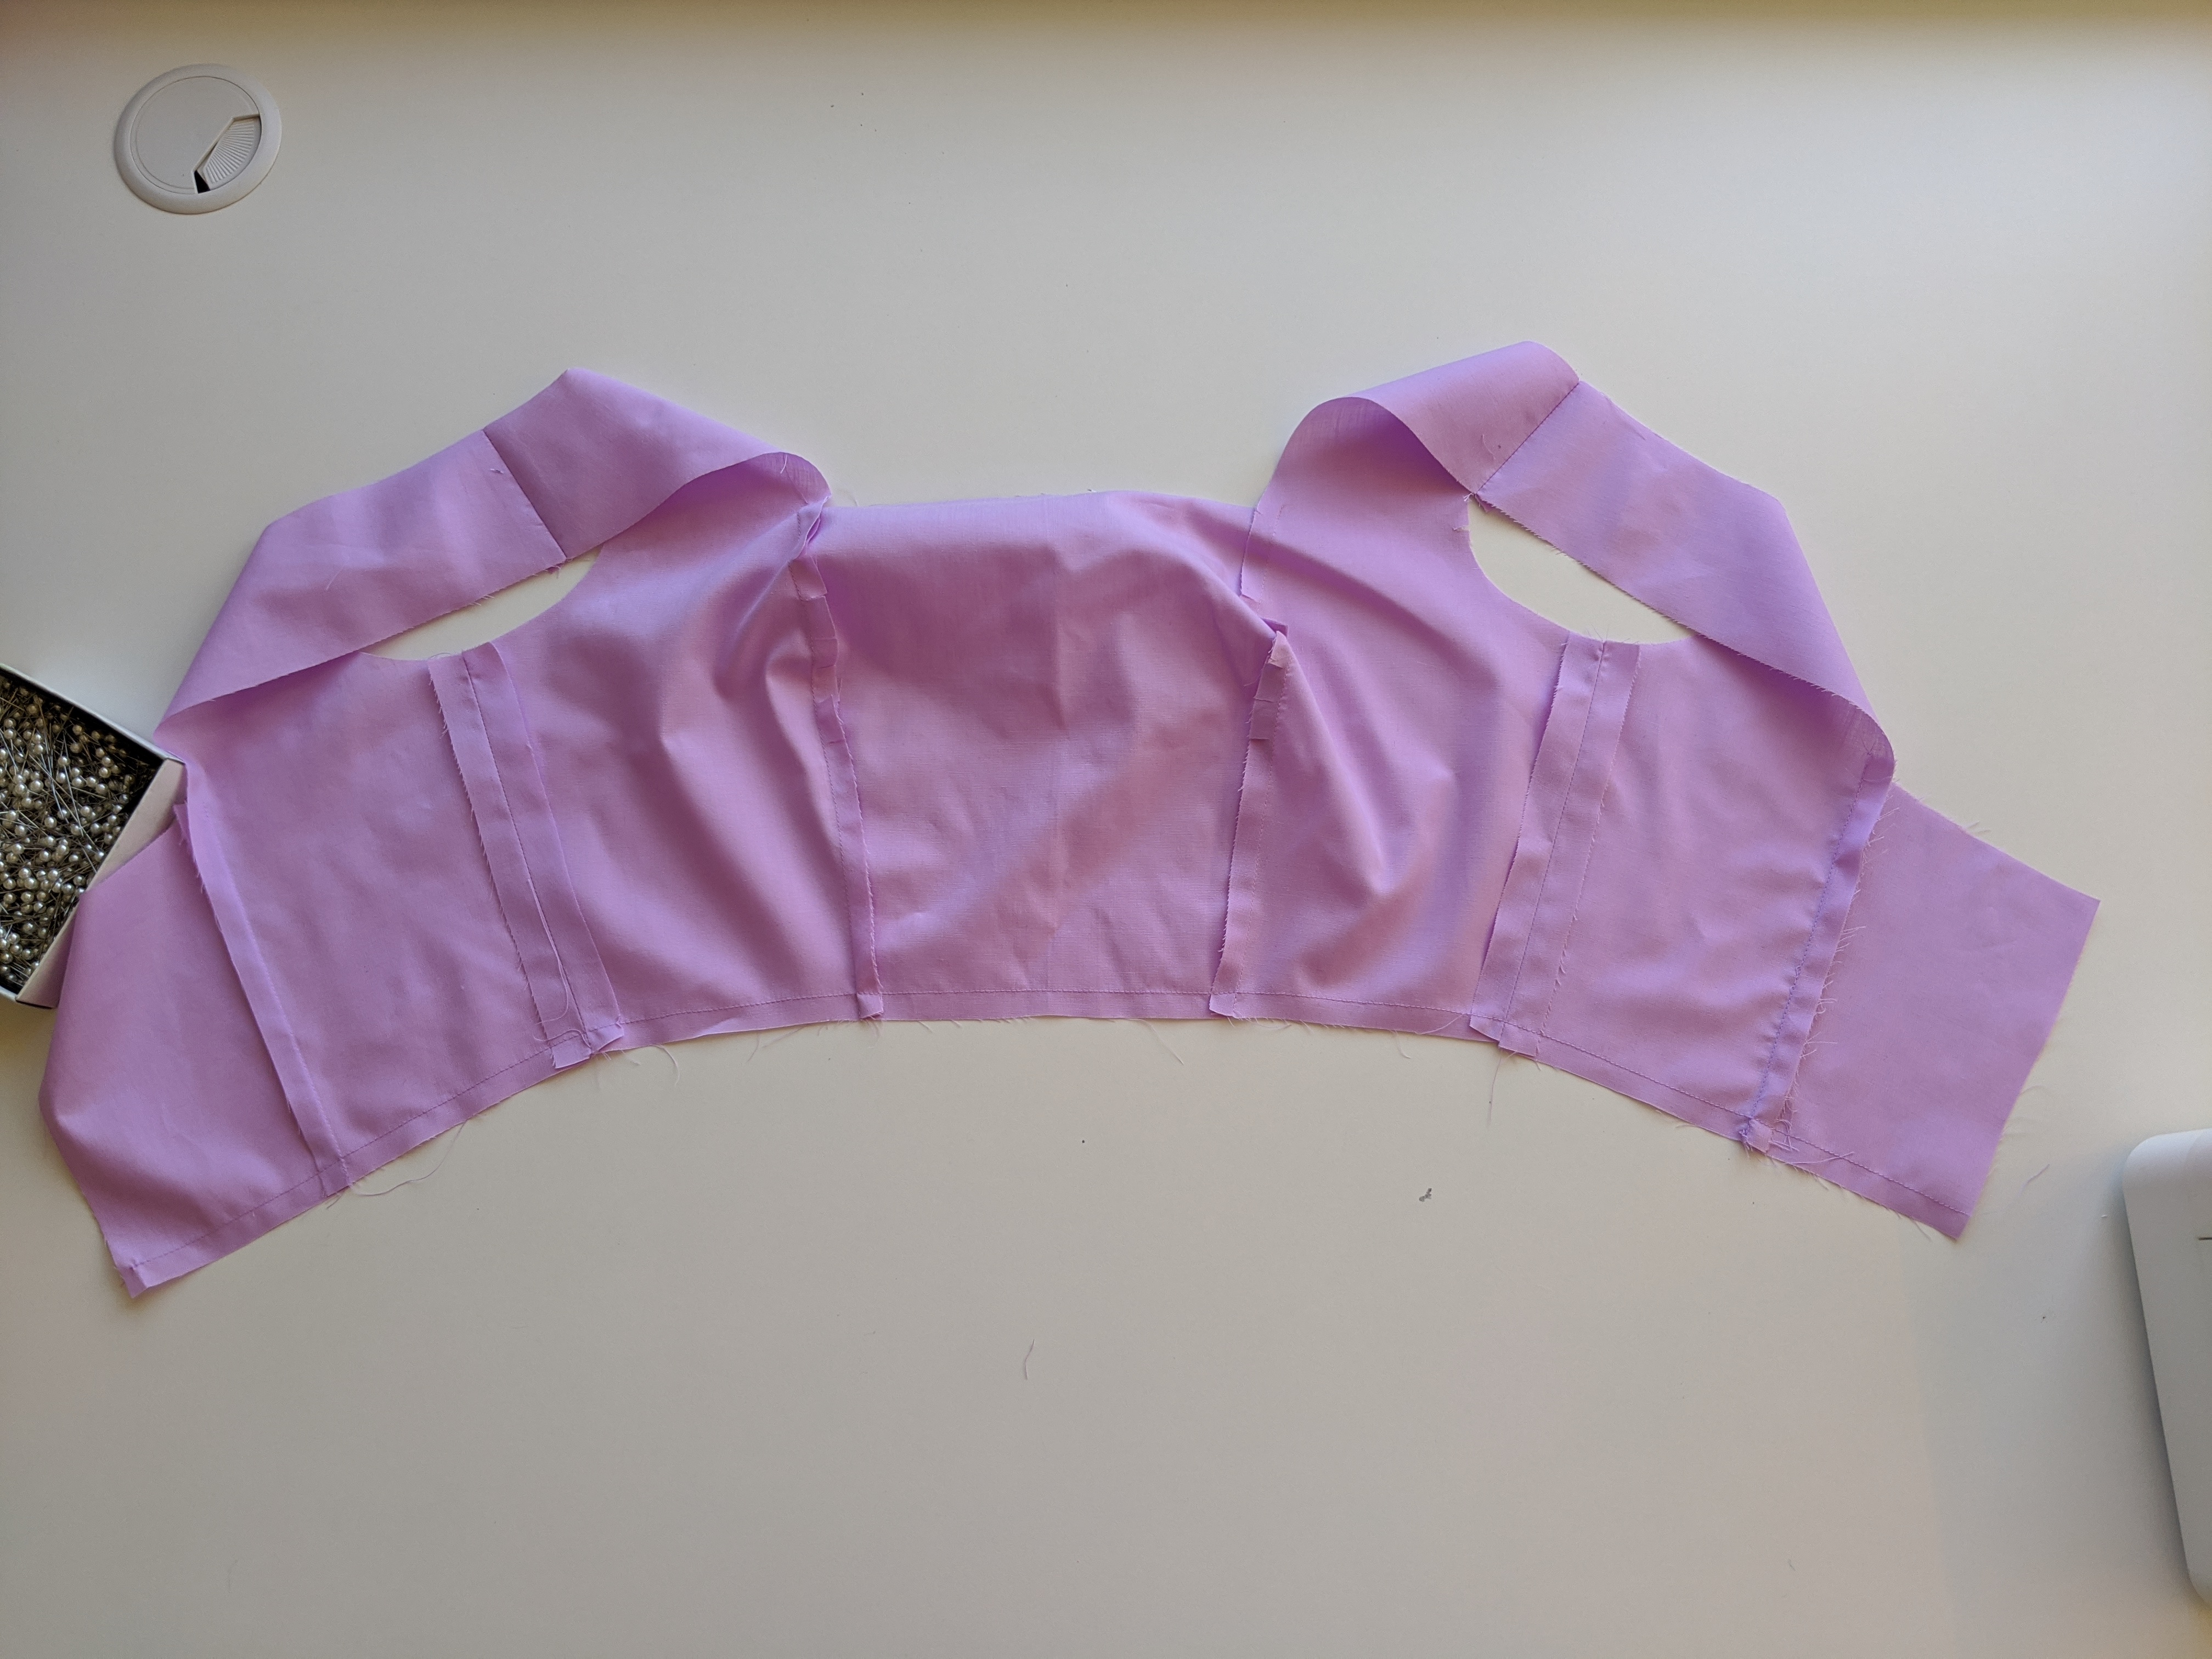
Take lining pieces of the bodice and pin the front panel seams right side together and stitch closed. Press seams inwards then repeat on the back panel seams.
Step 3
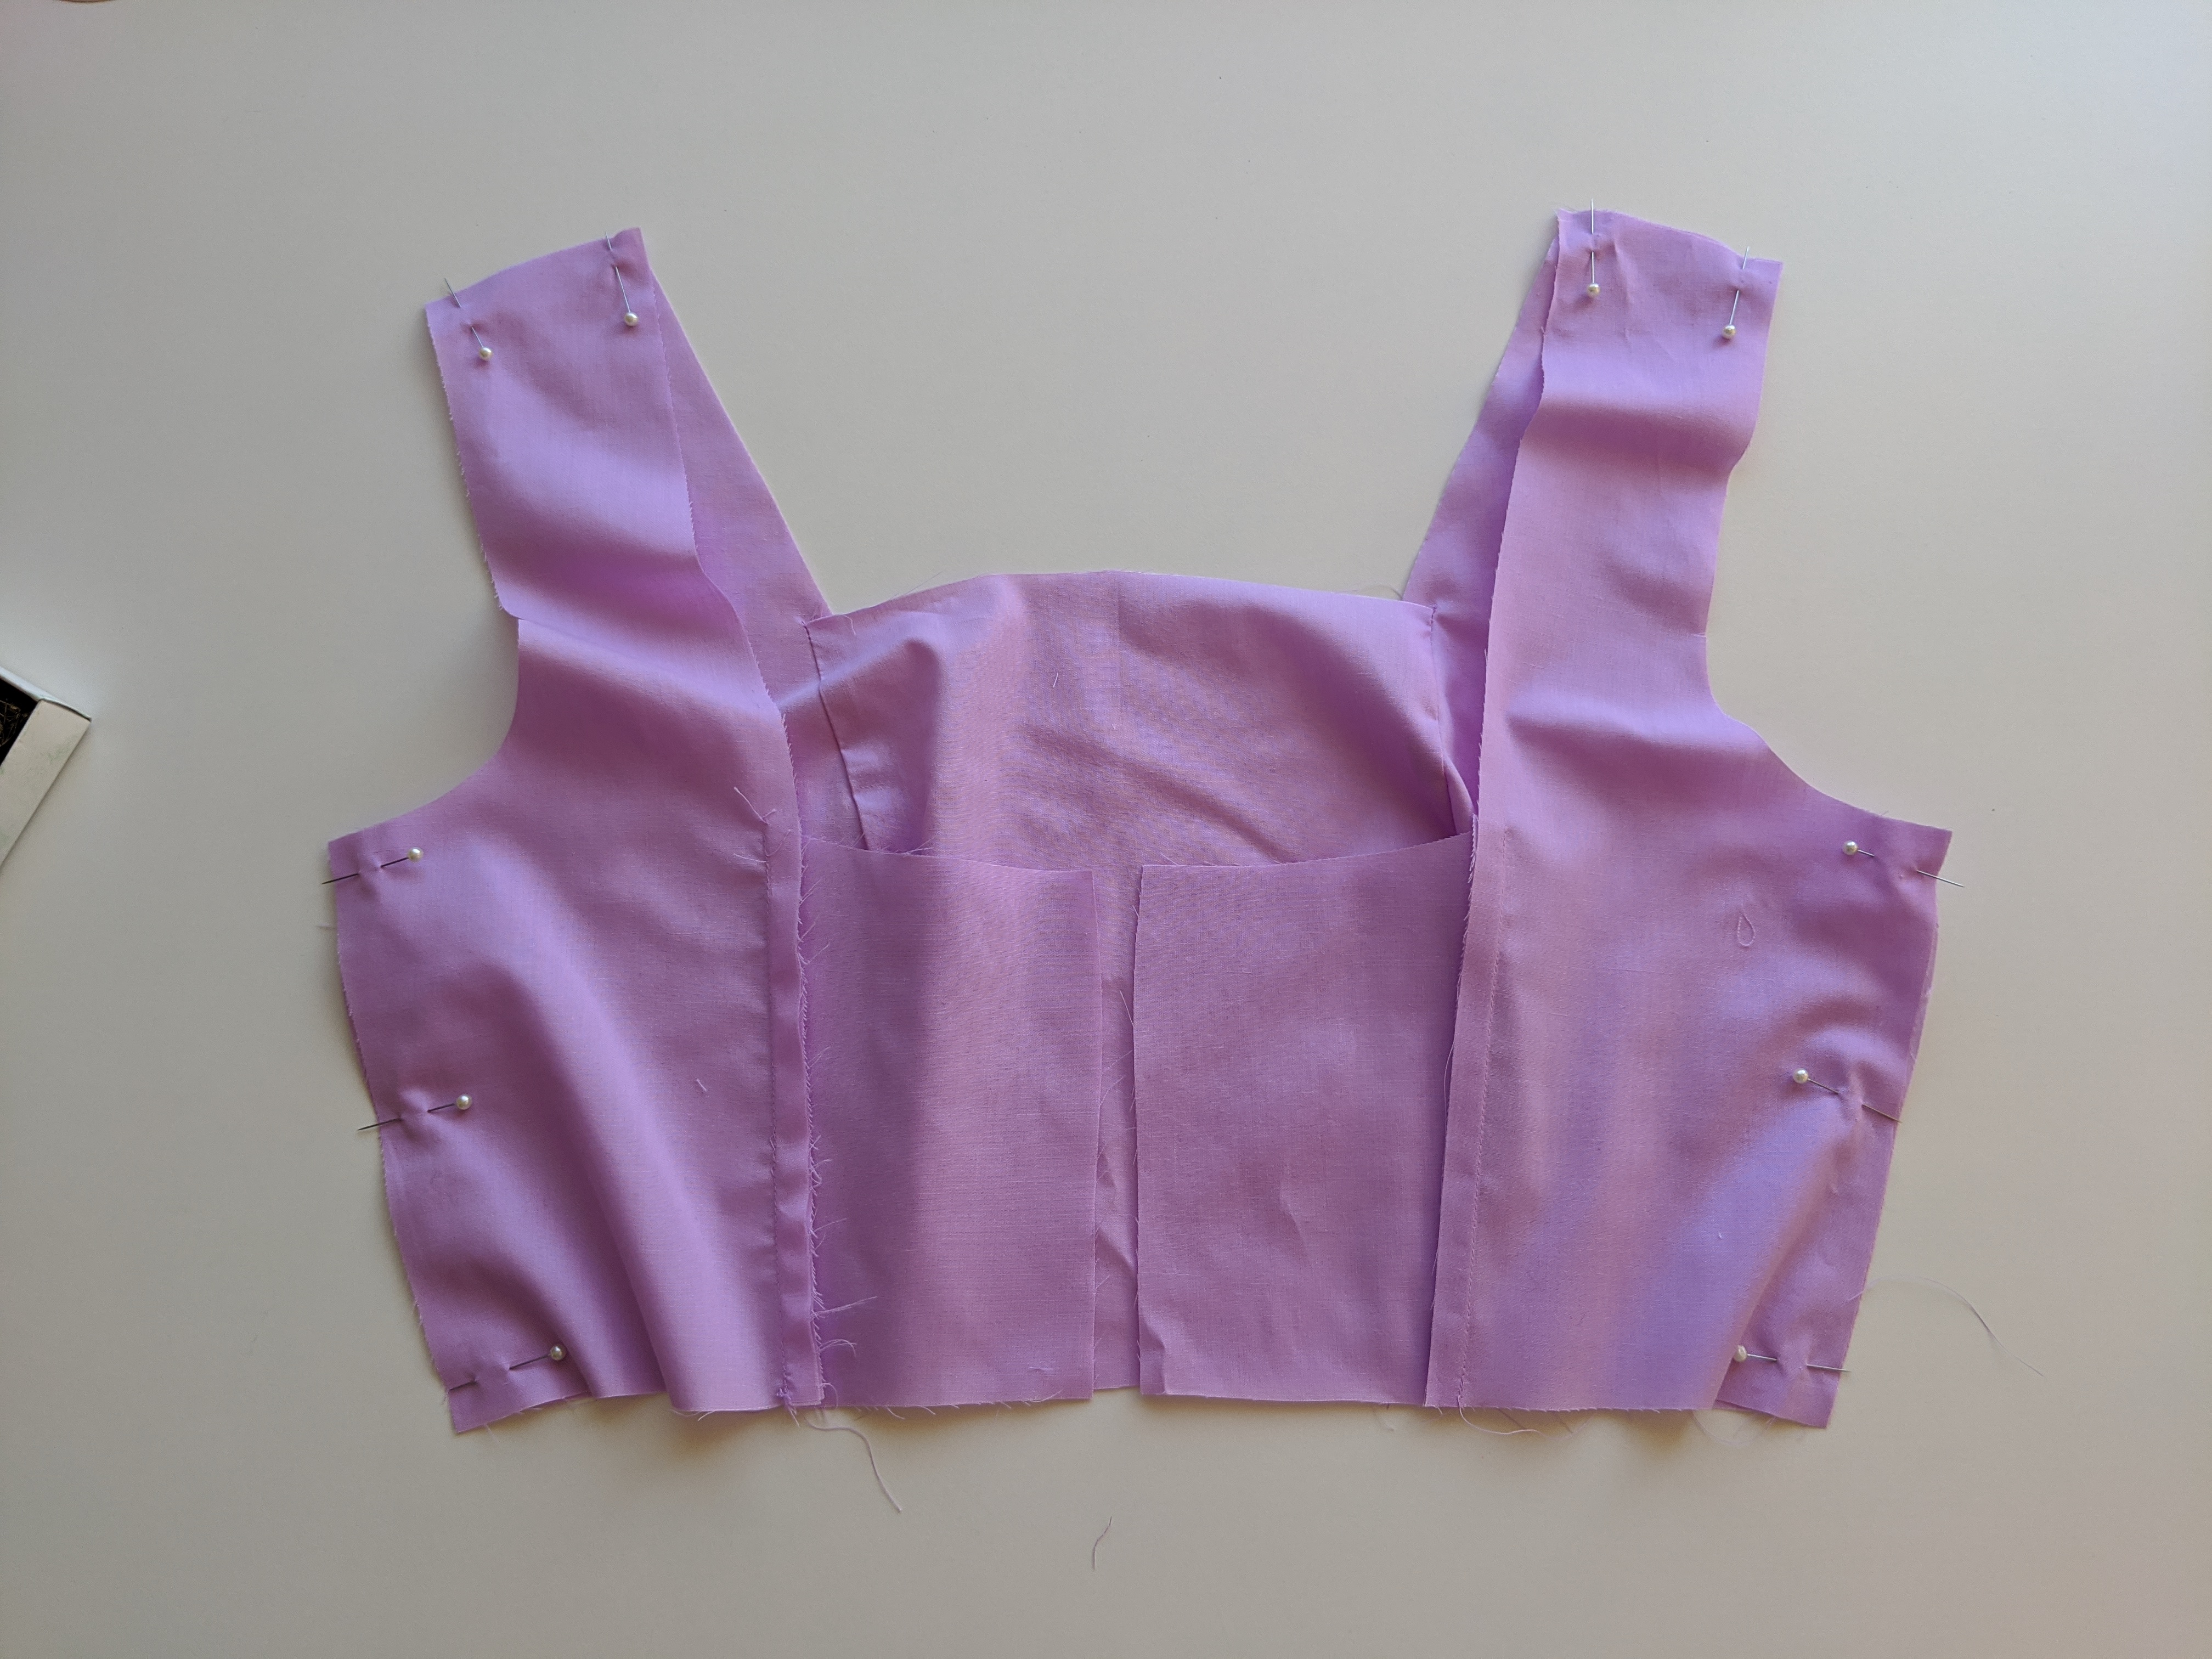
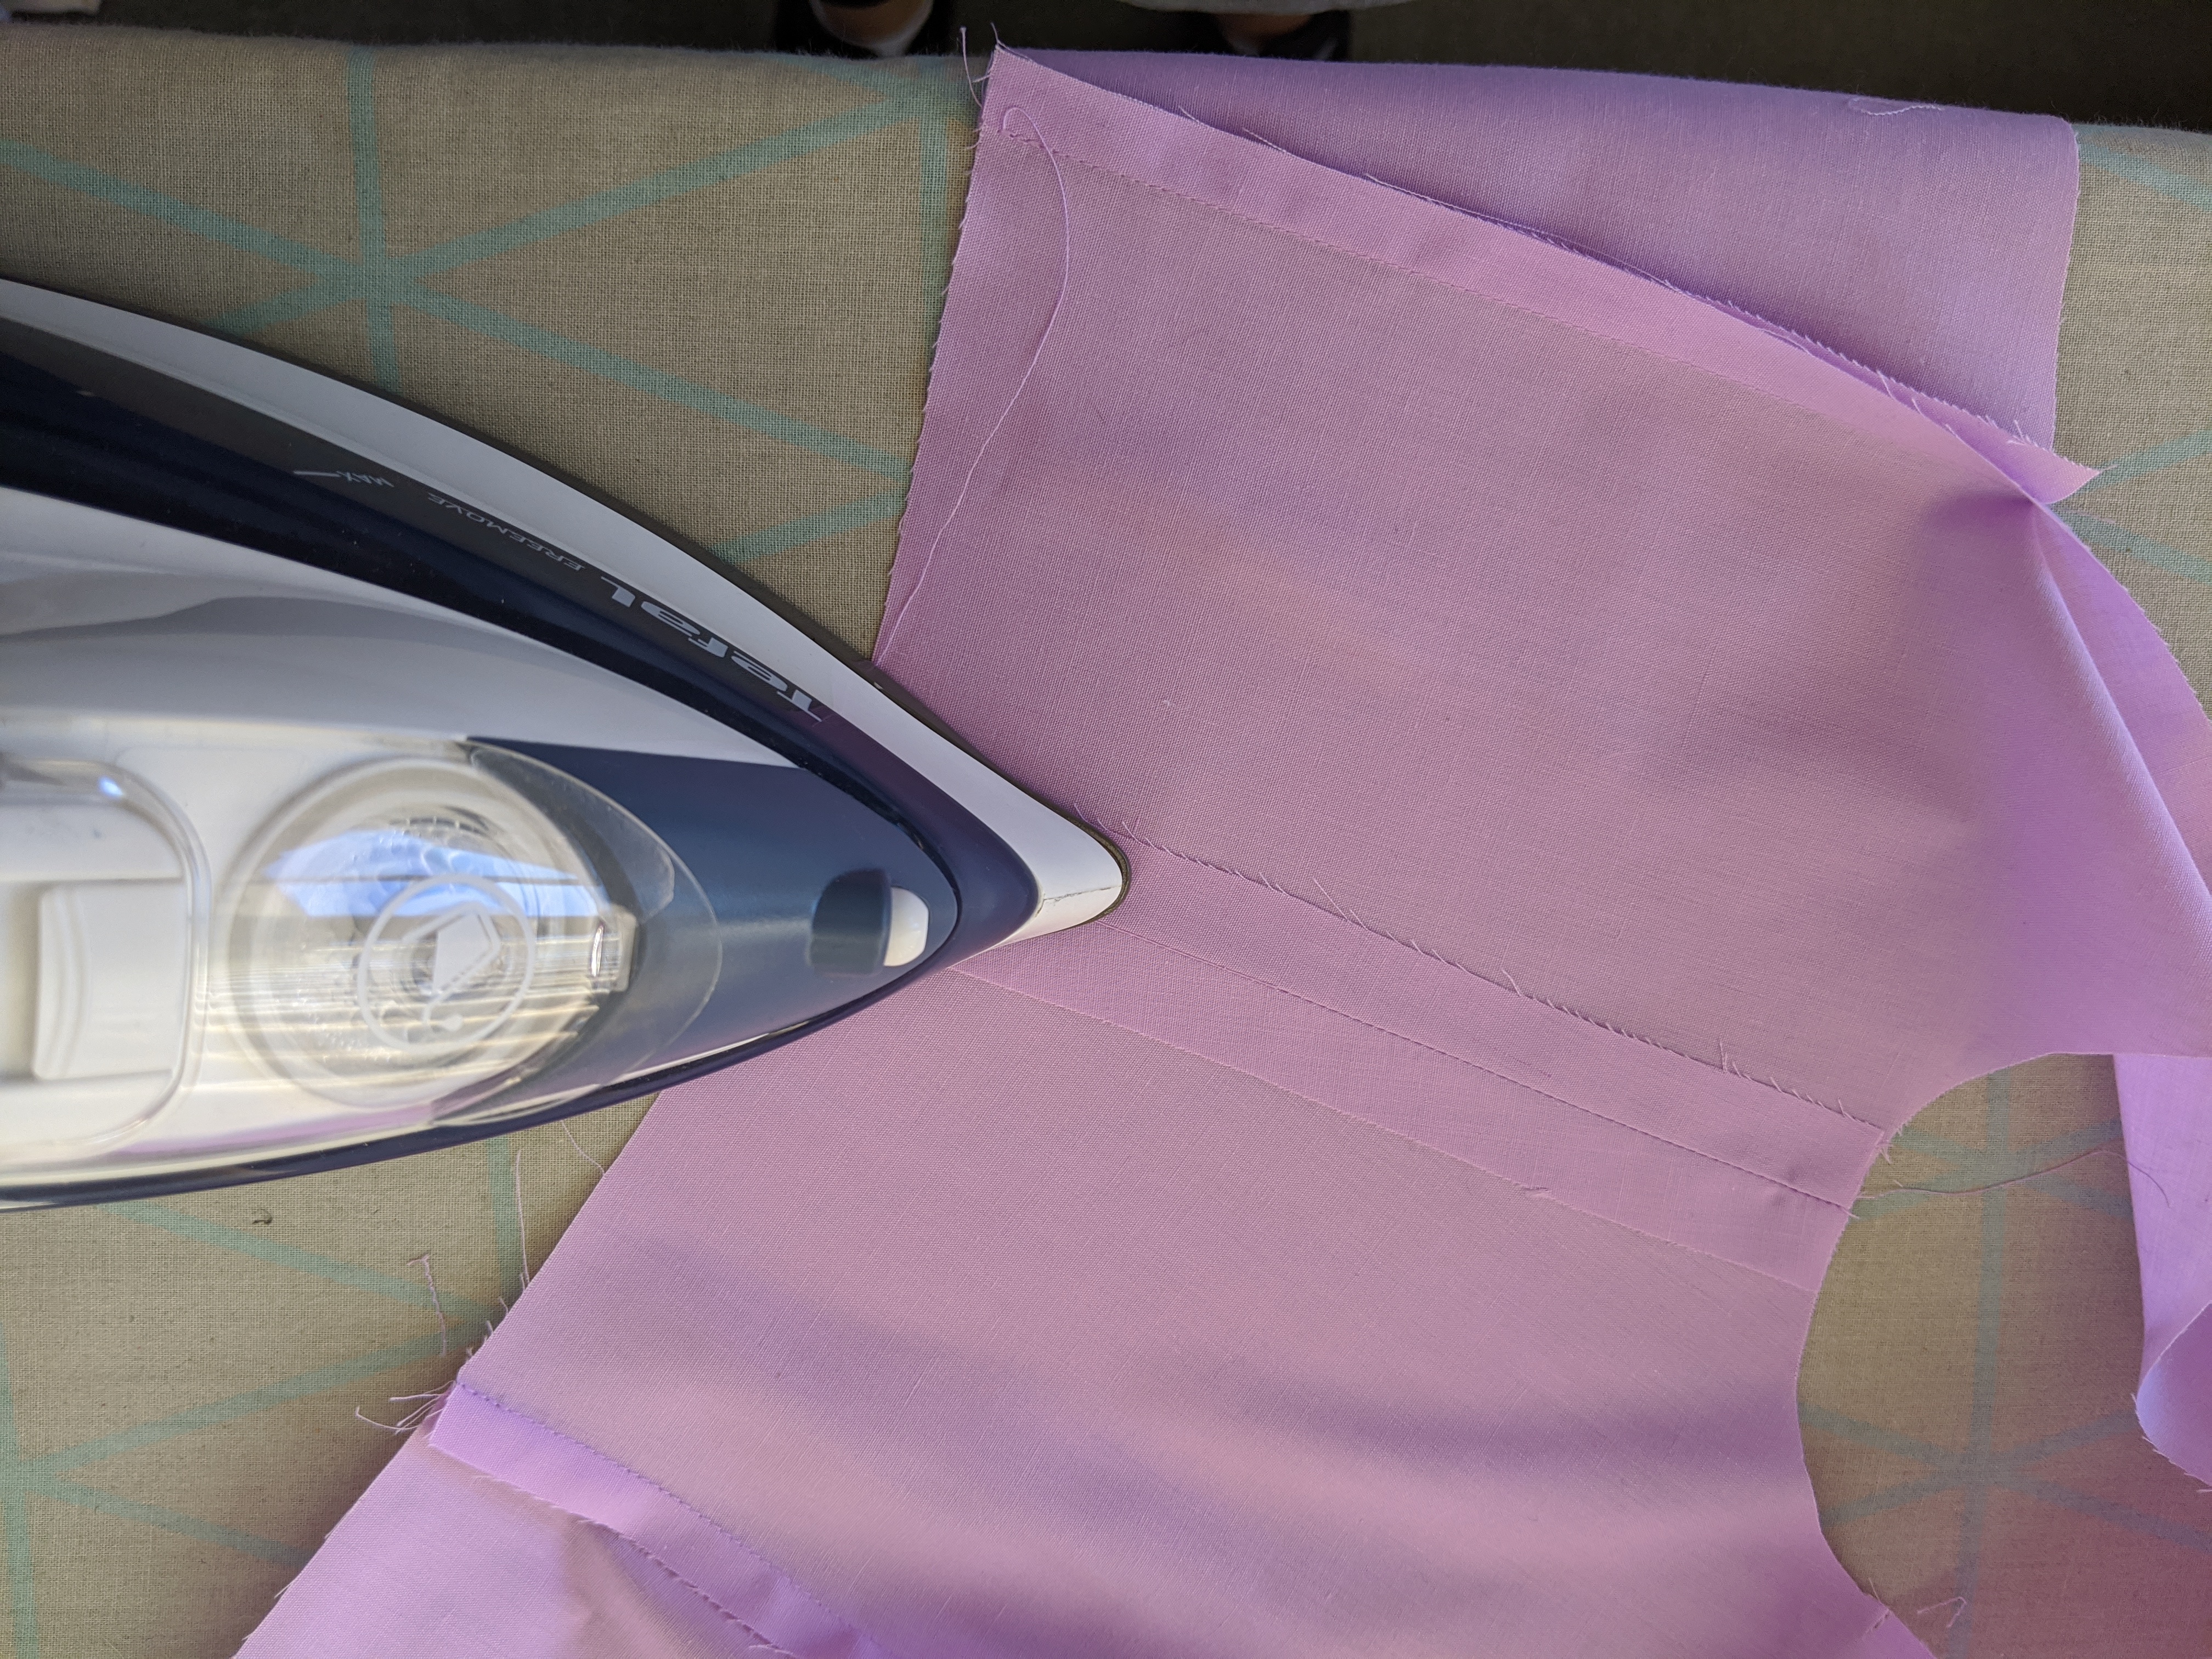
Pin side seams and shoulder seams right sides together and stitch them closed. Press seams open. Overlock raw edges if your fabric frays easily.
Step 4
Sew a marking stitch (long stitch length) 1cm from the hem edge, then fold up toward the wrong side of the fabric and press up. (this will help later for step 26)
Step 5
Repeat steps 1-3 but on the main fabric pieces.
Step 6
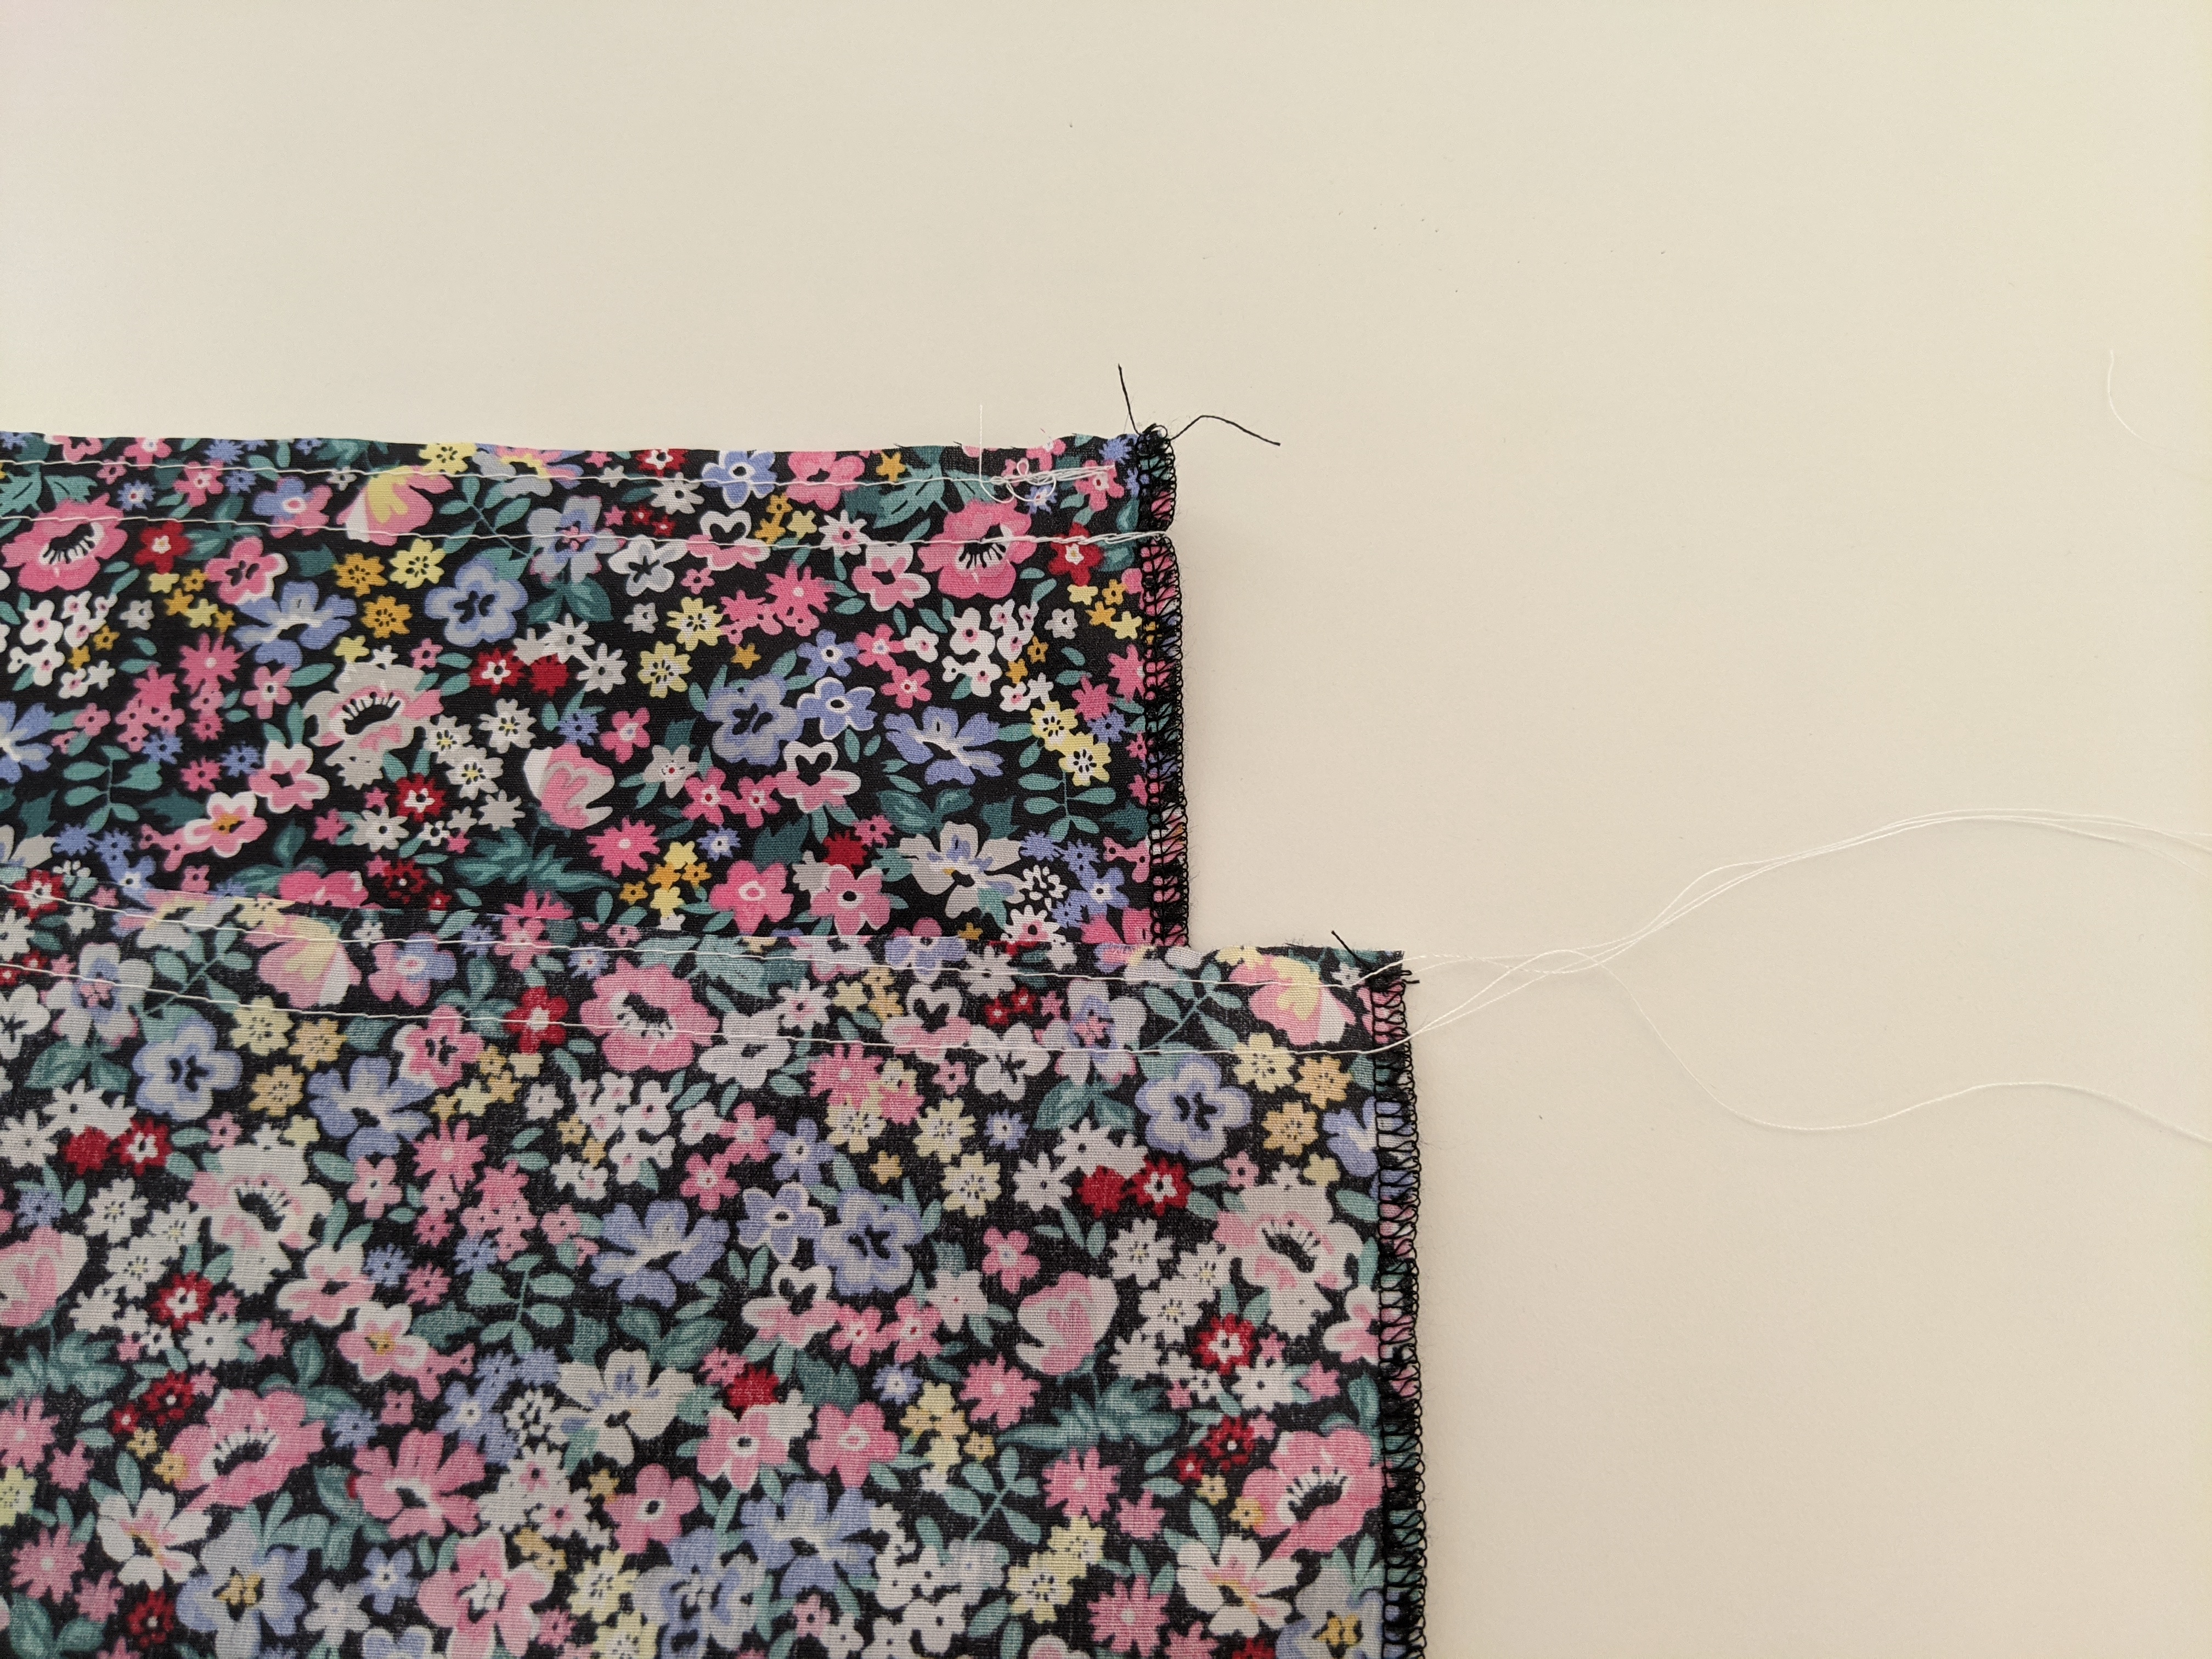
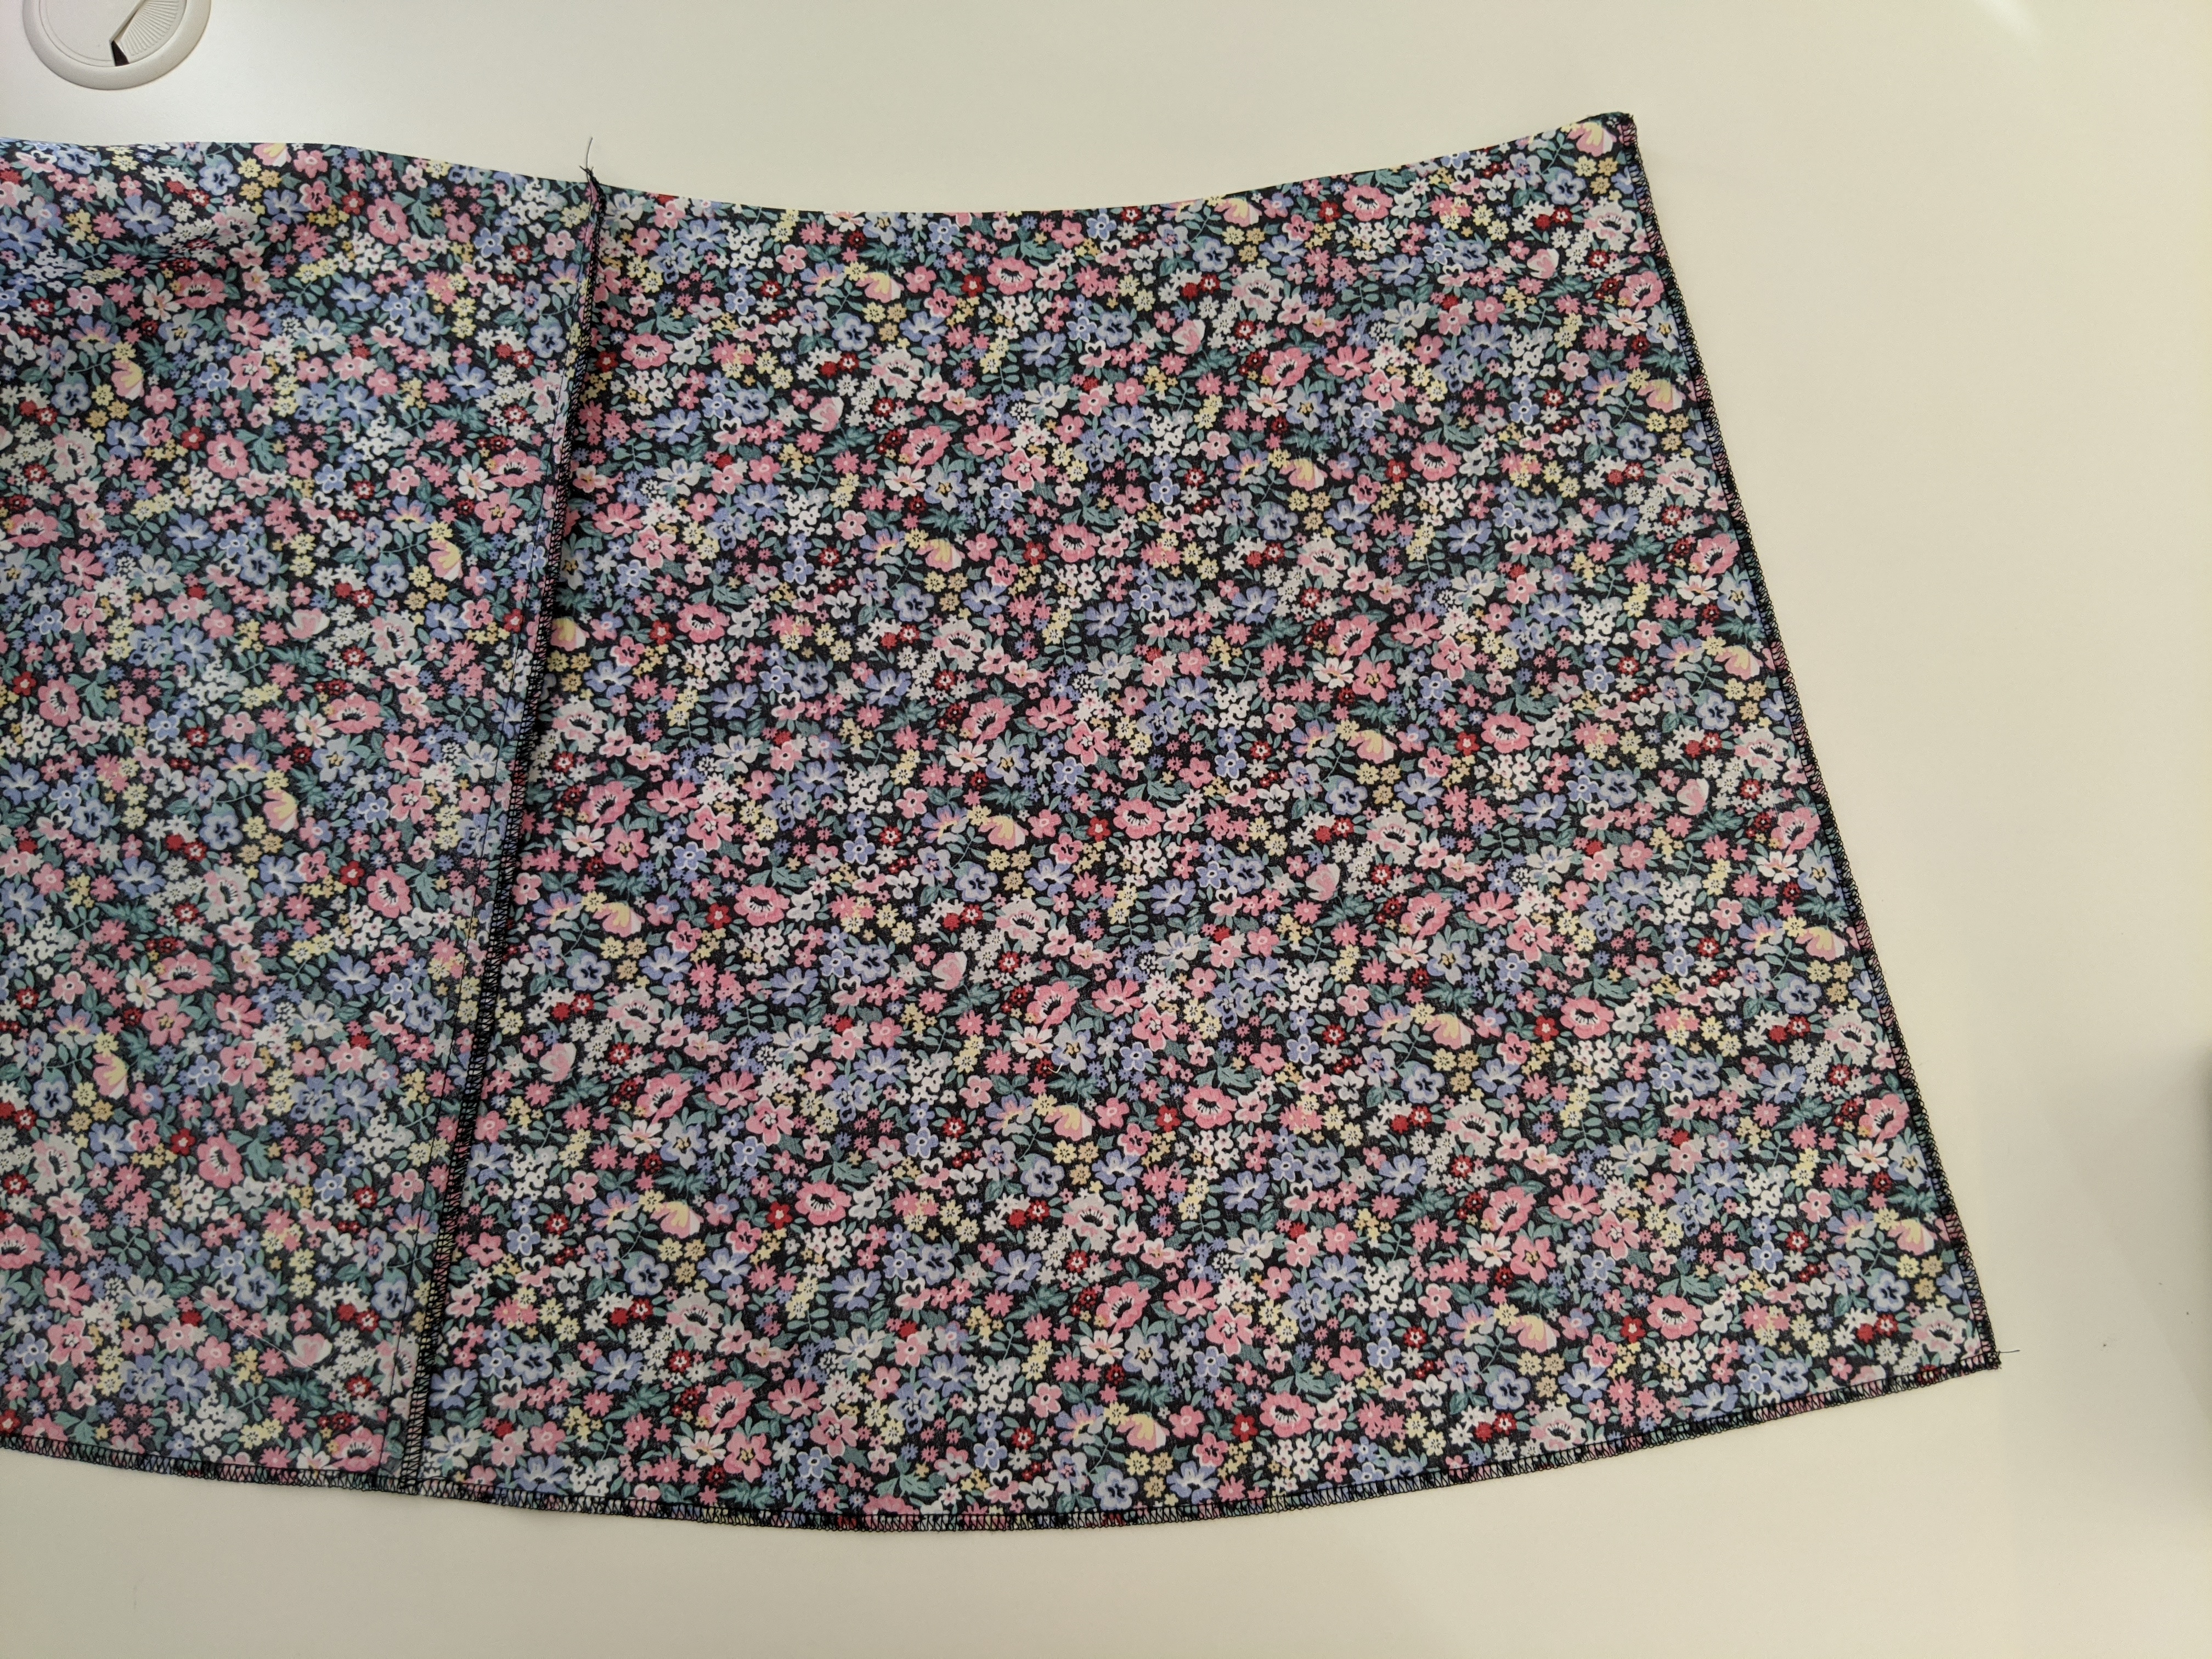
Picking up the skirt pieces, pin the side seams together of front and back, right sides together, overlock closed, and press back. Also, overlock center back edges on each side.
Step 7
Next, use the largest stitch your machine has, stitch 6-7mm from the top edge of the skirt. Use a backstitch at the beginning and leave a long thread at the end. Repeat starting from the same end 5mm from the first stitch. These will be your gathering stitches.
Step 8
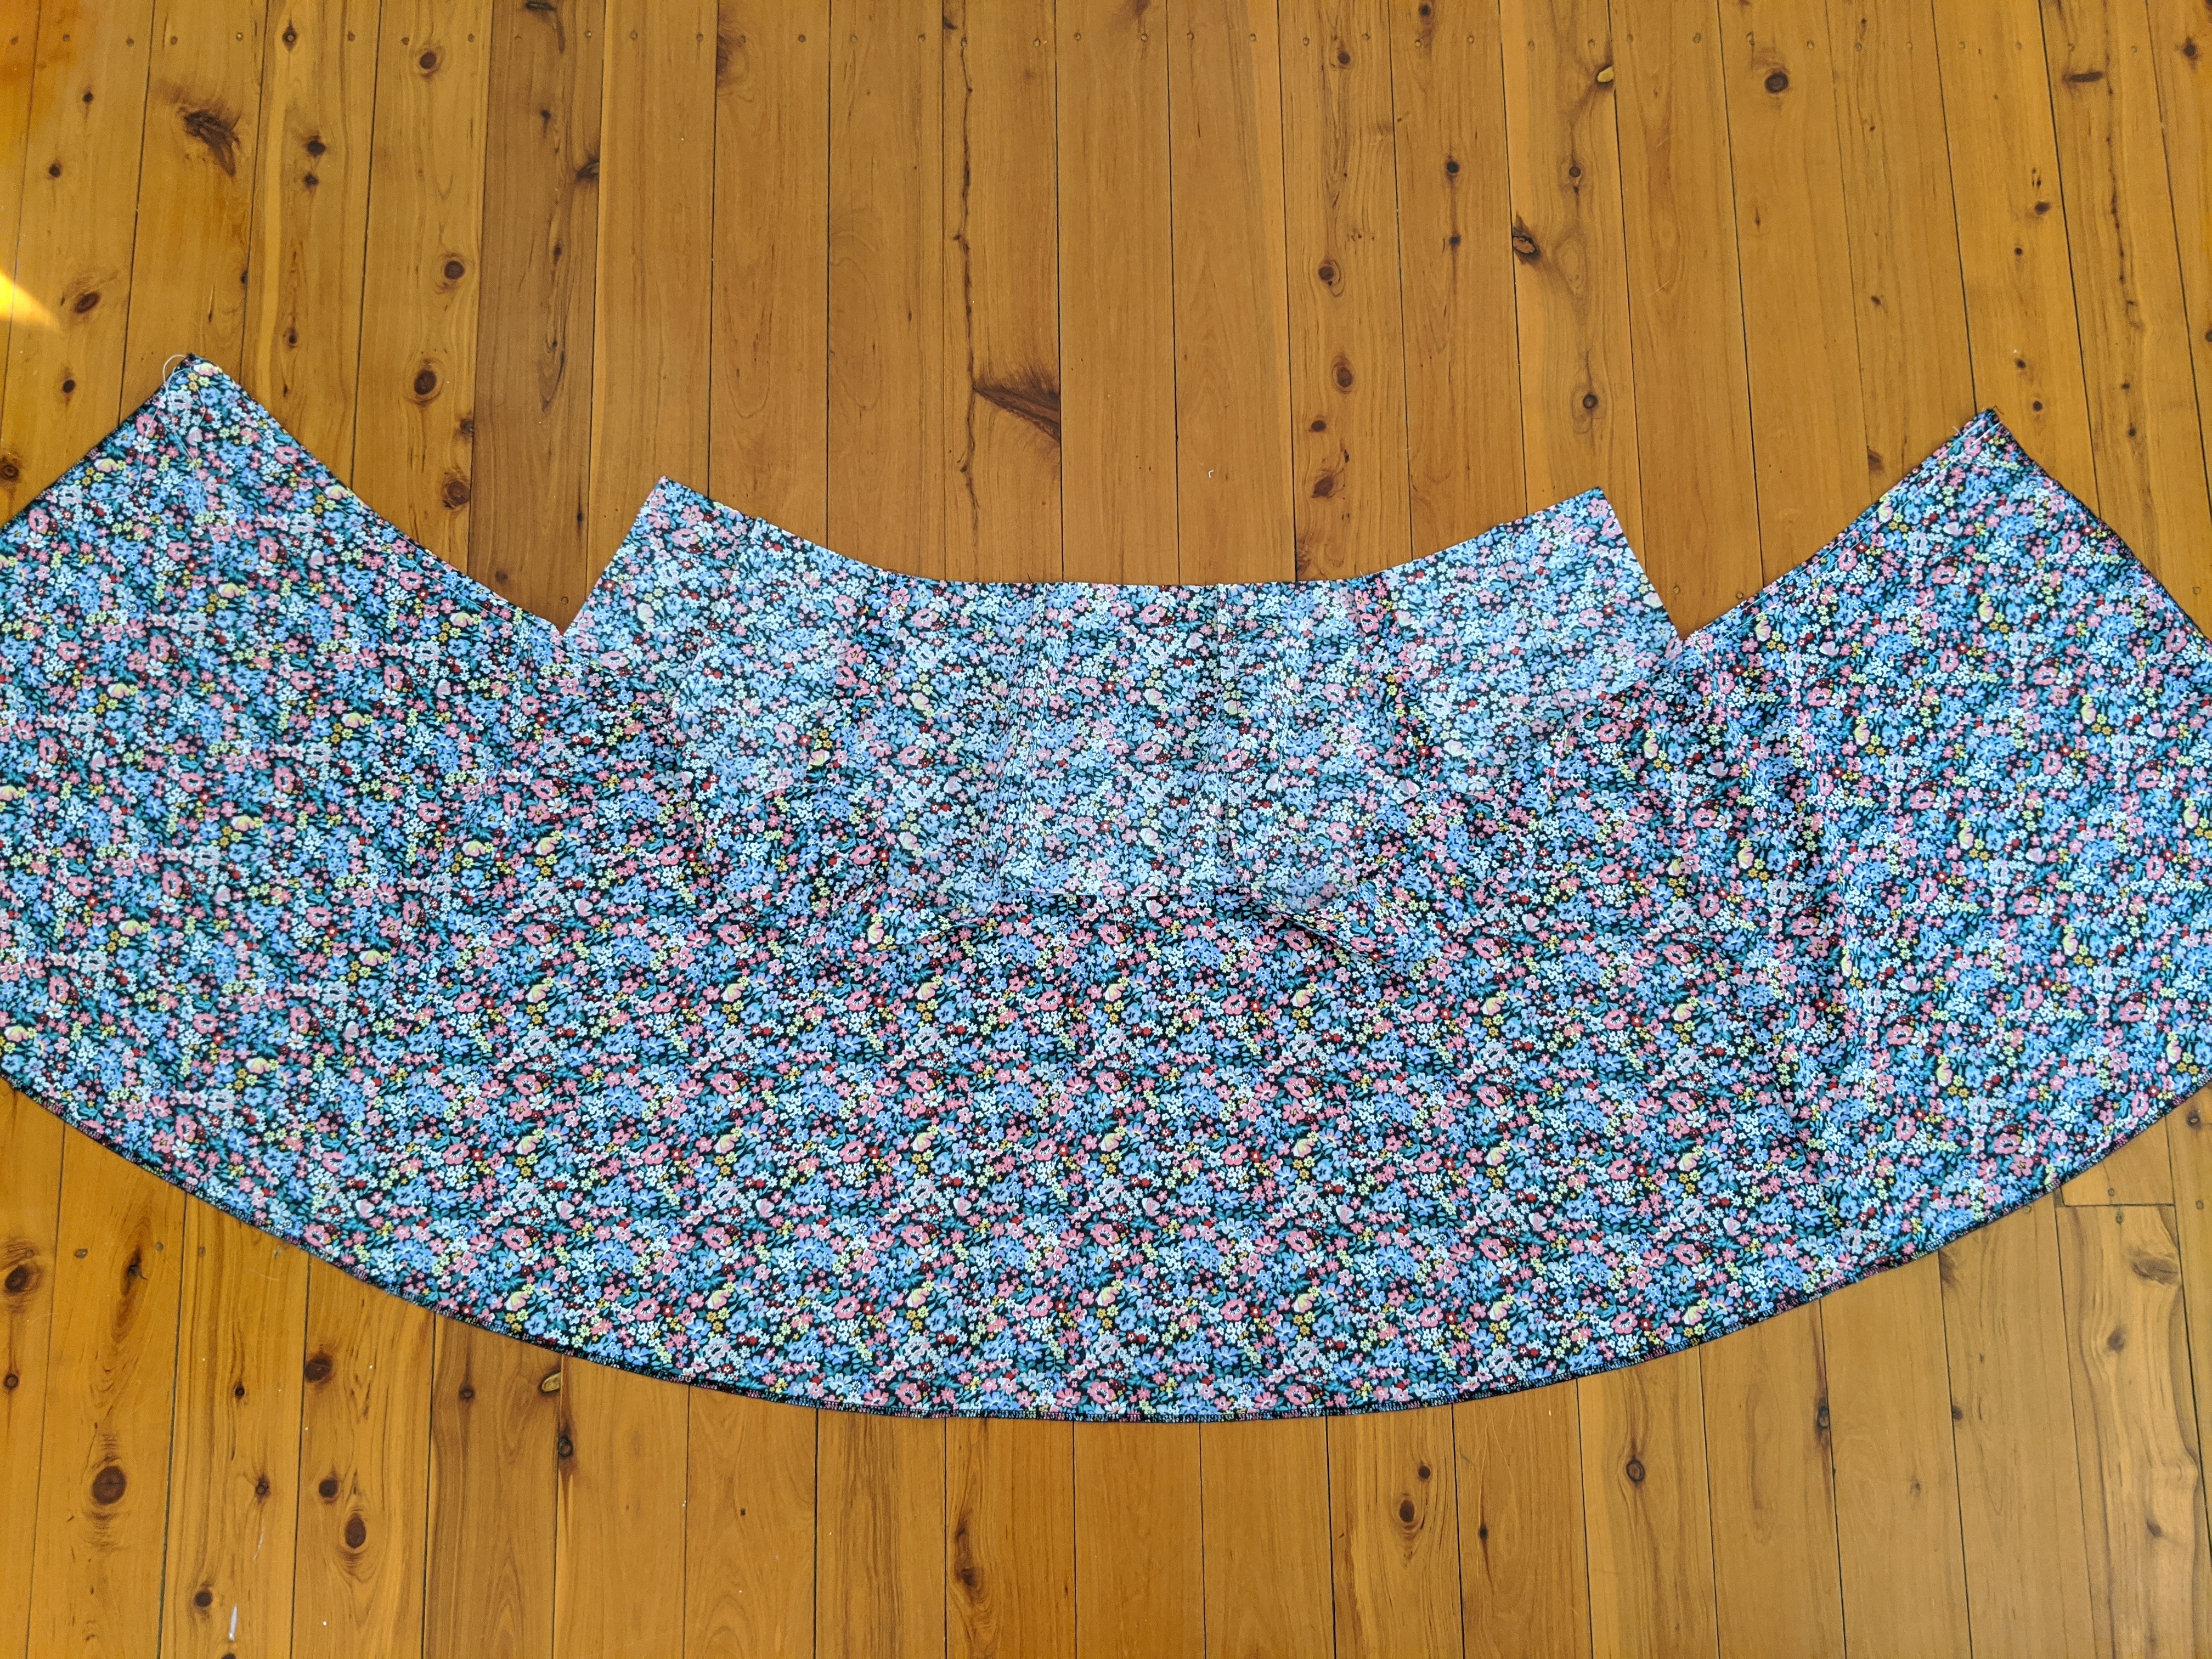
Once complete, pin the skirt to the main fabric side of the bodice right sides together at the center back and side seam junctions. Then pull the top threads to gather the fabric until it fits to the bodice.
Step 9
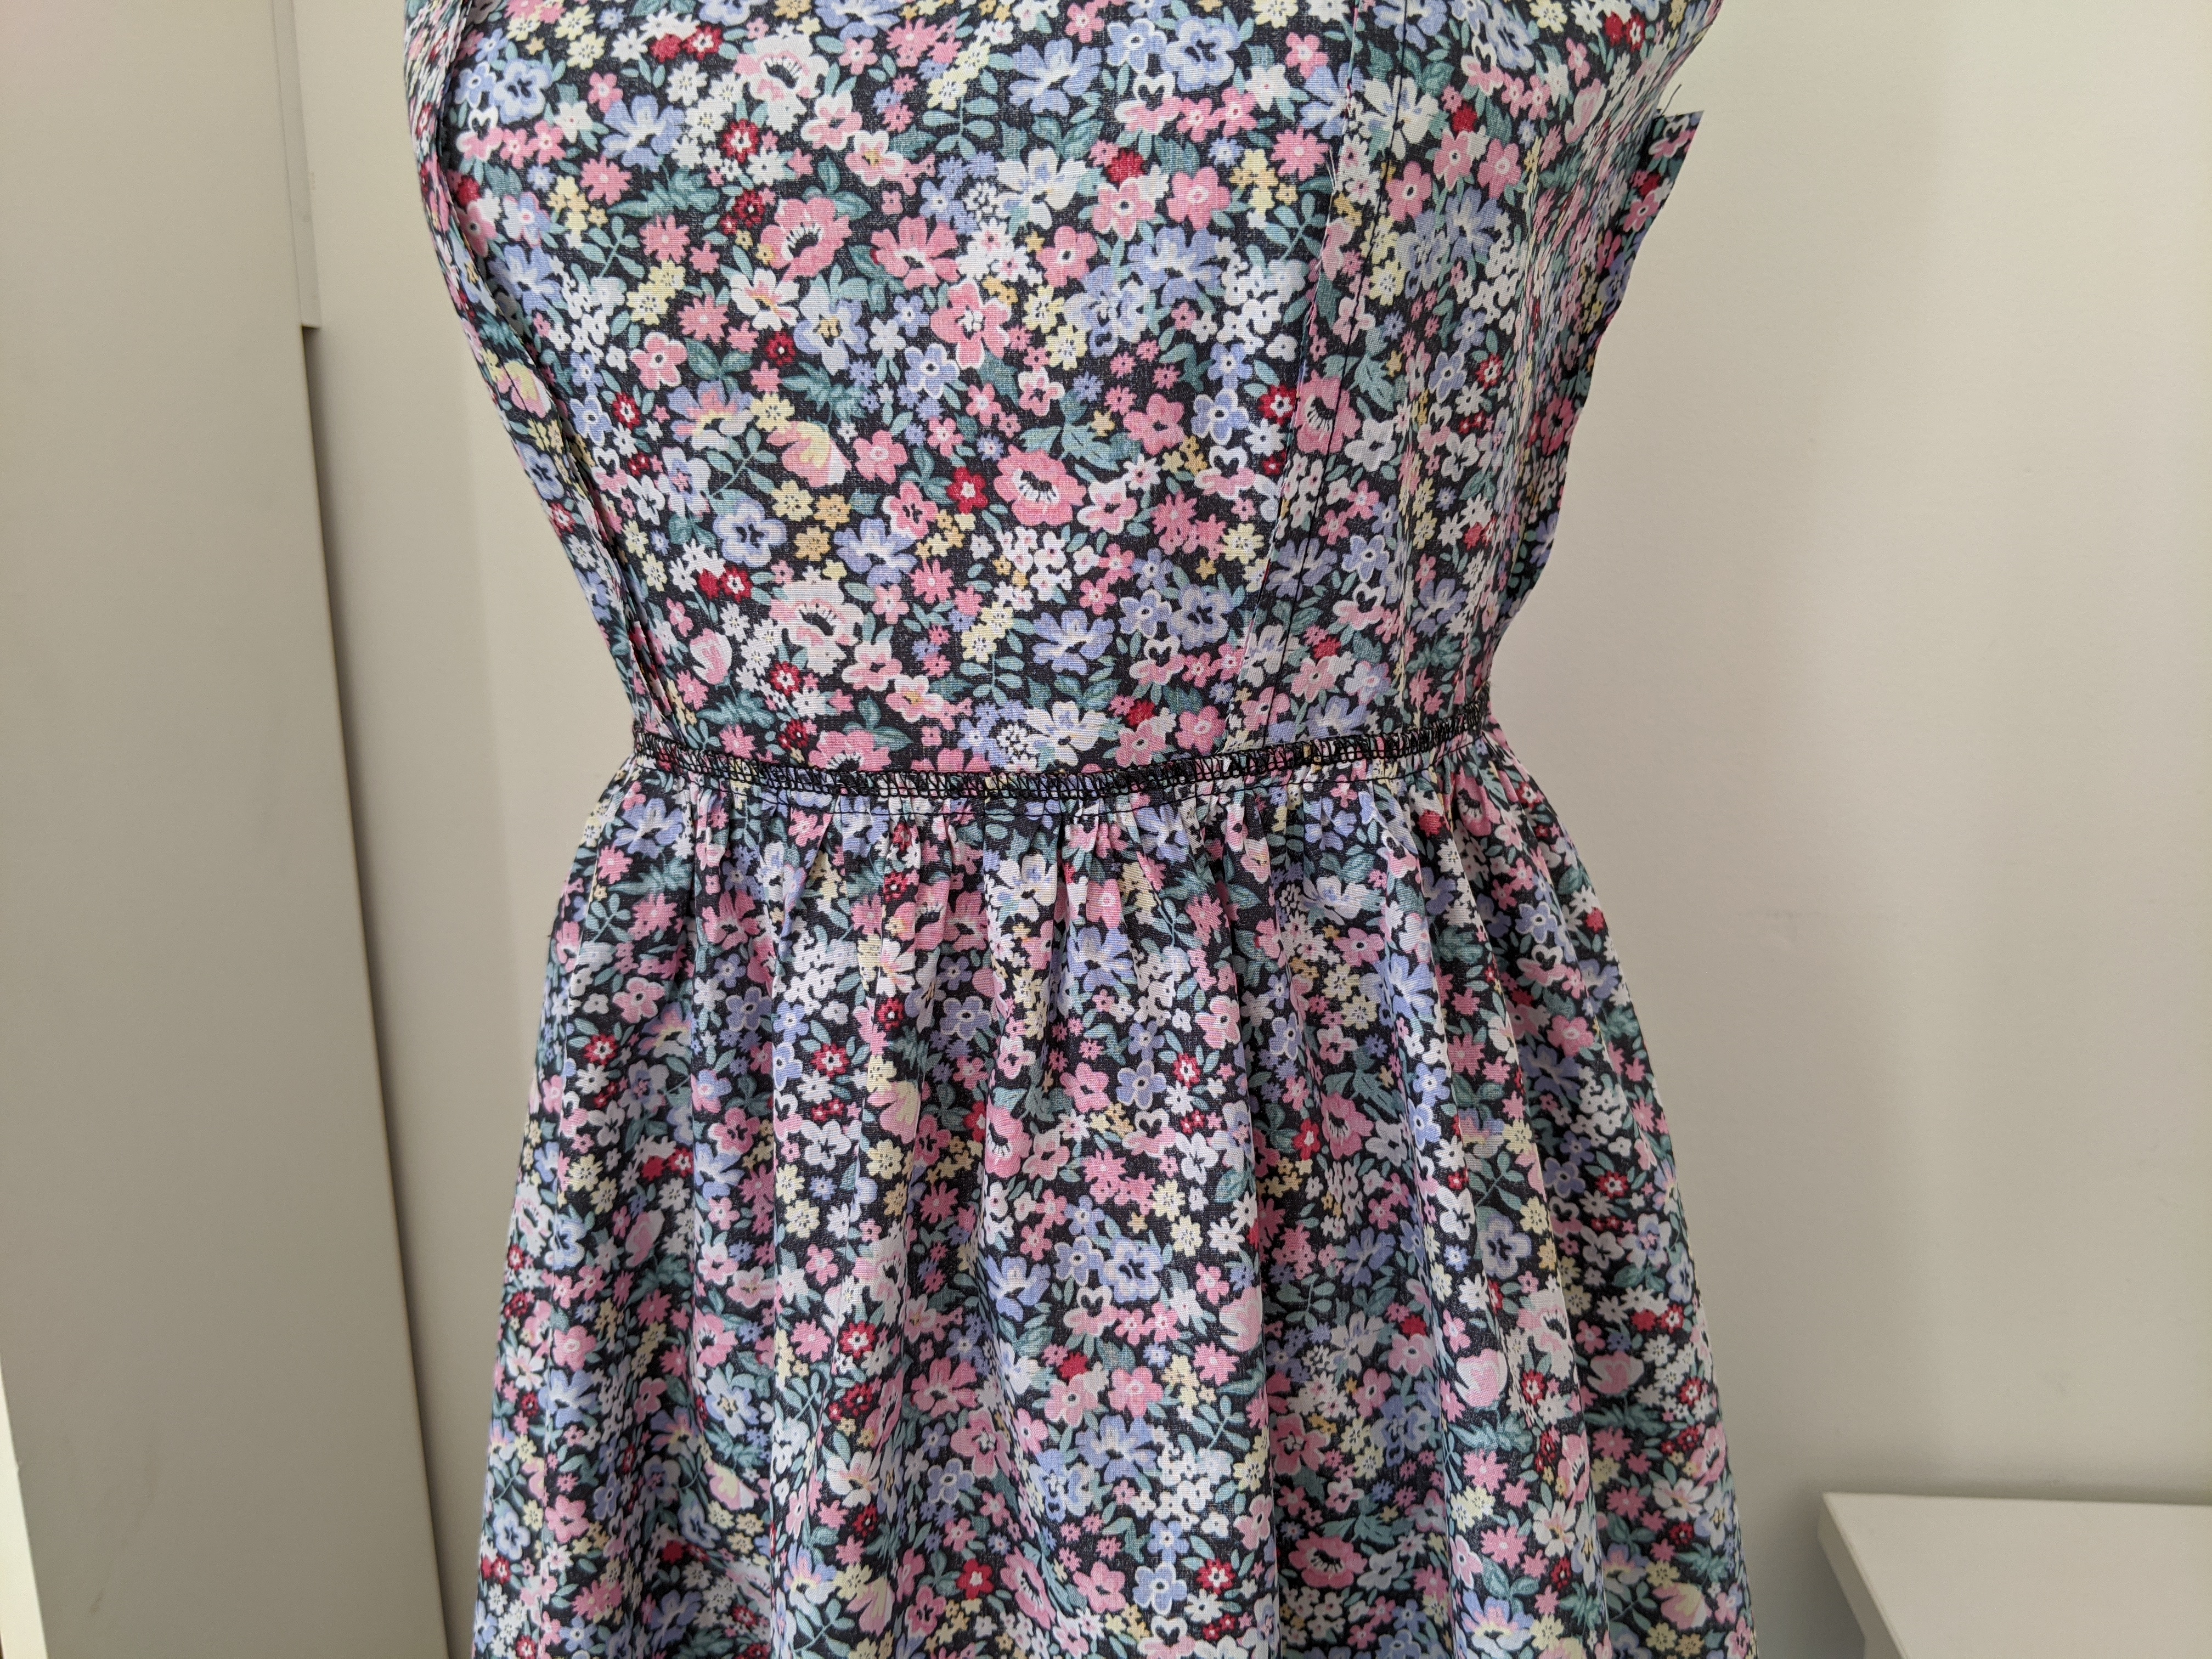
Ensure the gathers are evenly spread and stitch closed using a standard stitch length and 1cm seam allowance. Then remove the gathering threads.
If you need extra help with gathering, please see the more in-depth gathering tutorial here.
Step 10
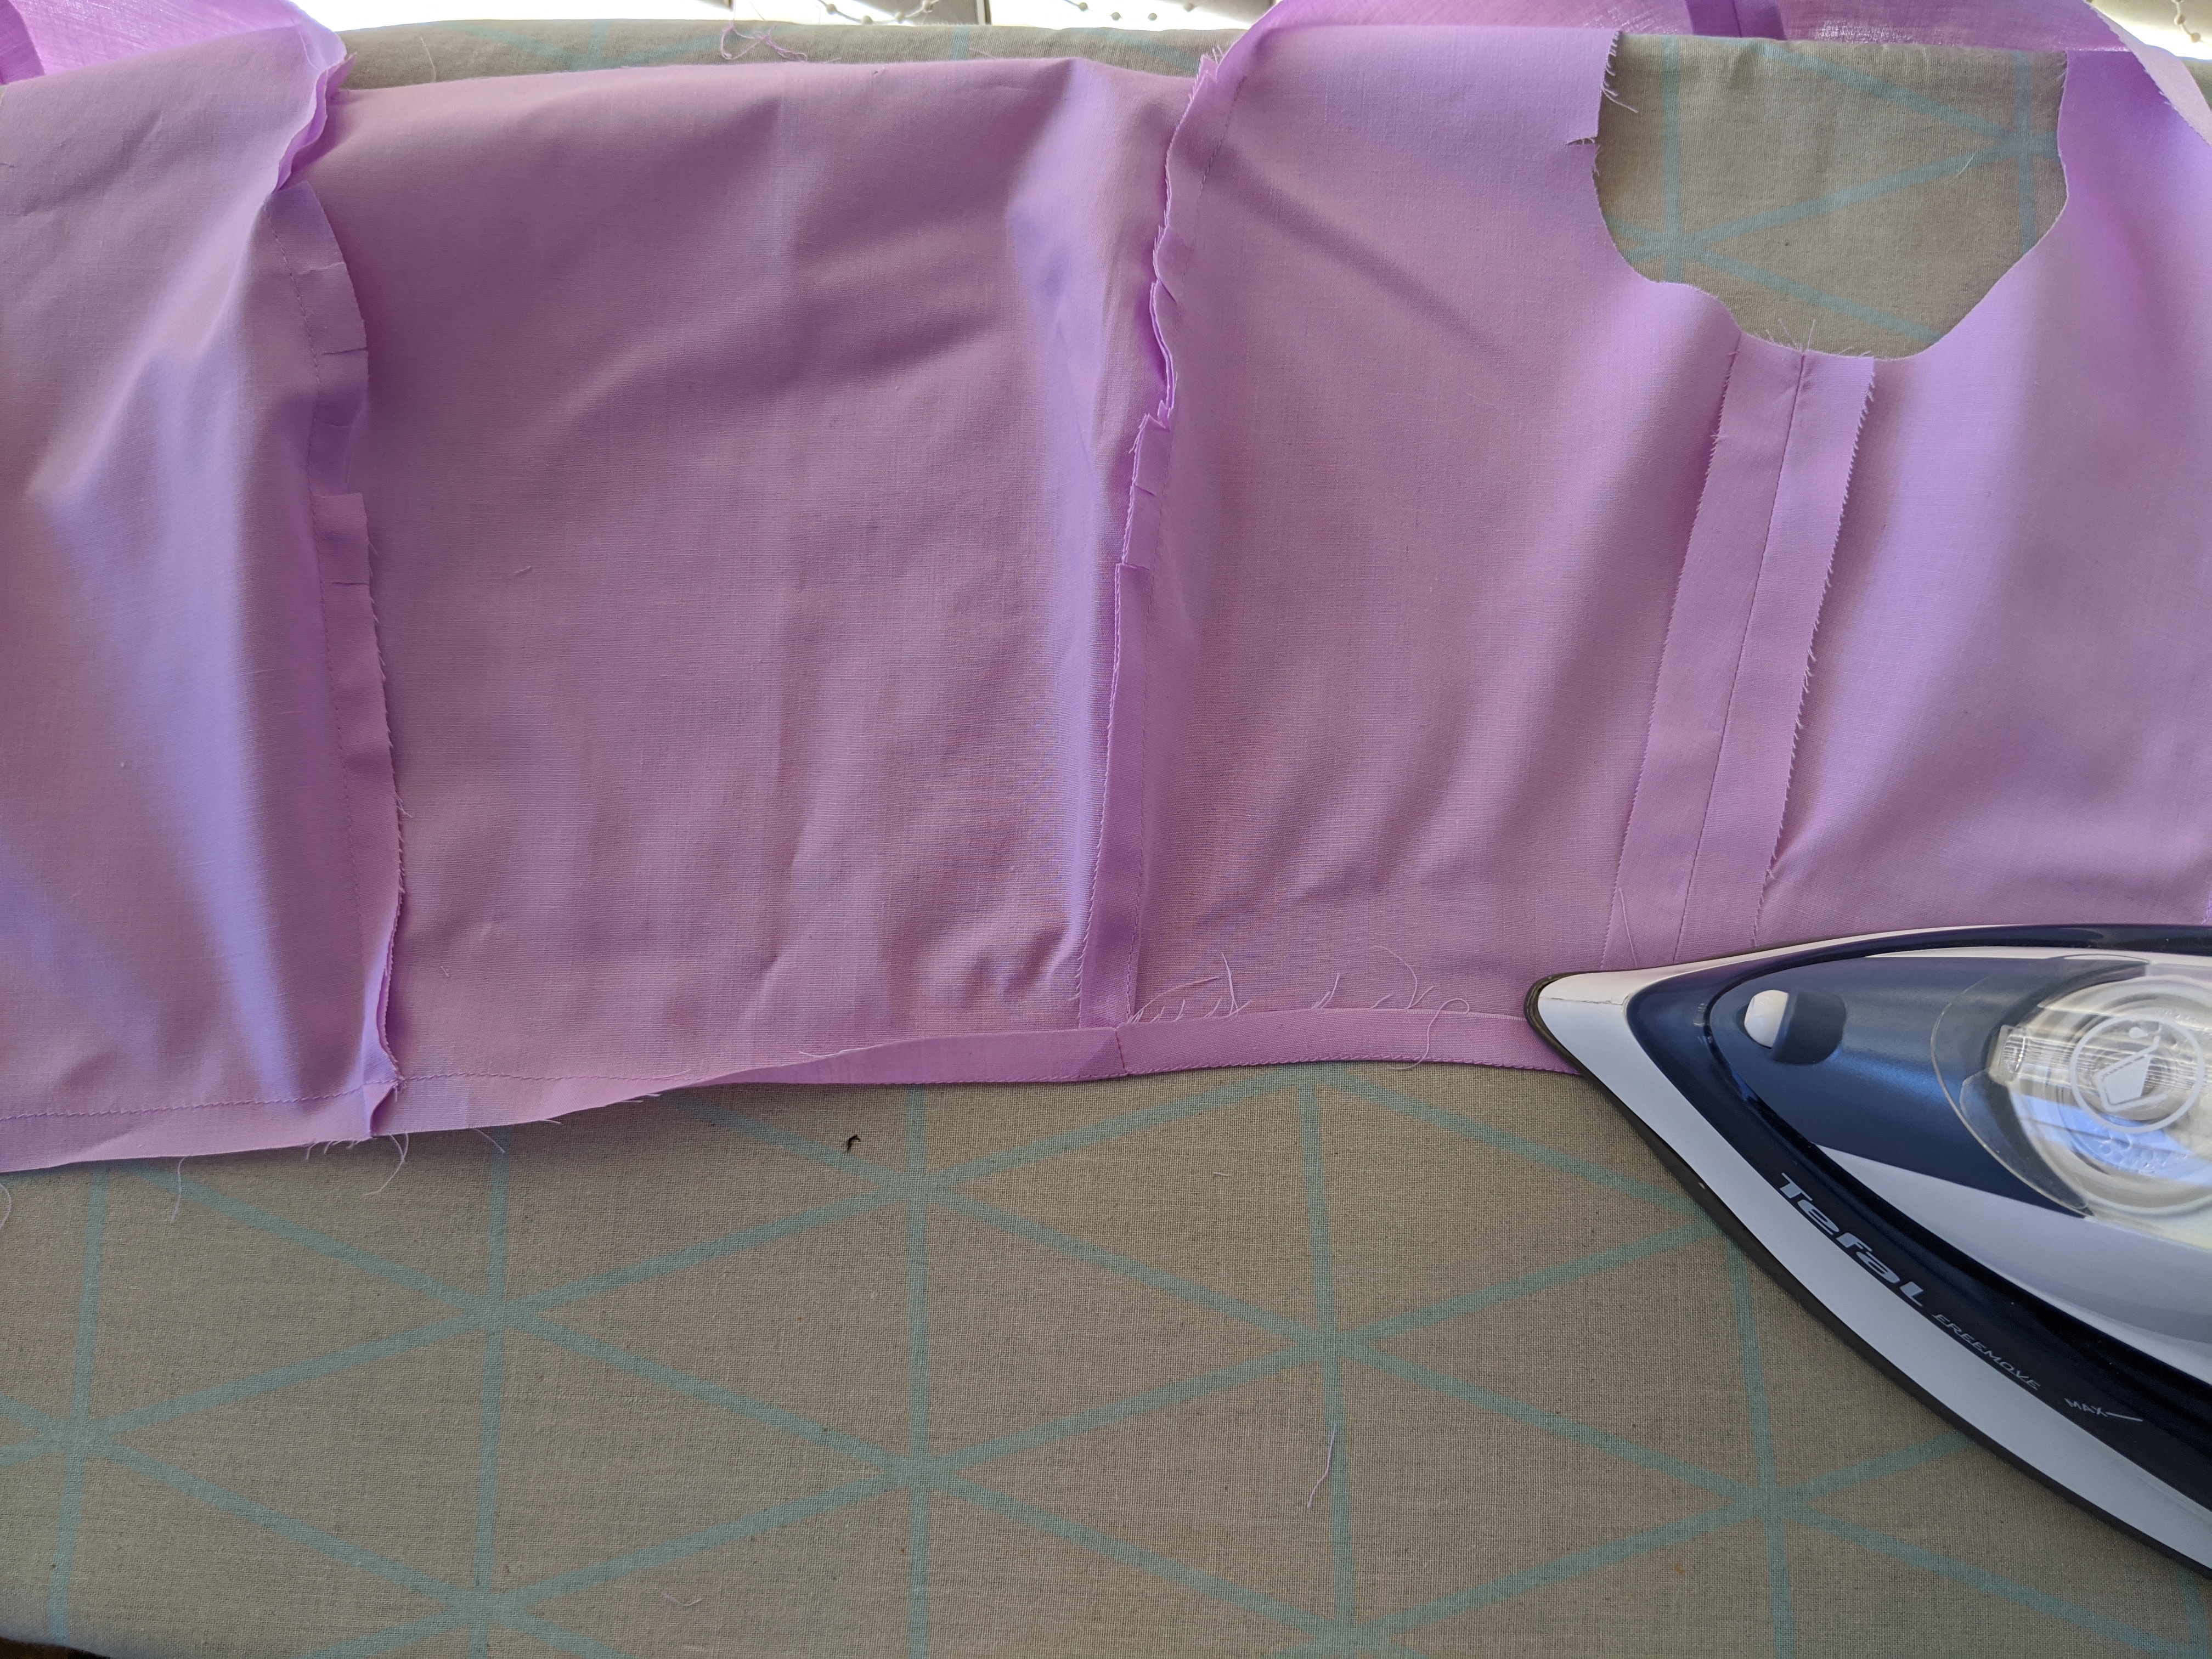
Overlock the seam closed and press the seam upwards.
Step 11
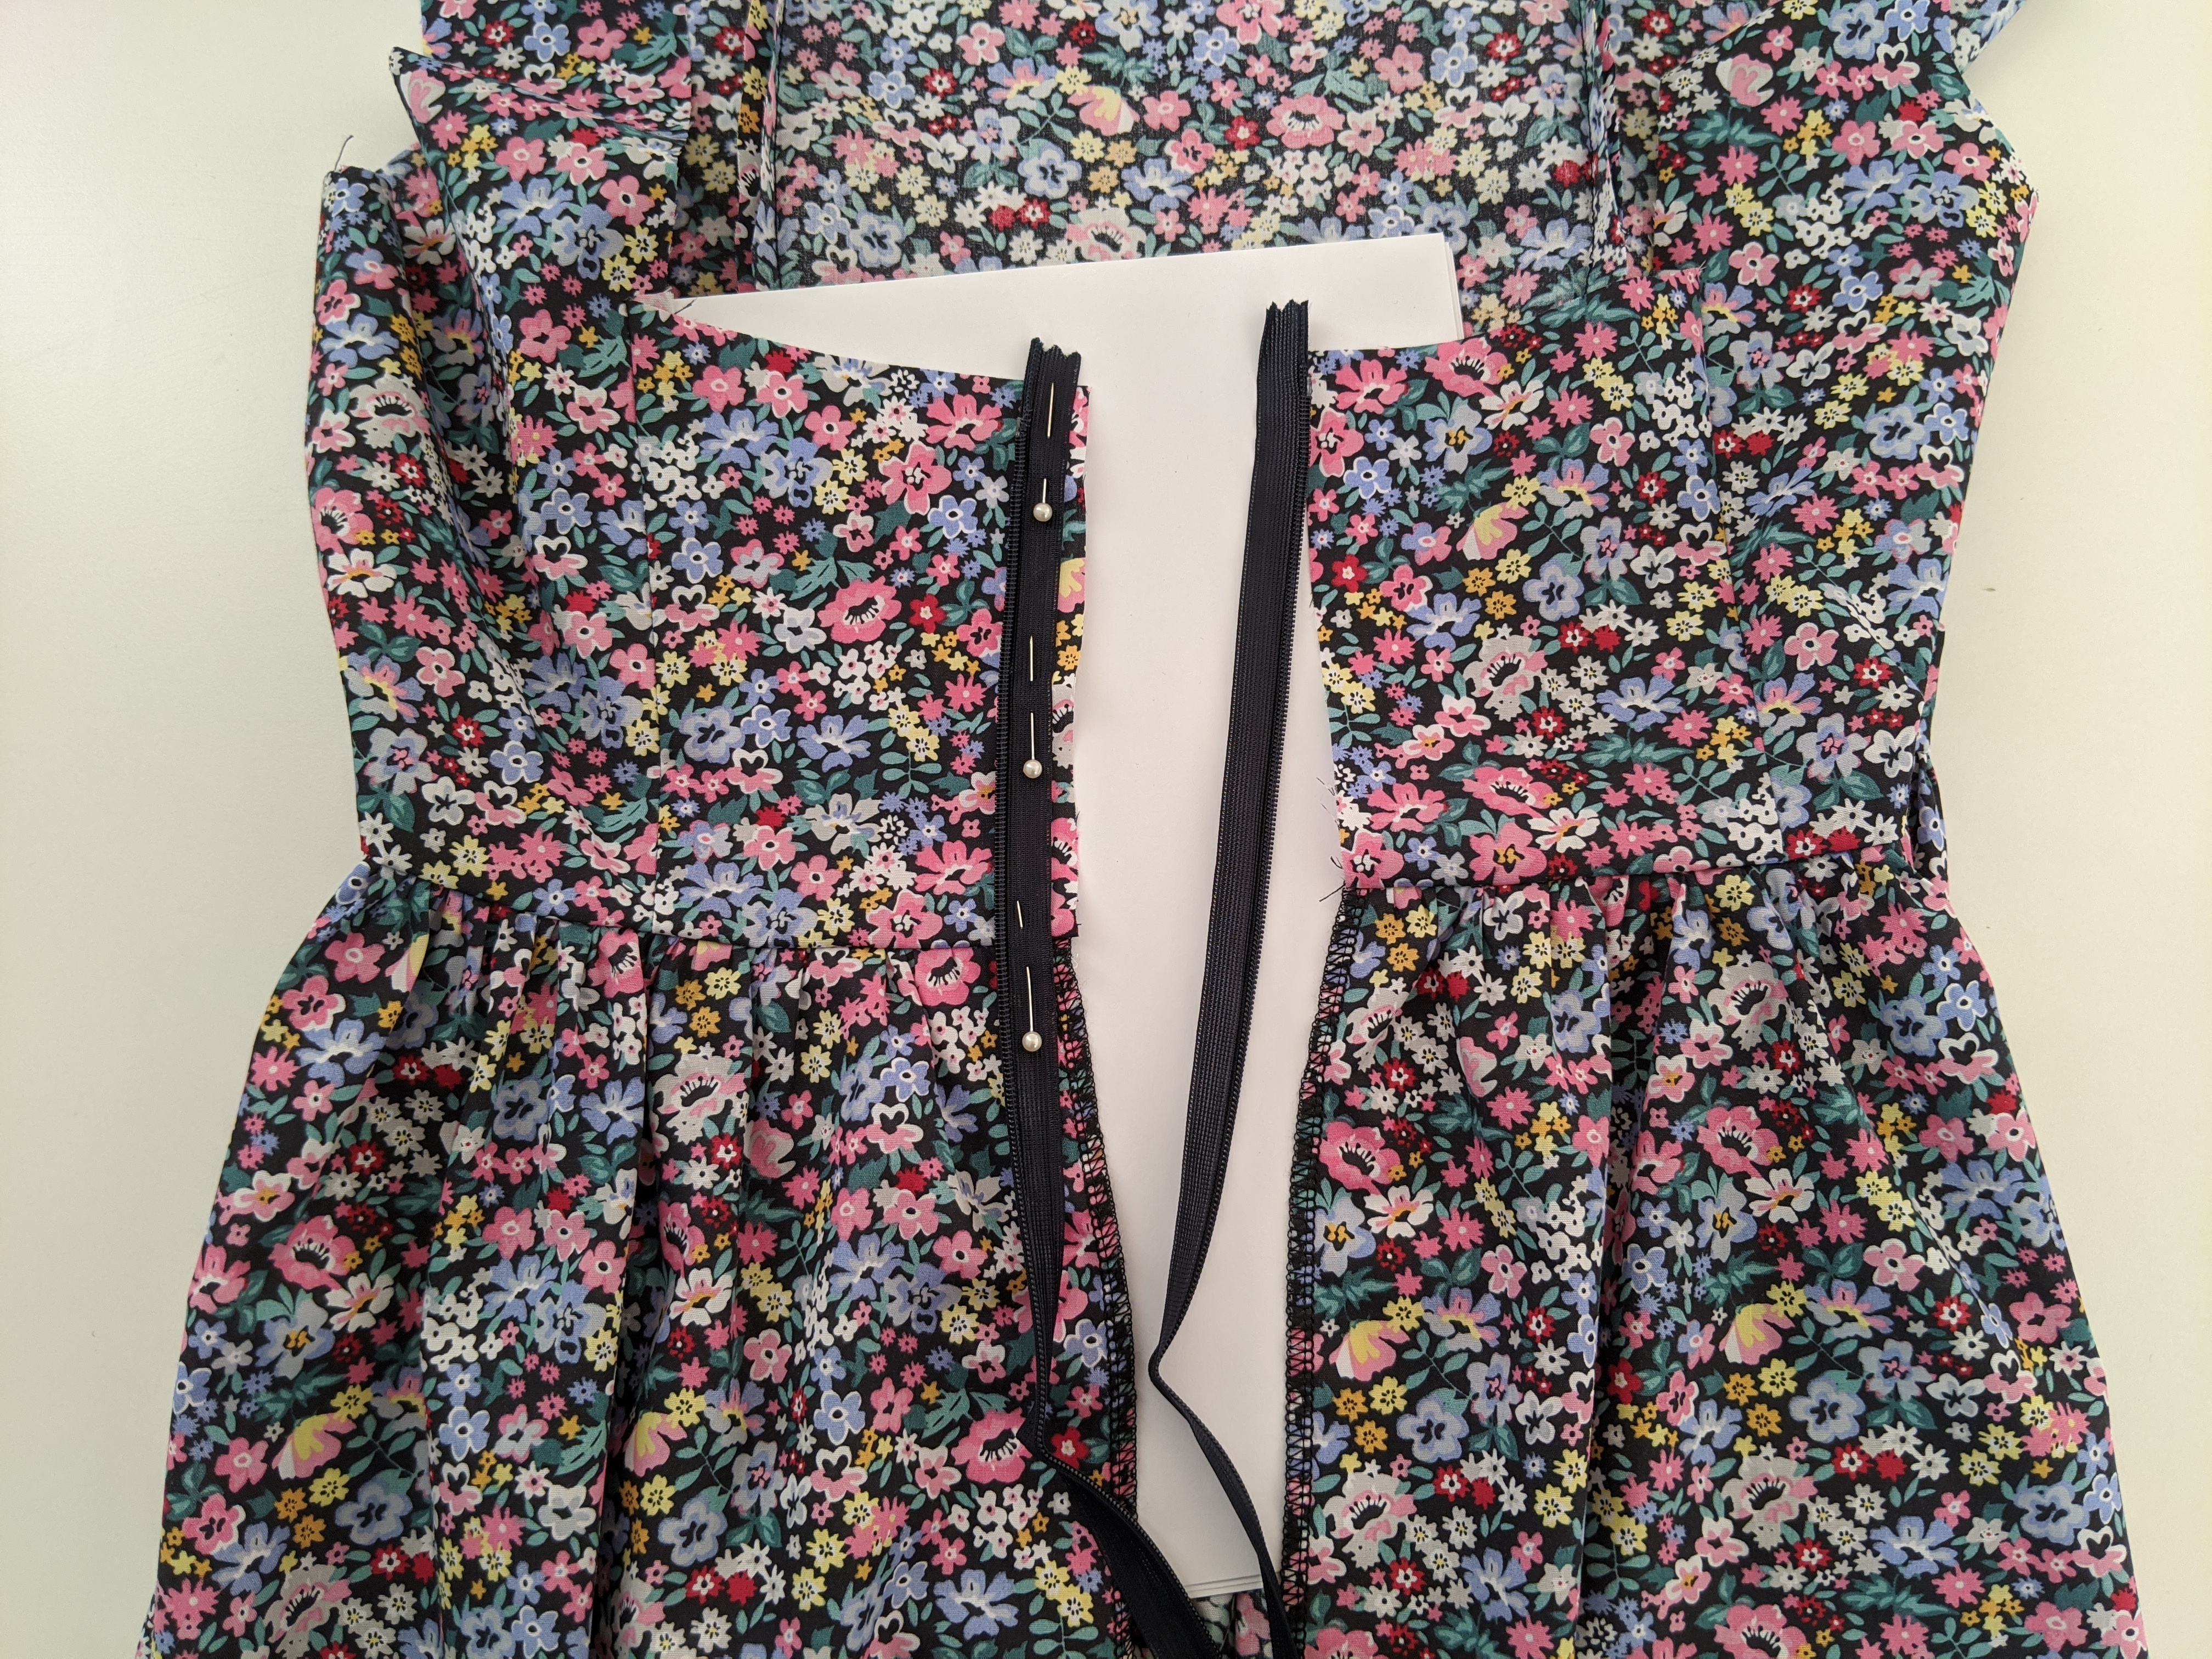
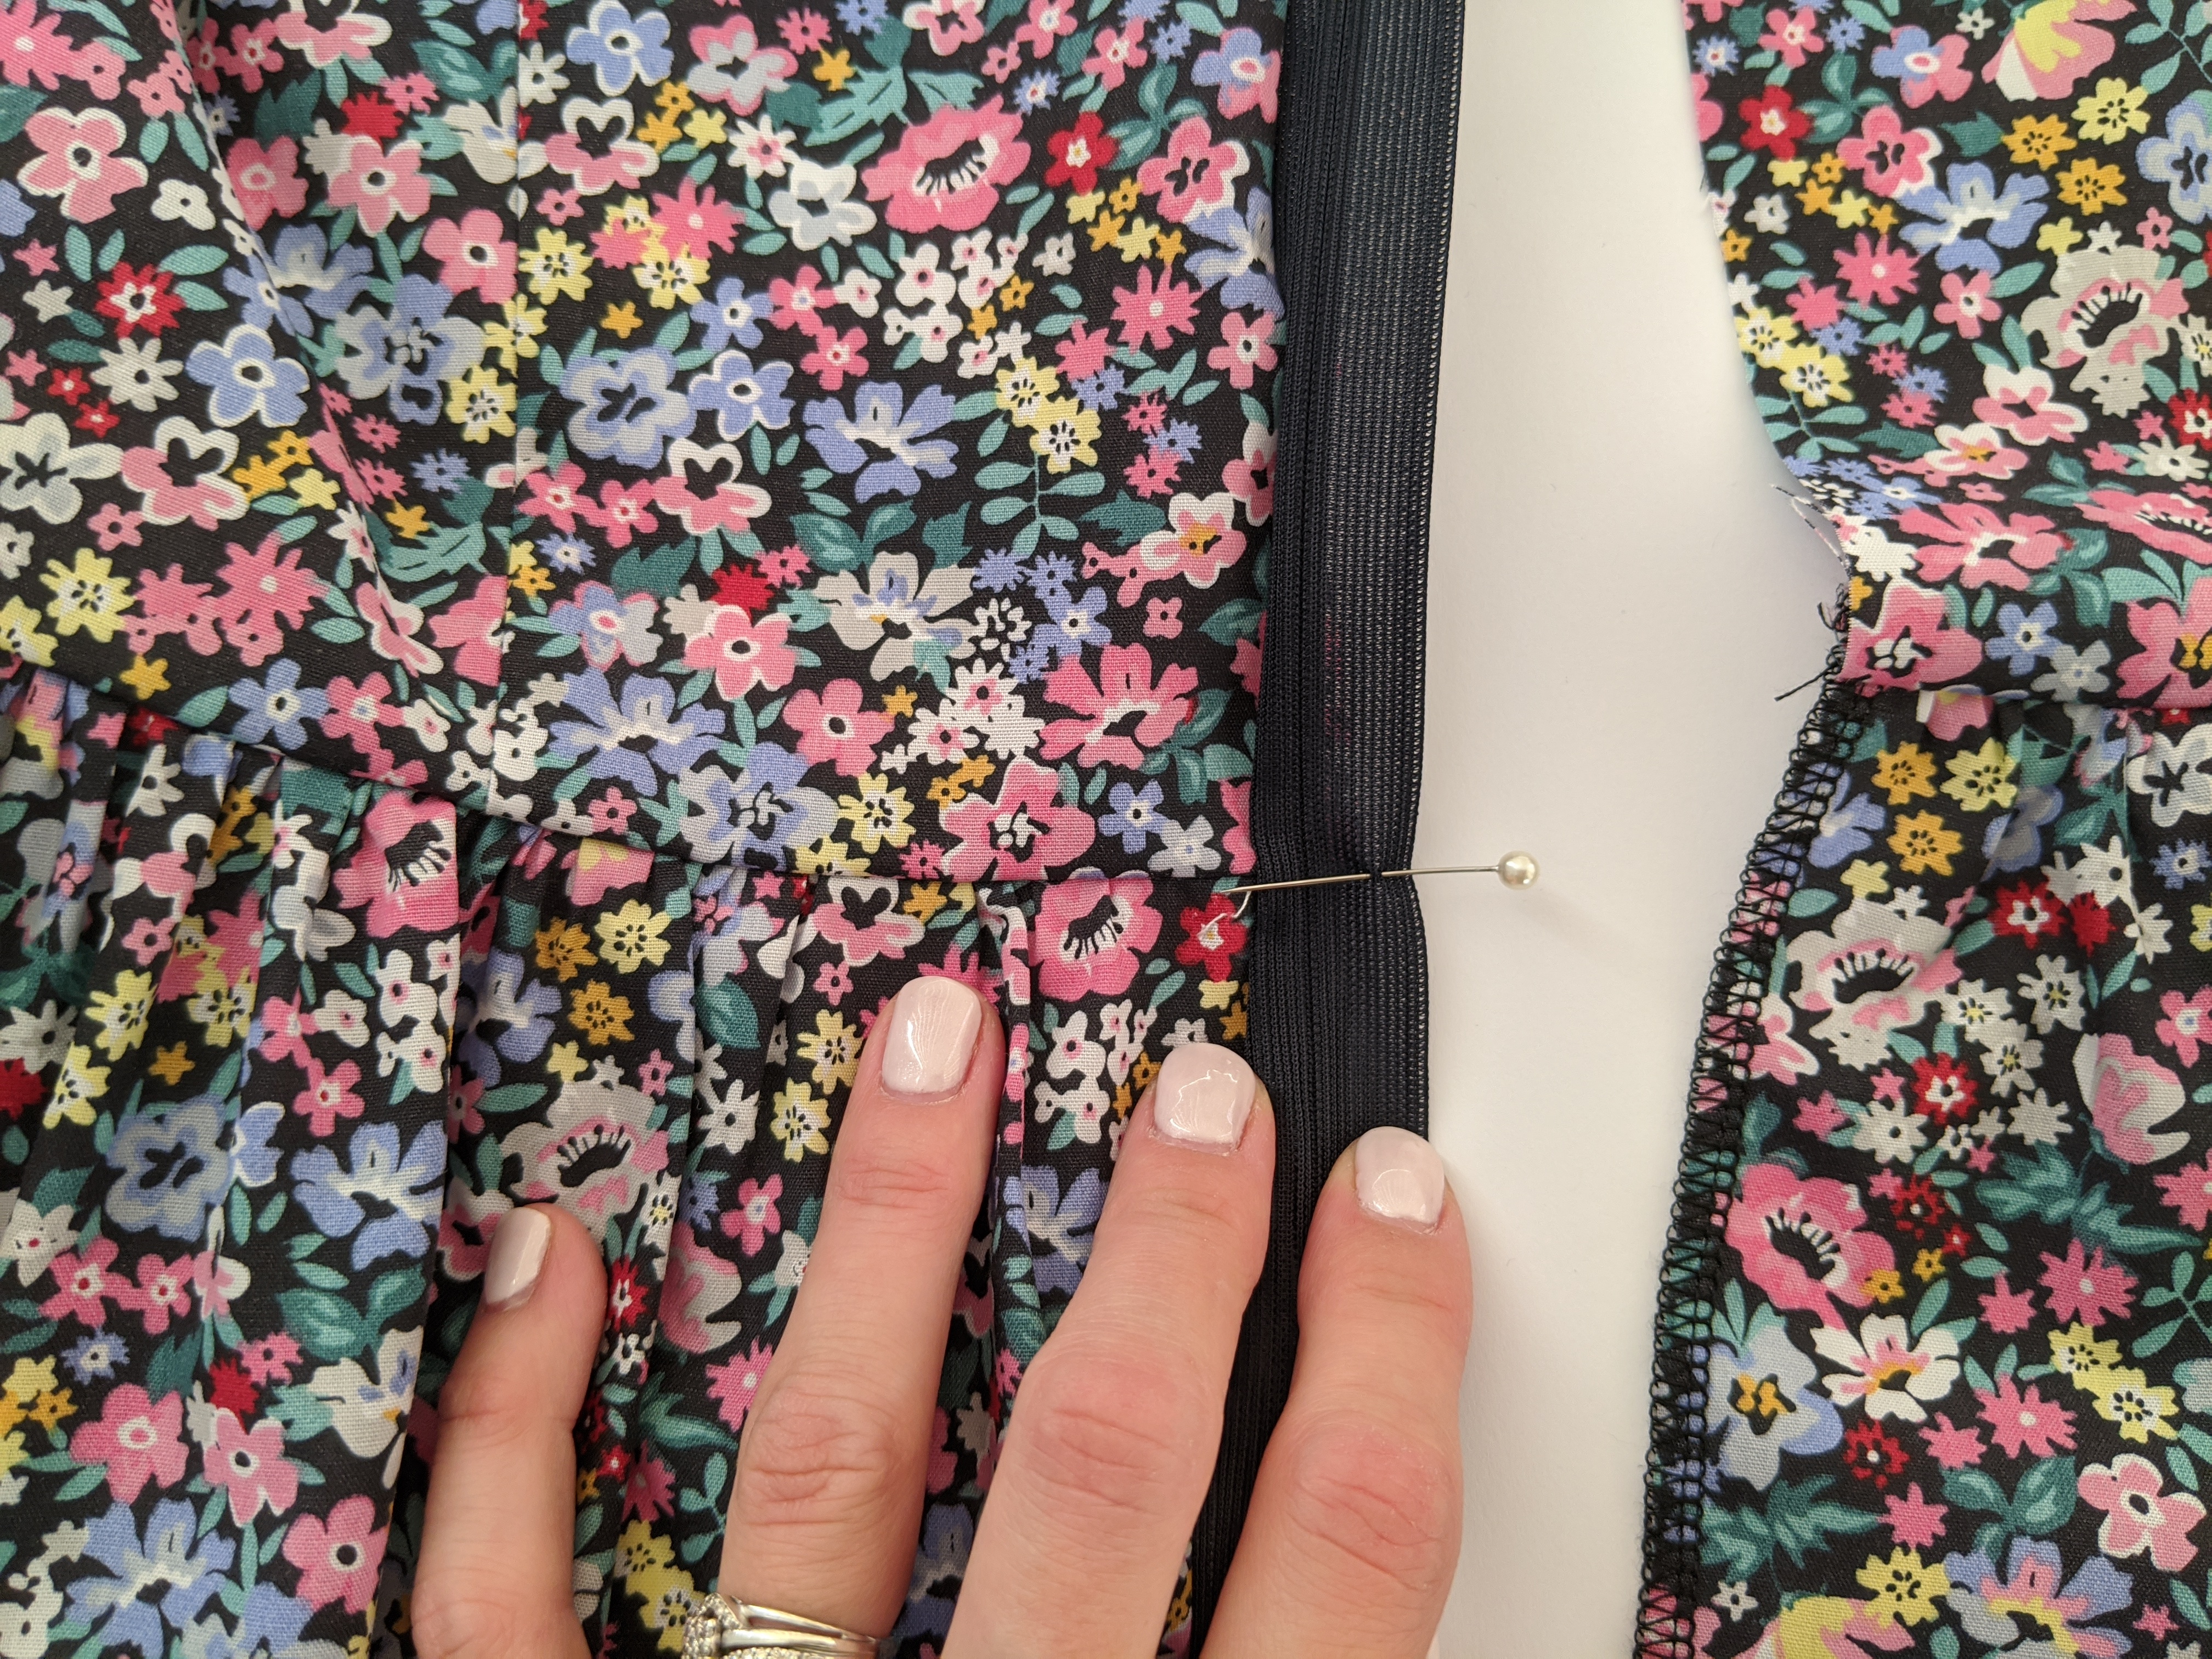
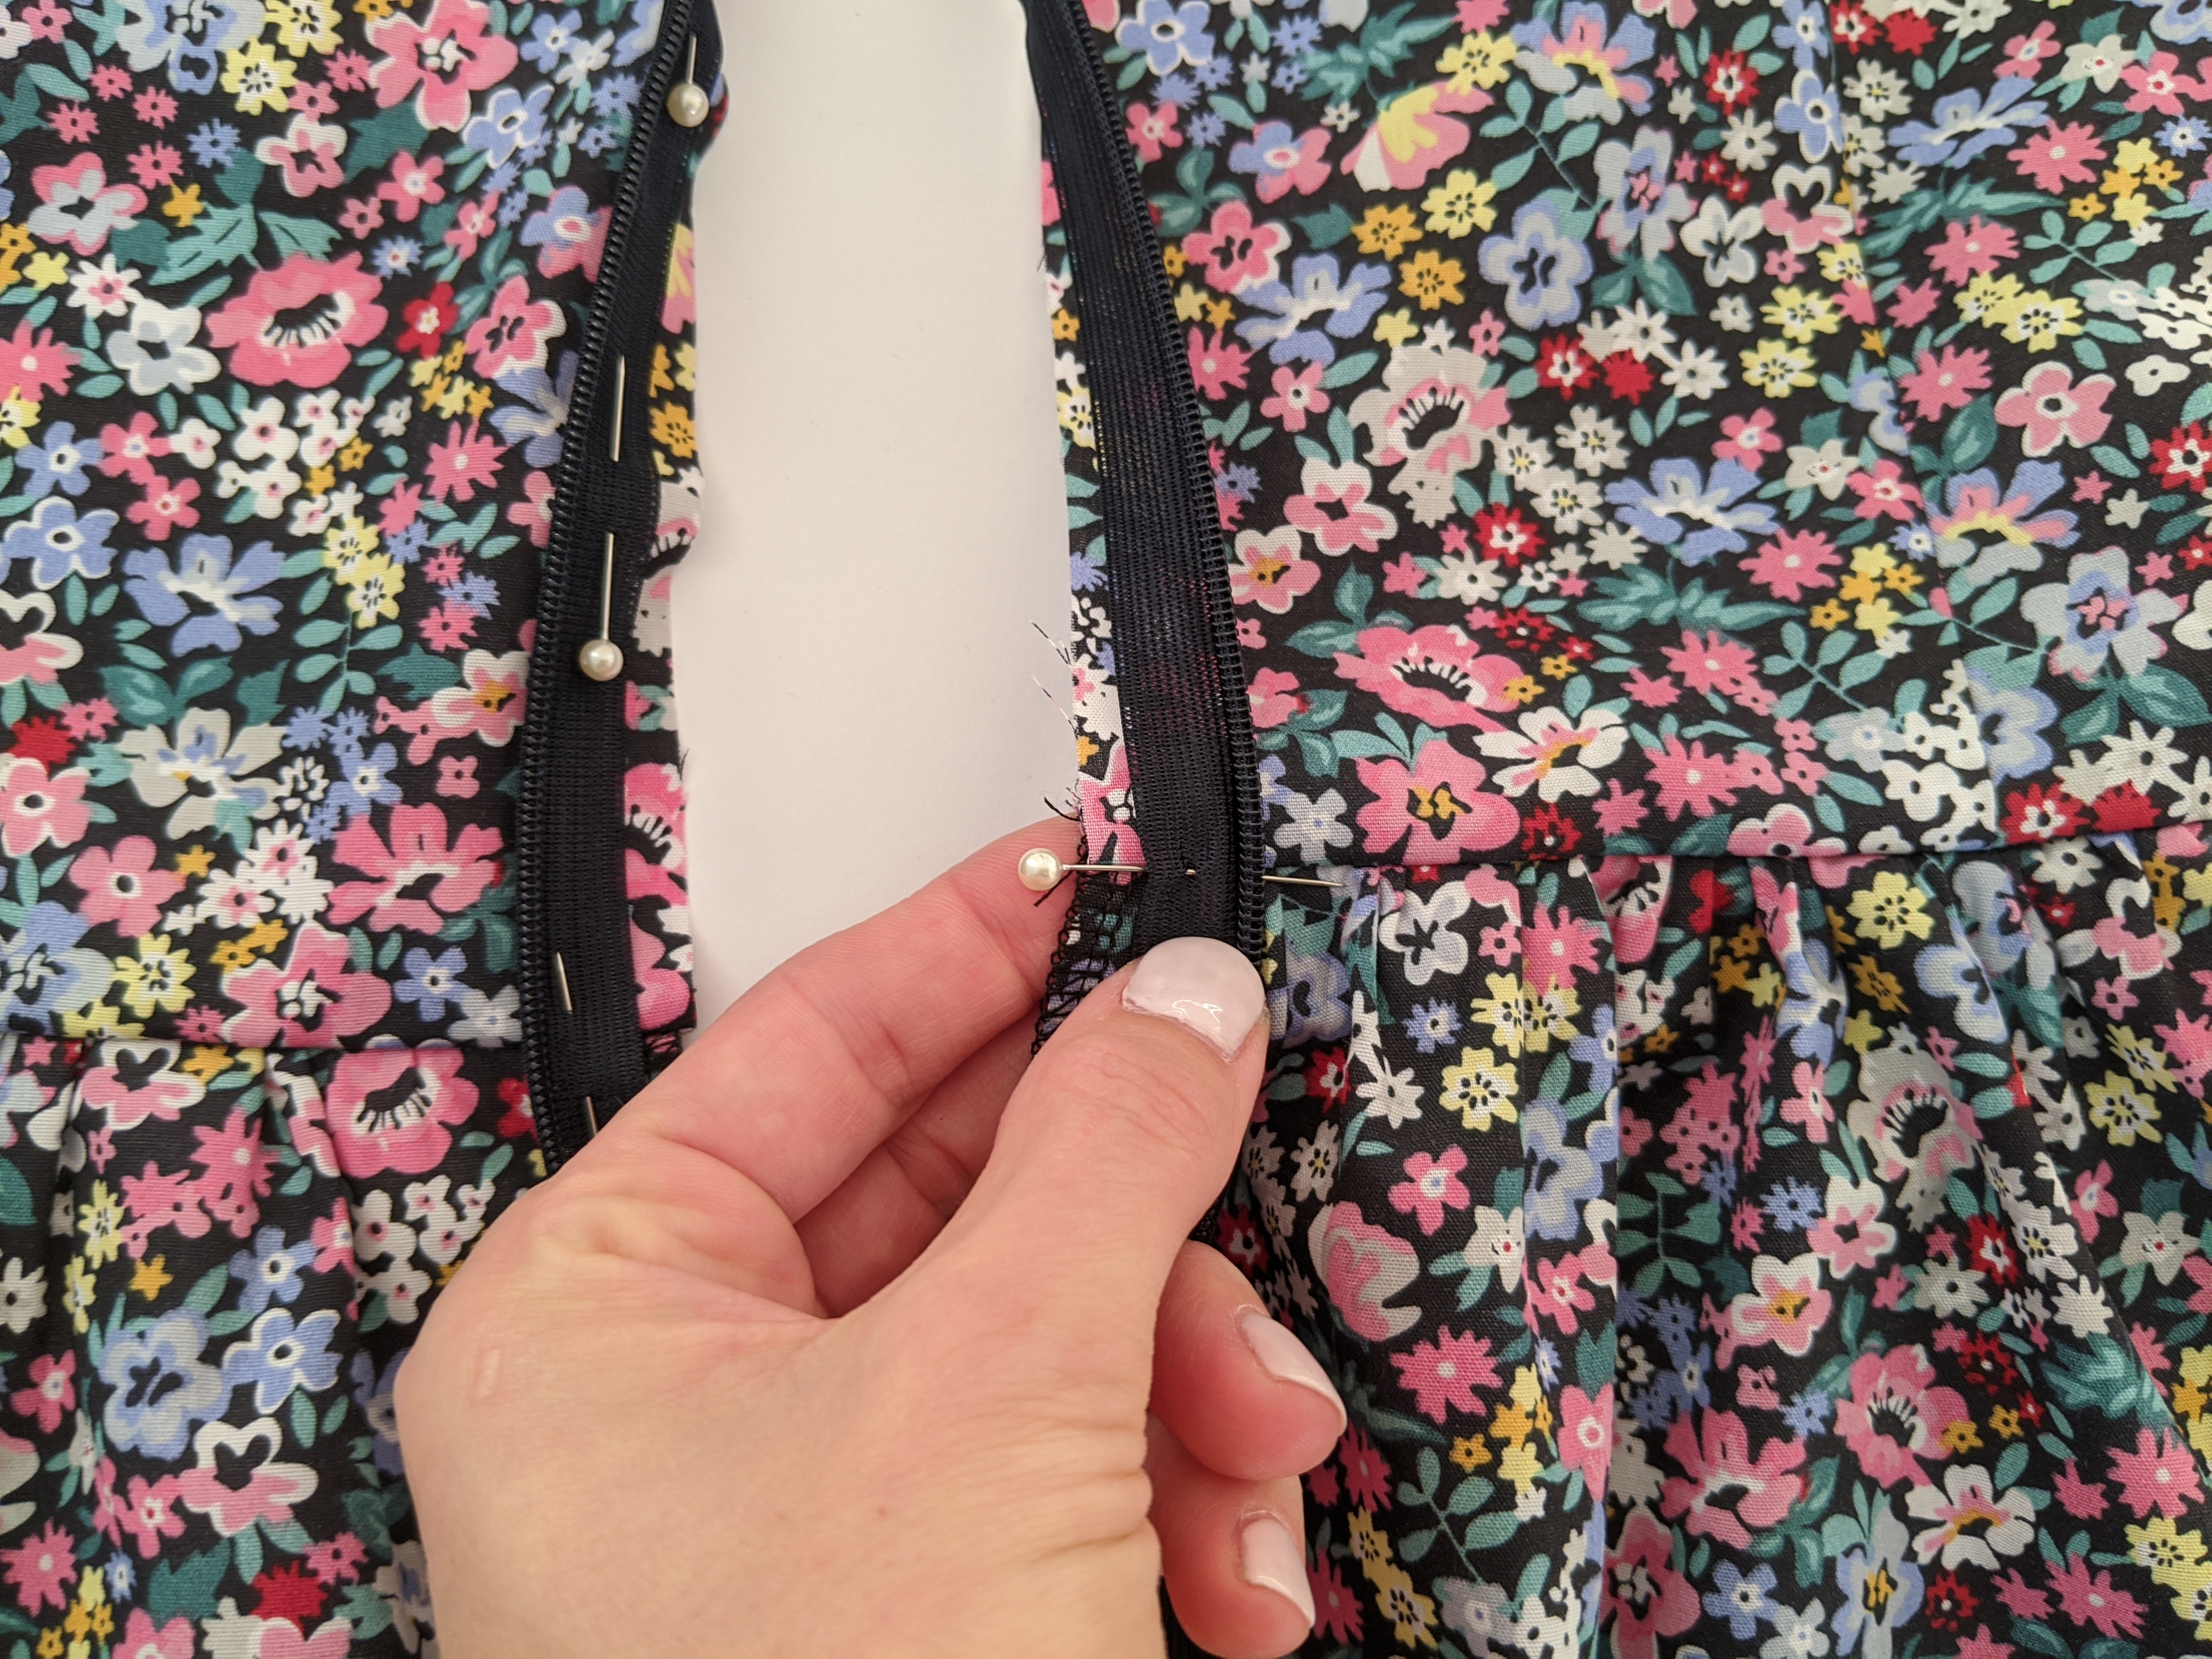
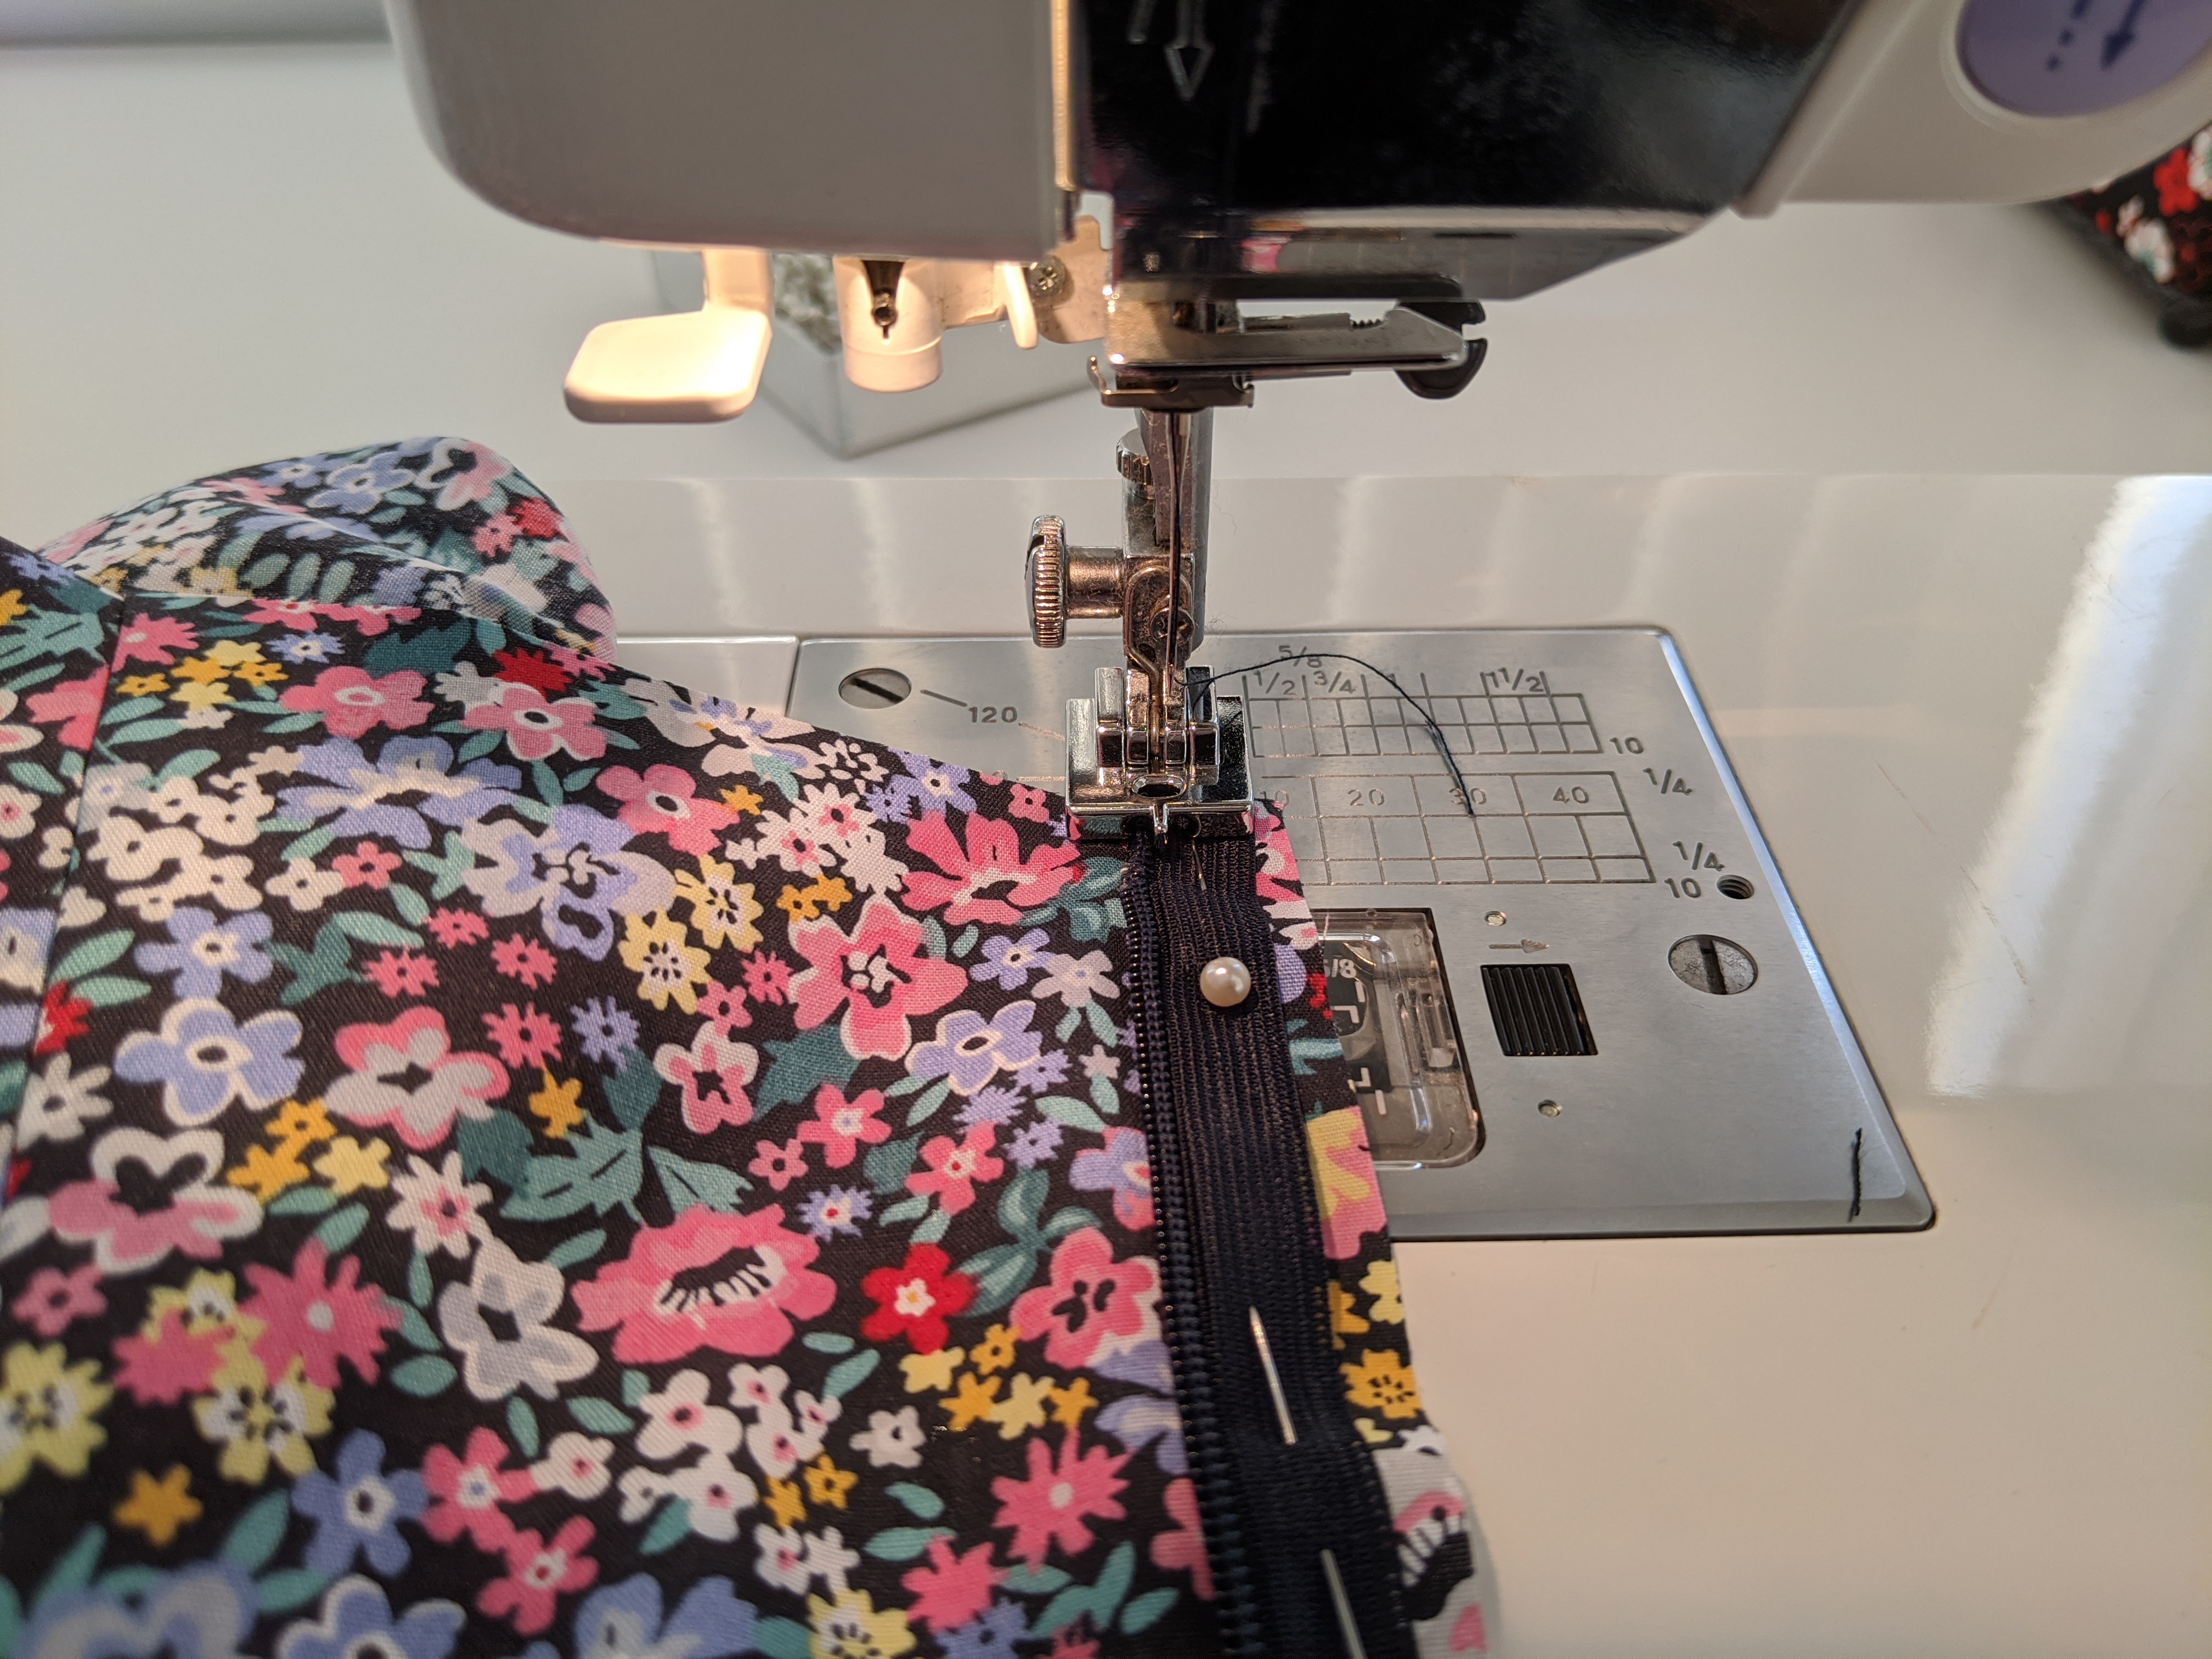
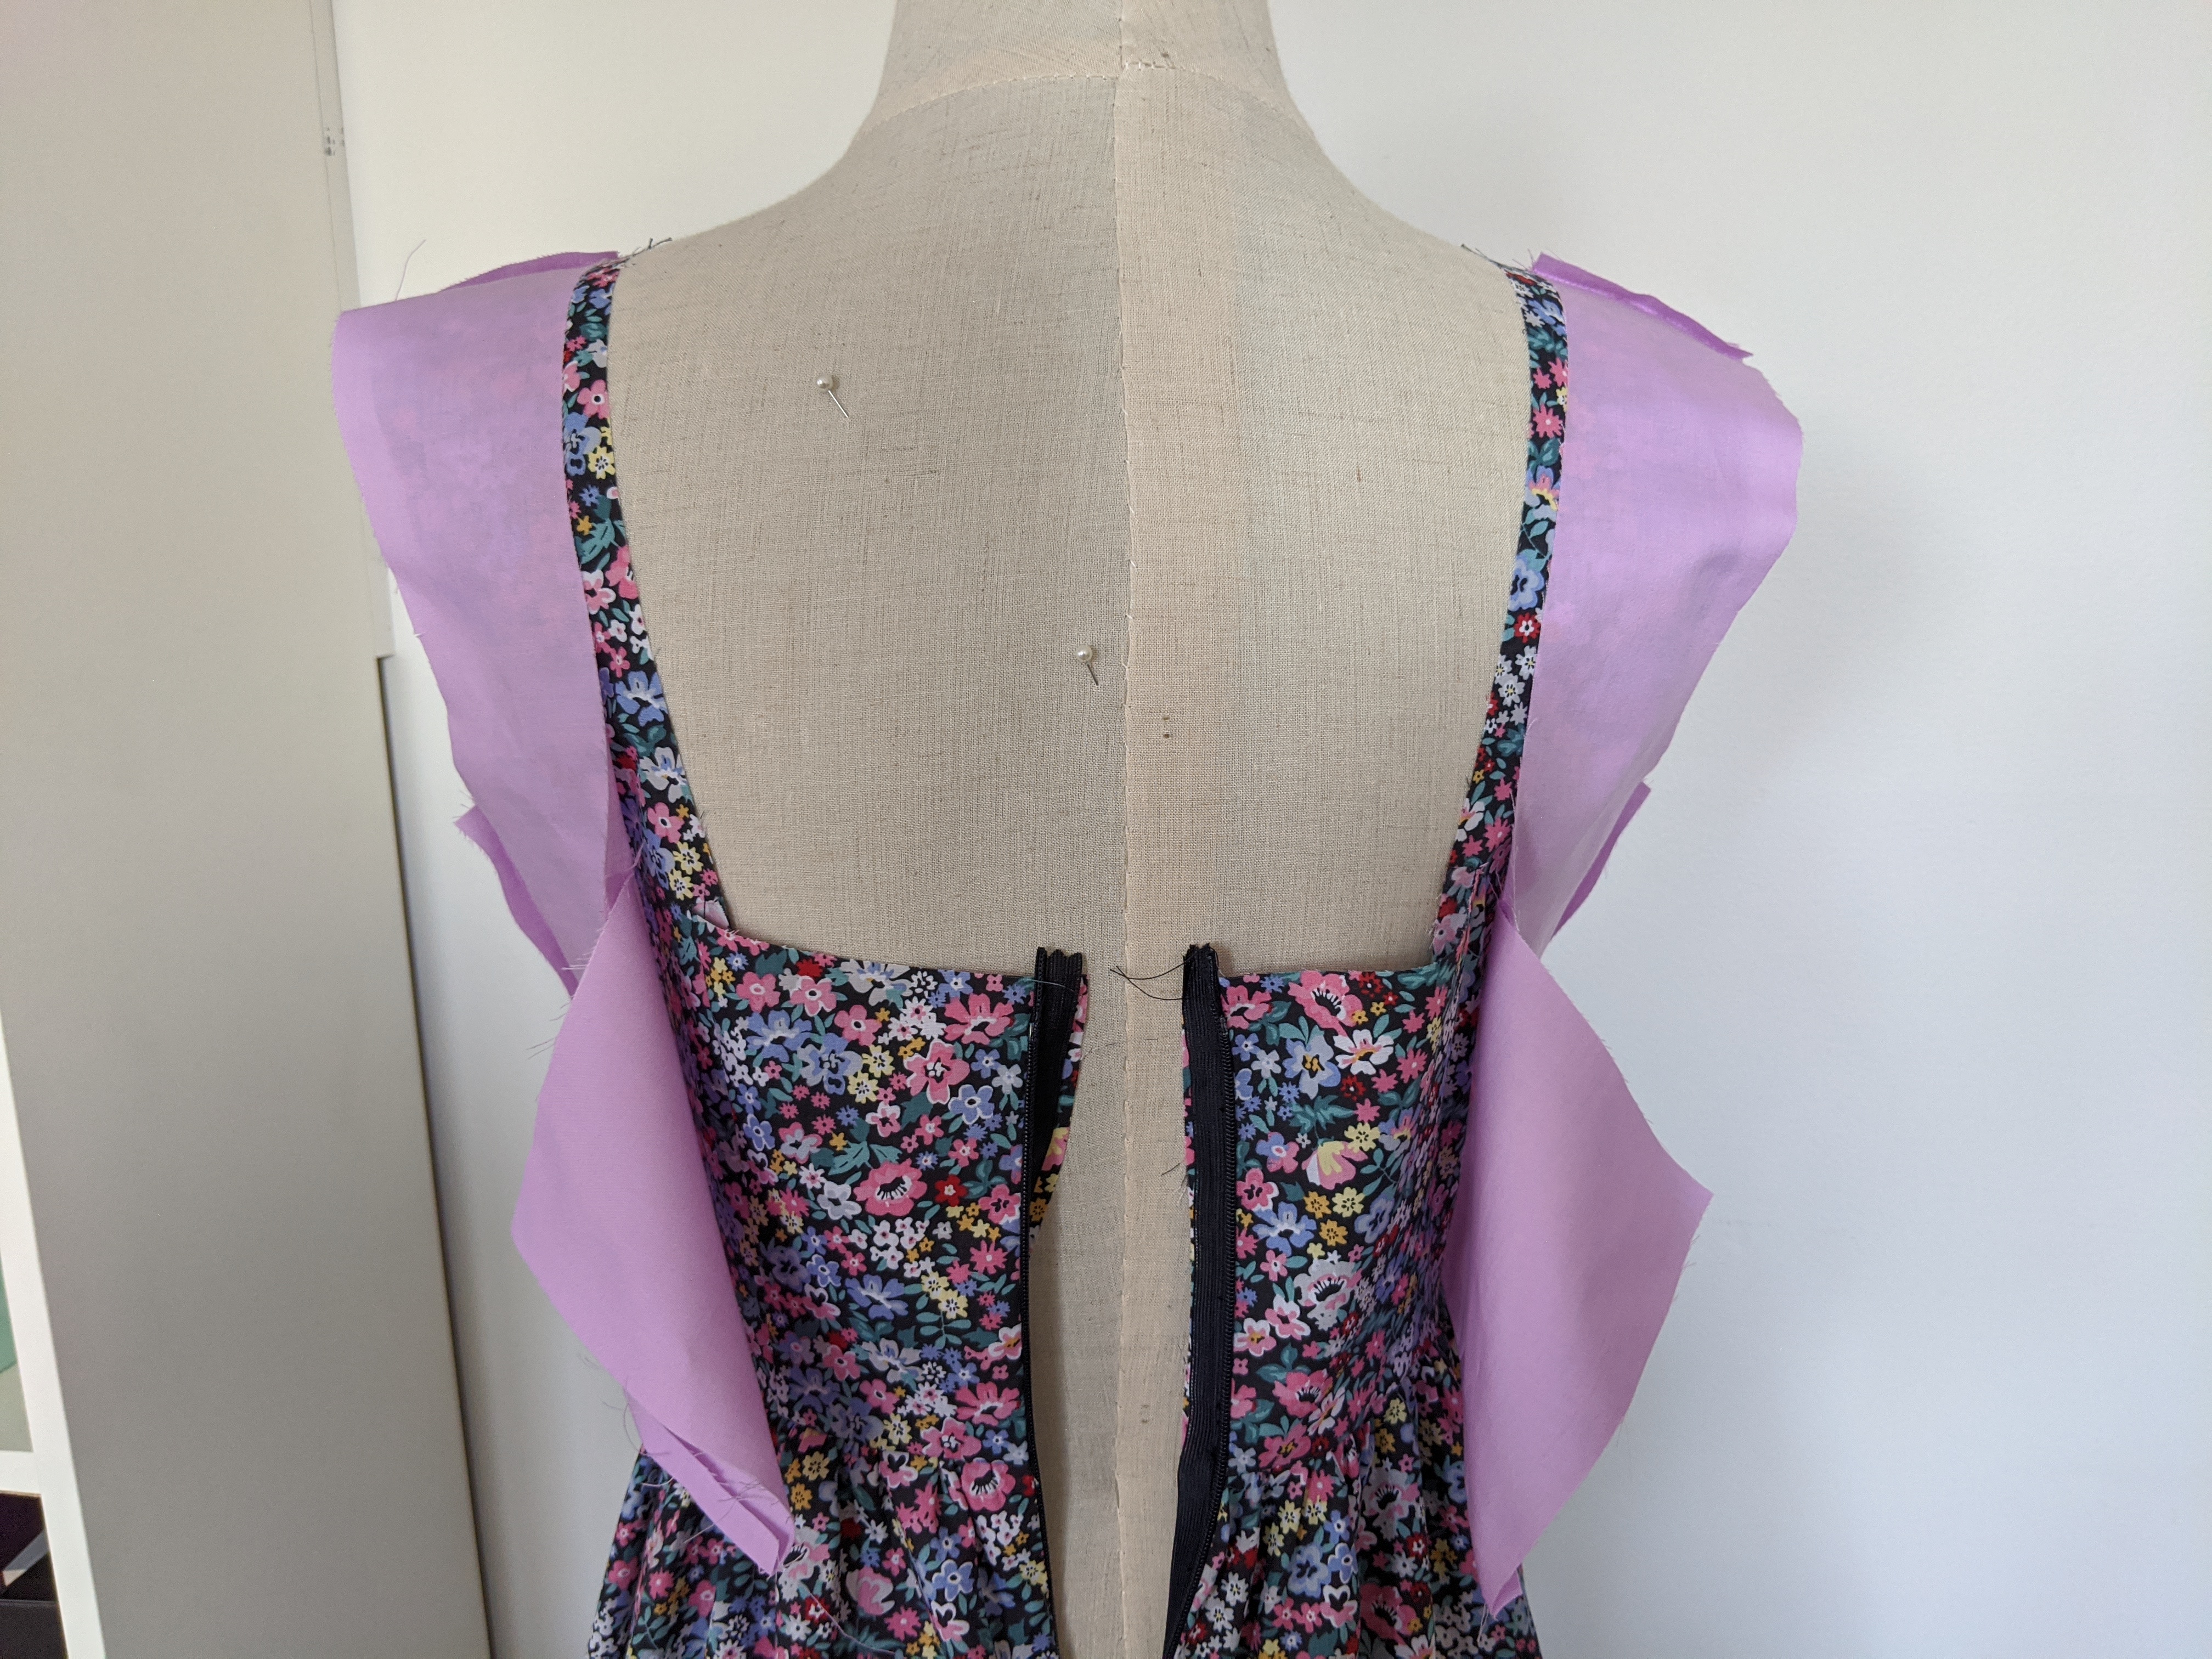
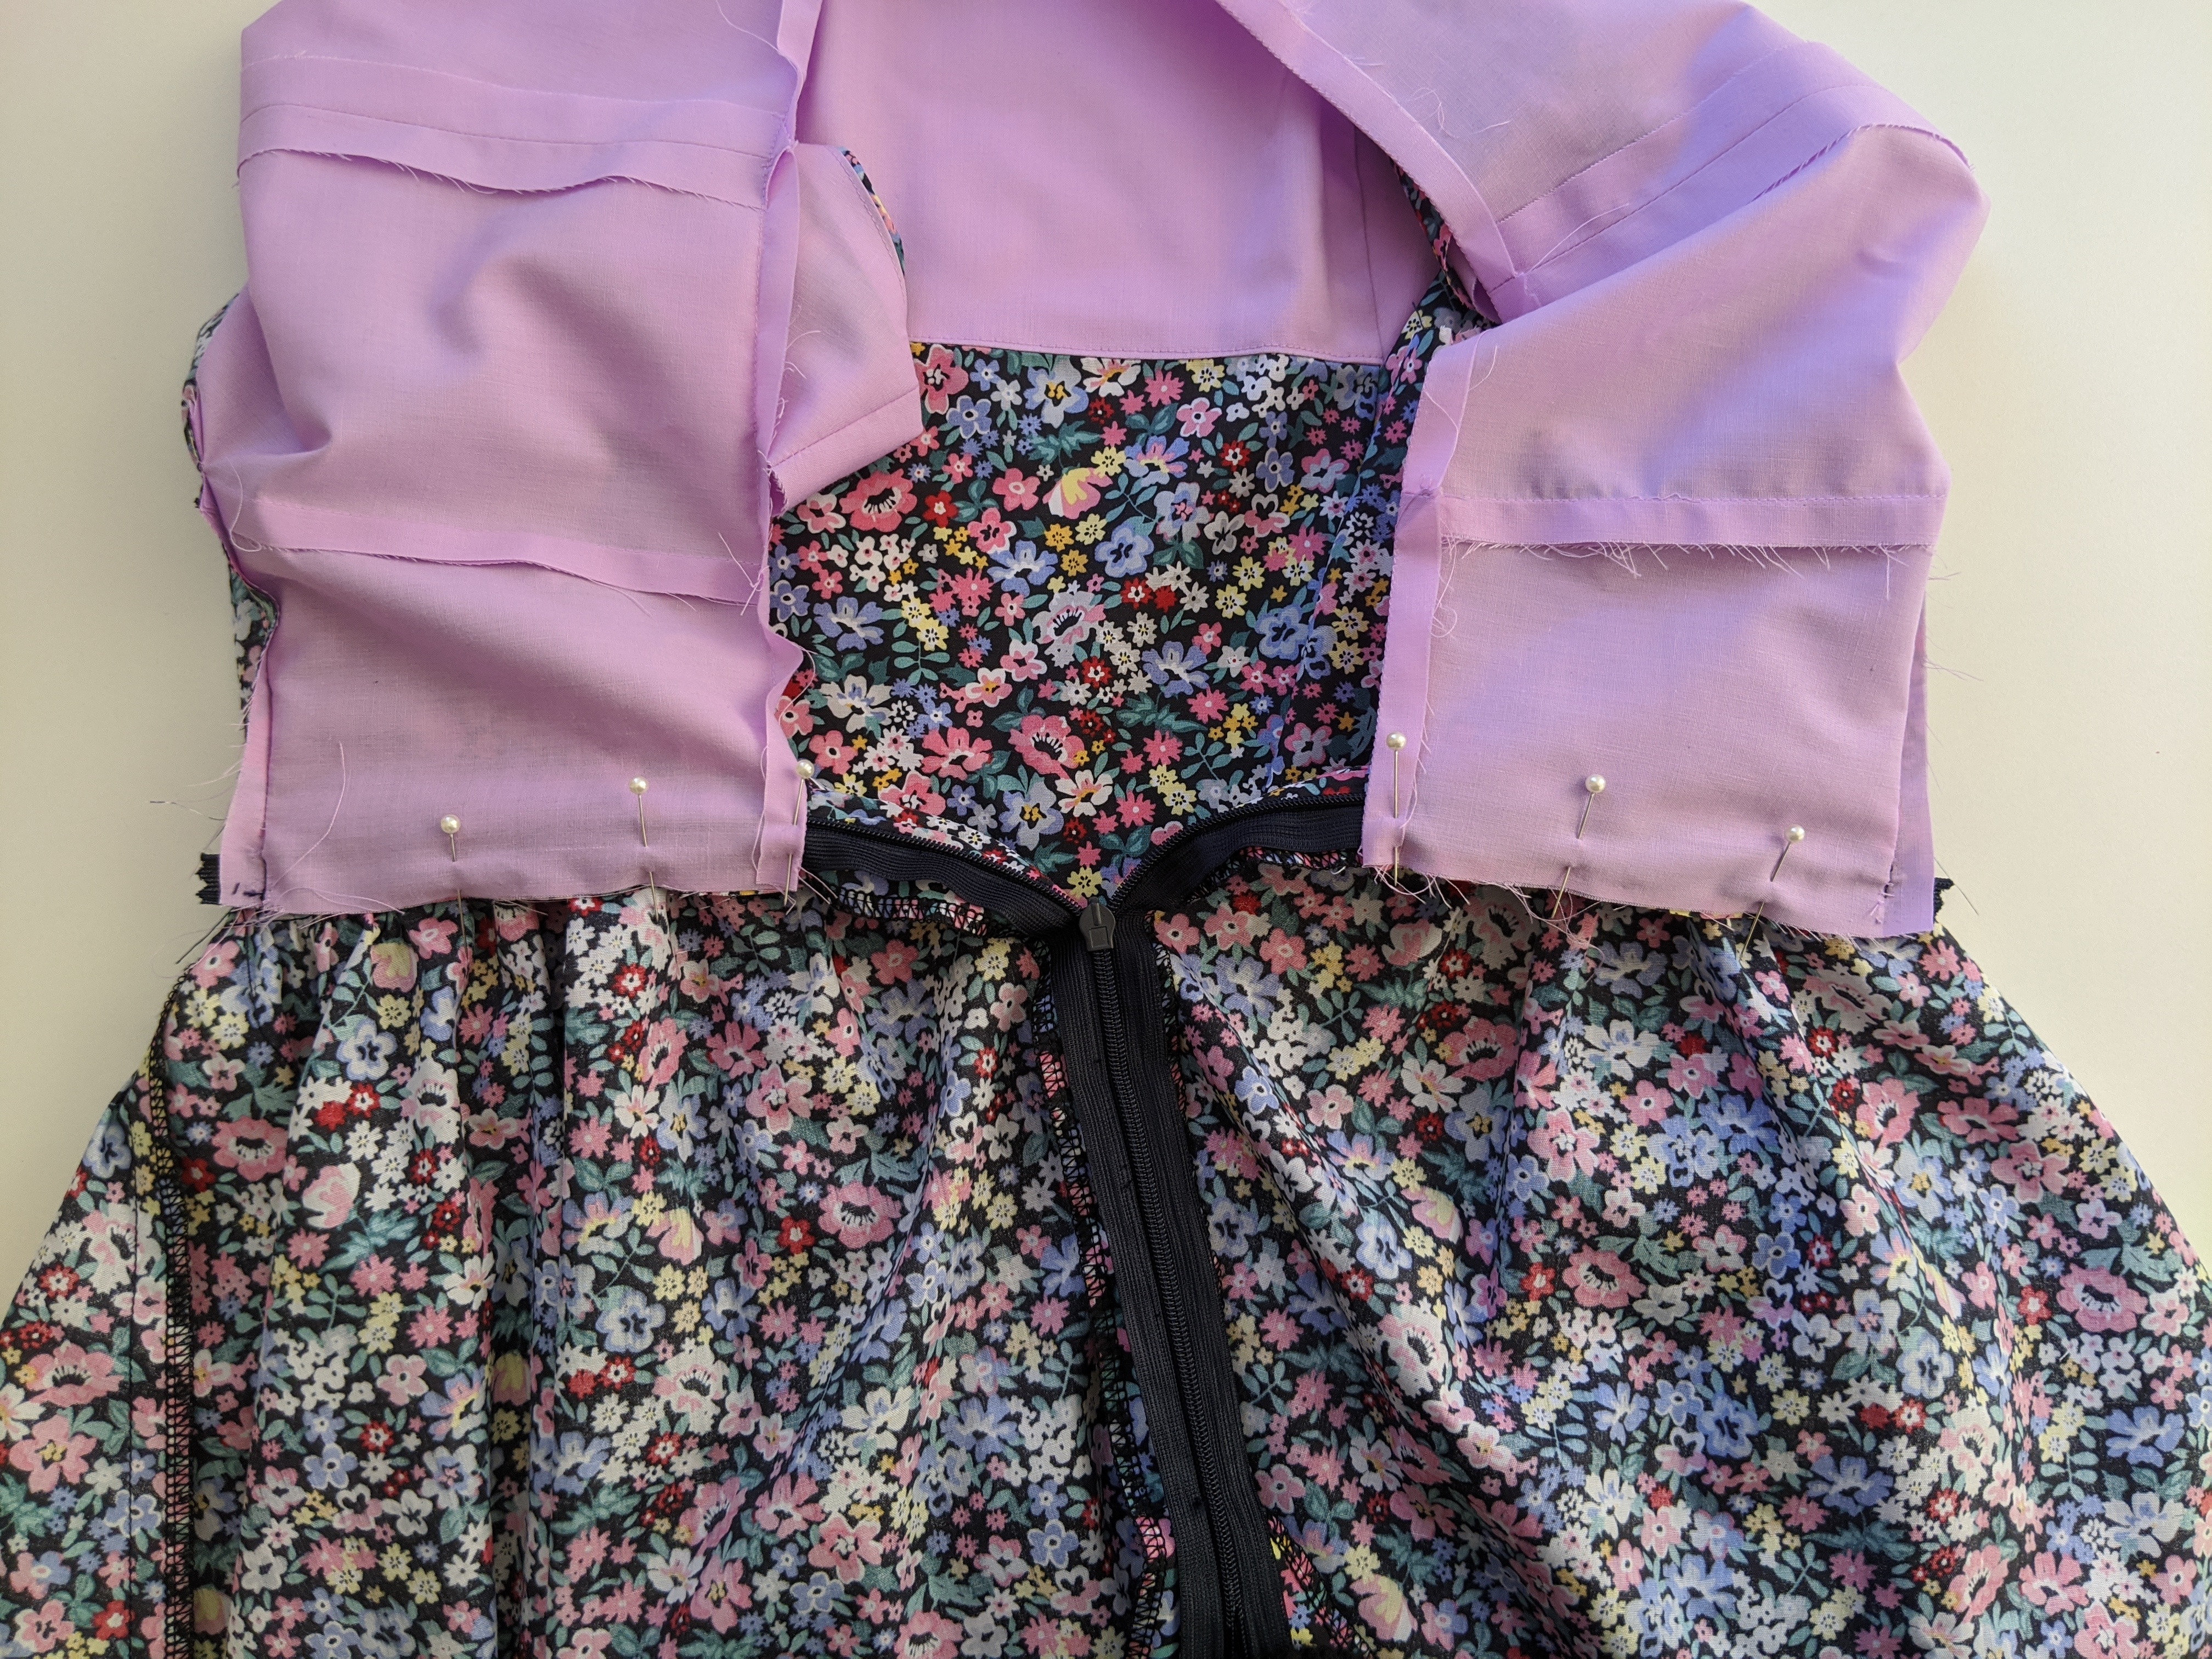
Prepare your invisible zipper for sewing by pressing it open. Then pin to the main fabric of the bodice and stitch to secure using an invisible zipper foot. Ensure your waist seam lines up on each side of the zipper.
If you need extra help sewing the invisible zipper, there is a more in-depth tutorial here.
Step 12
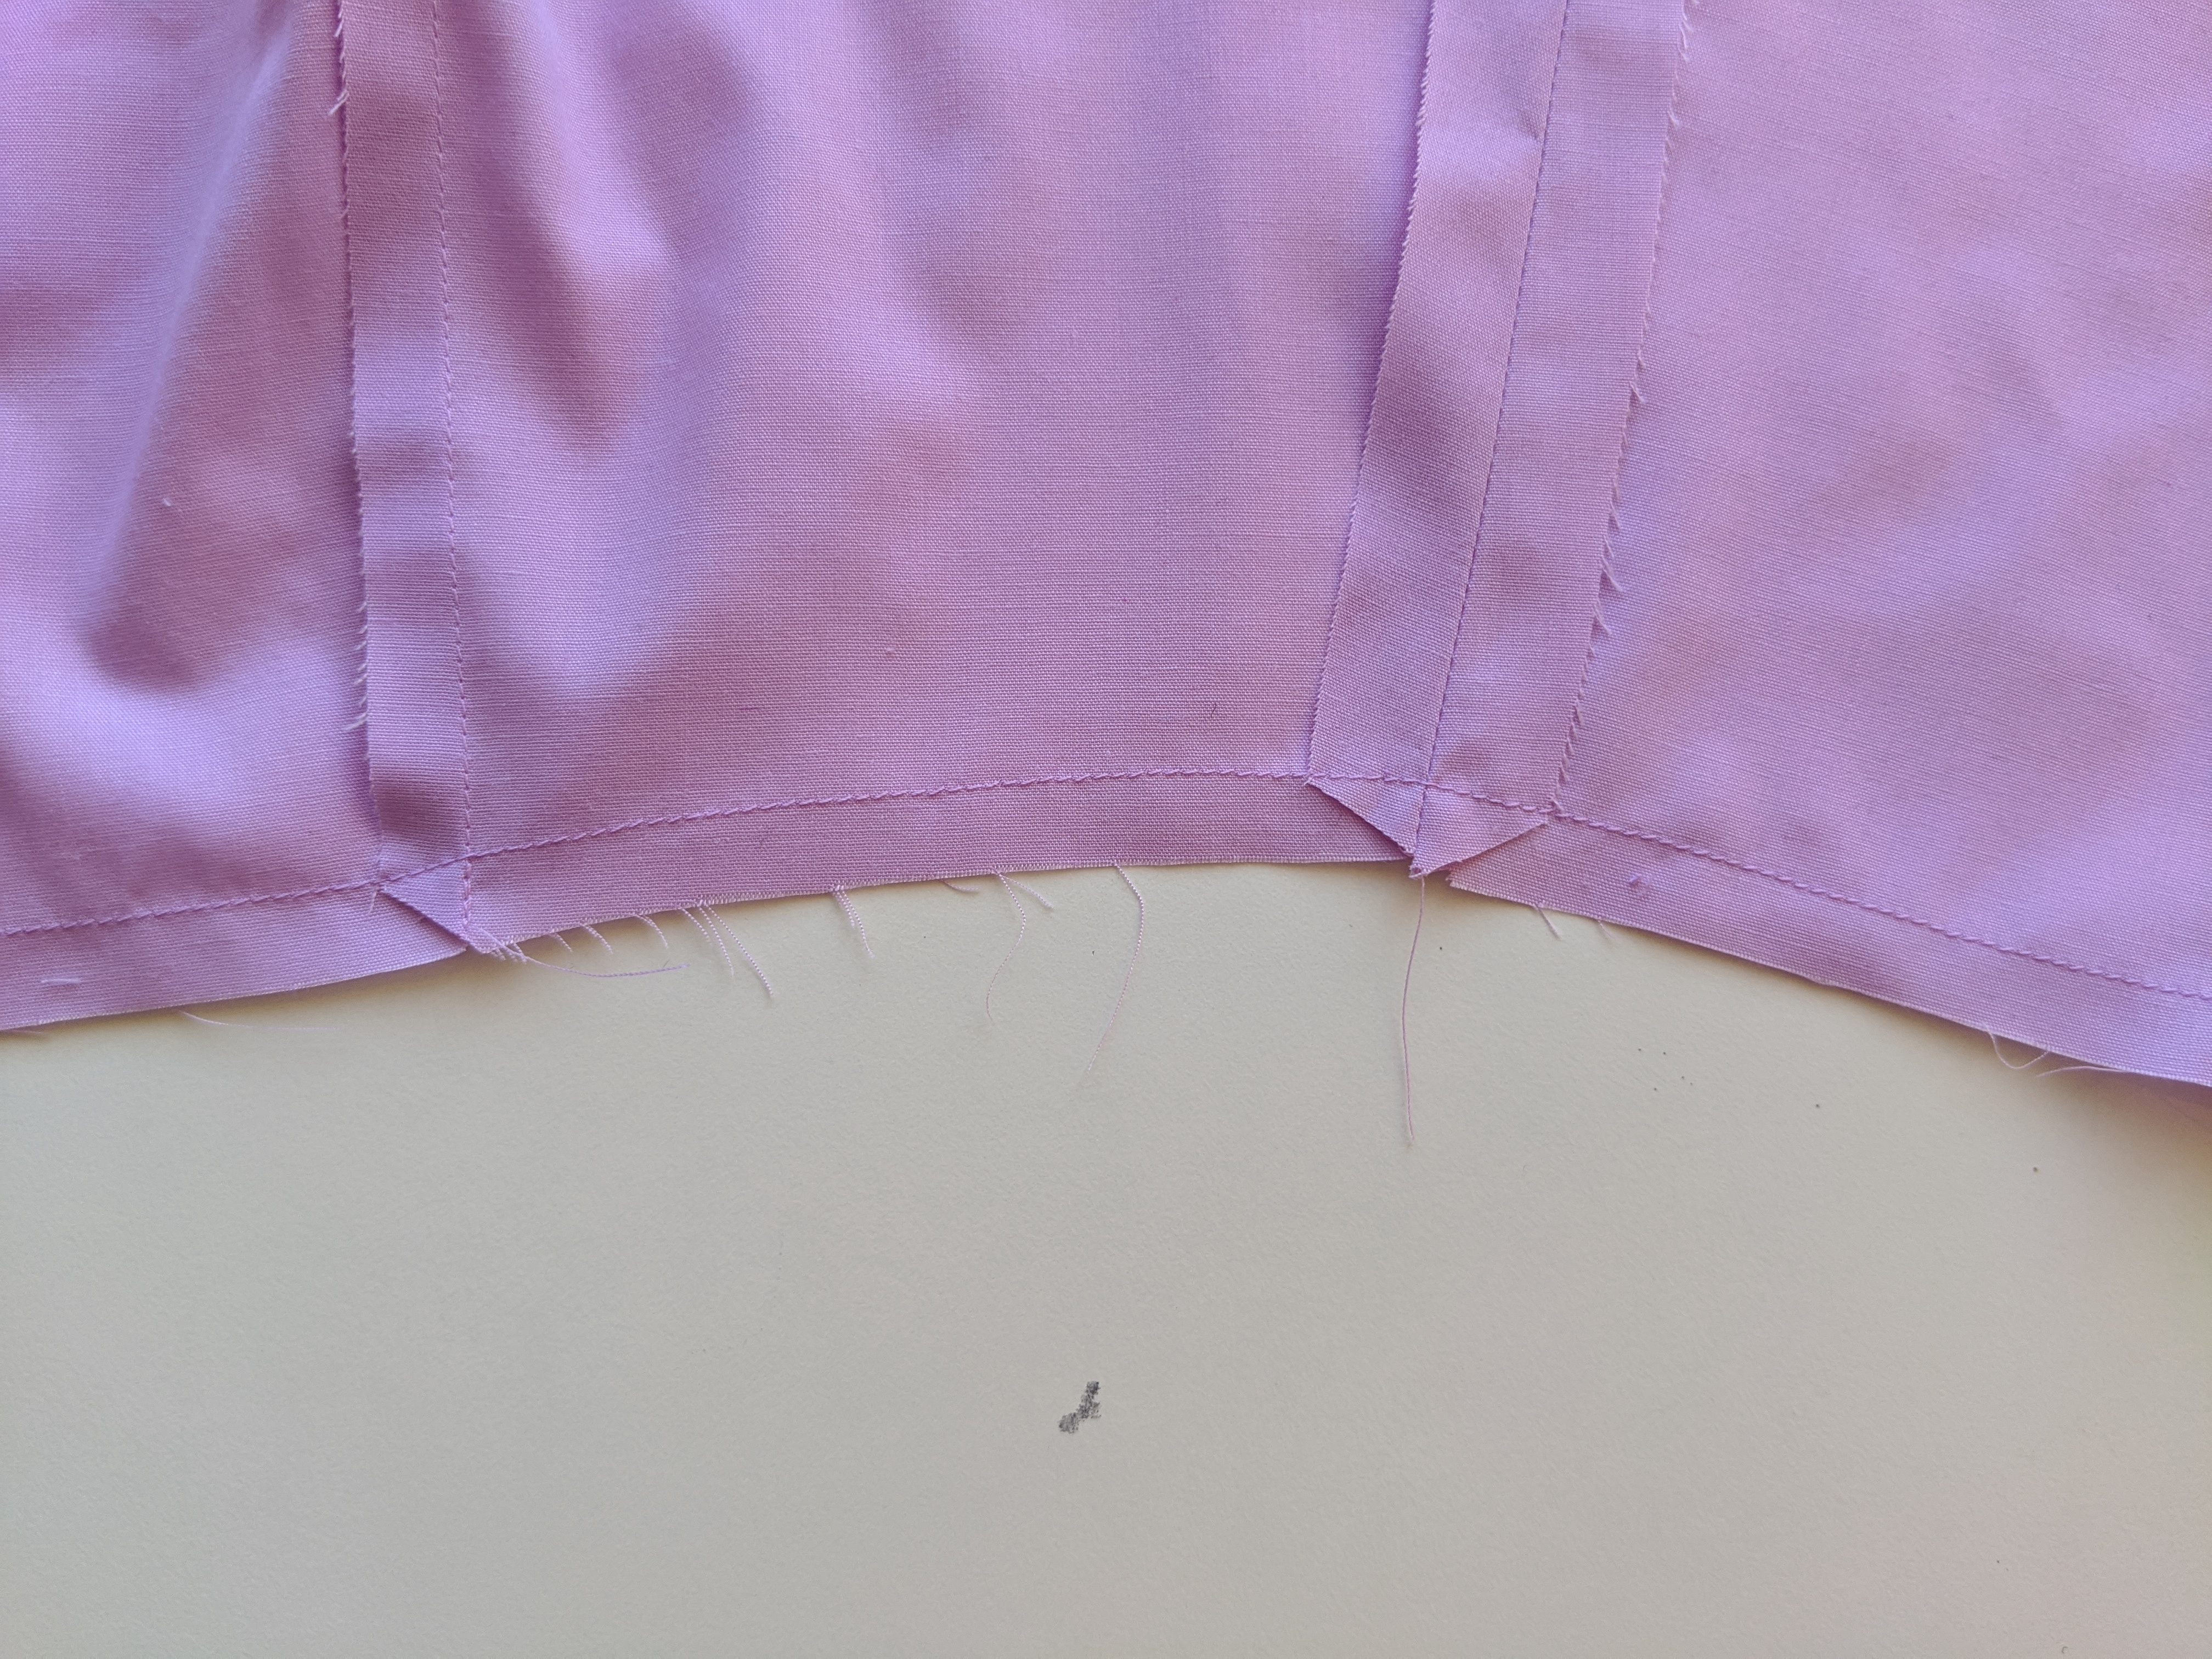
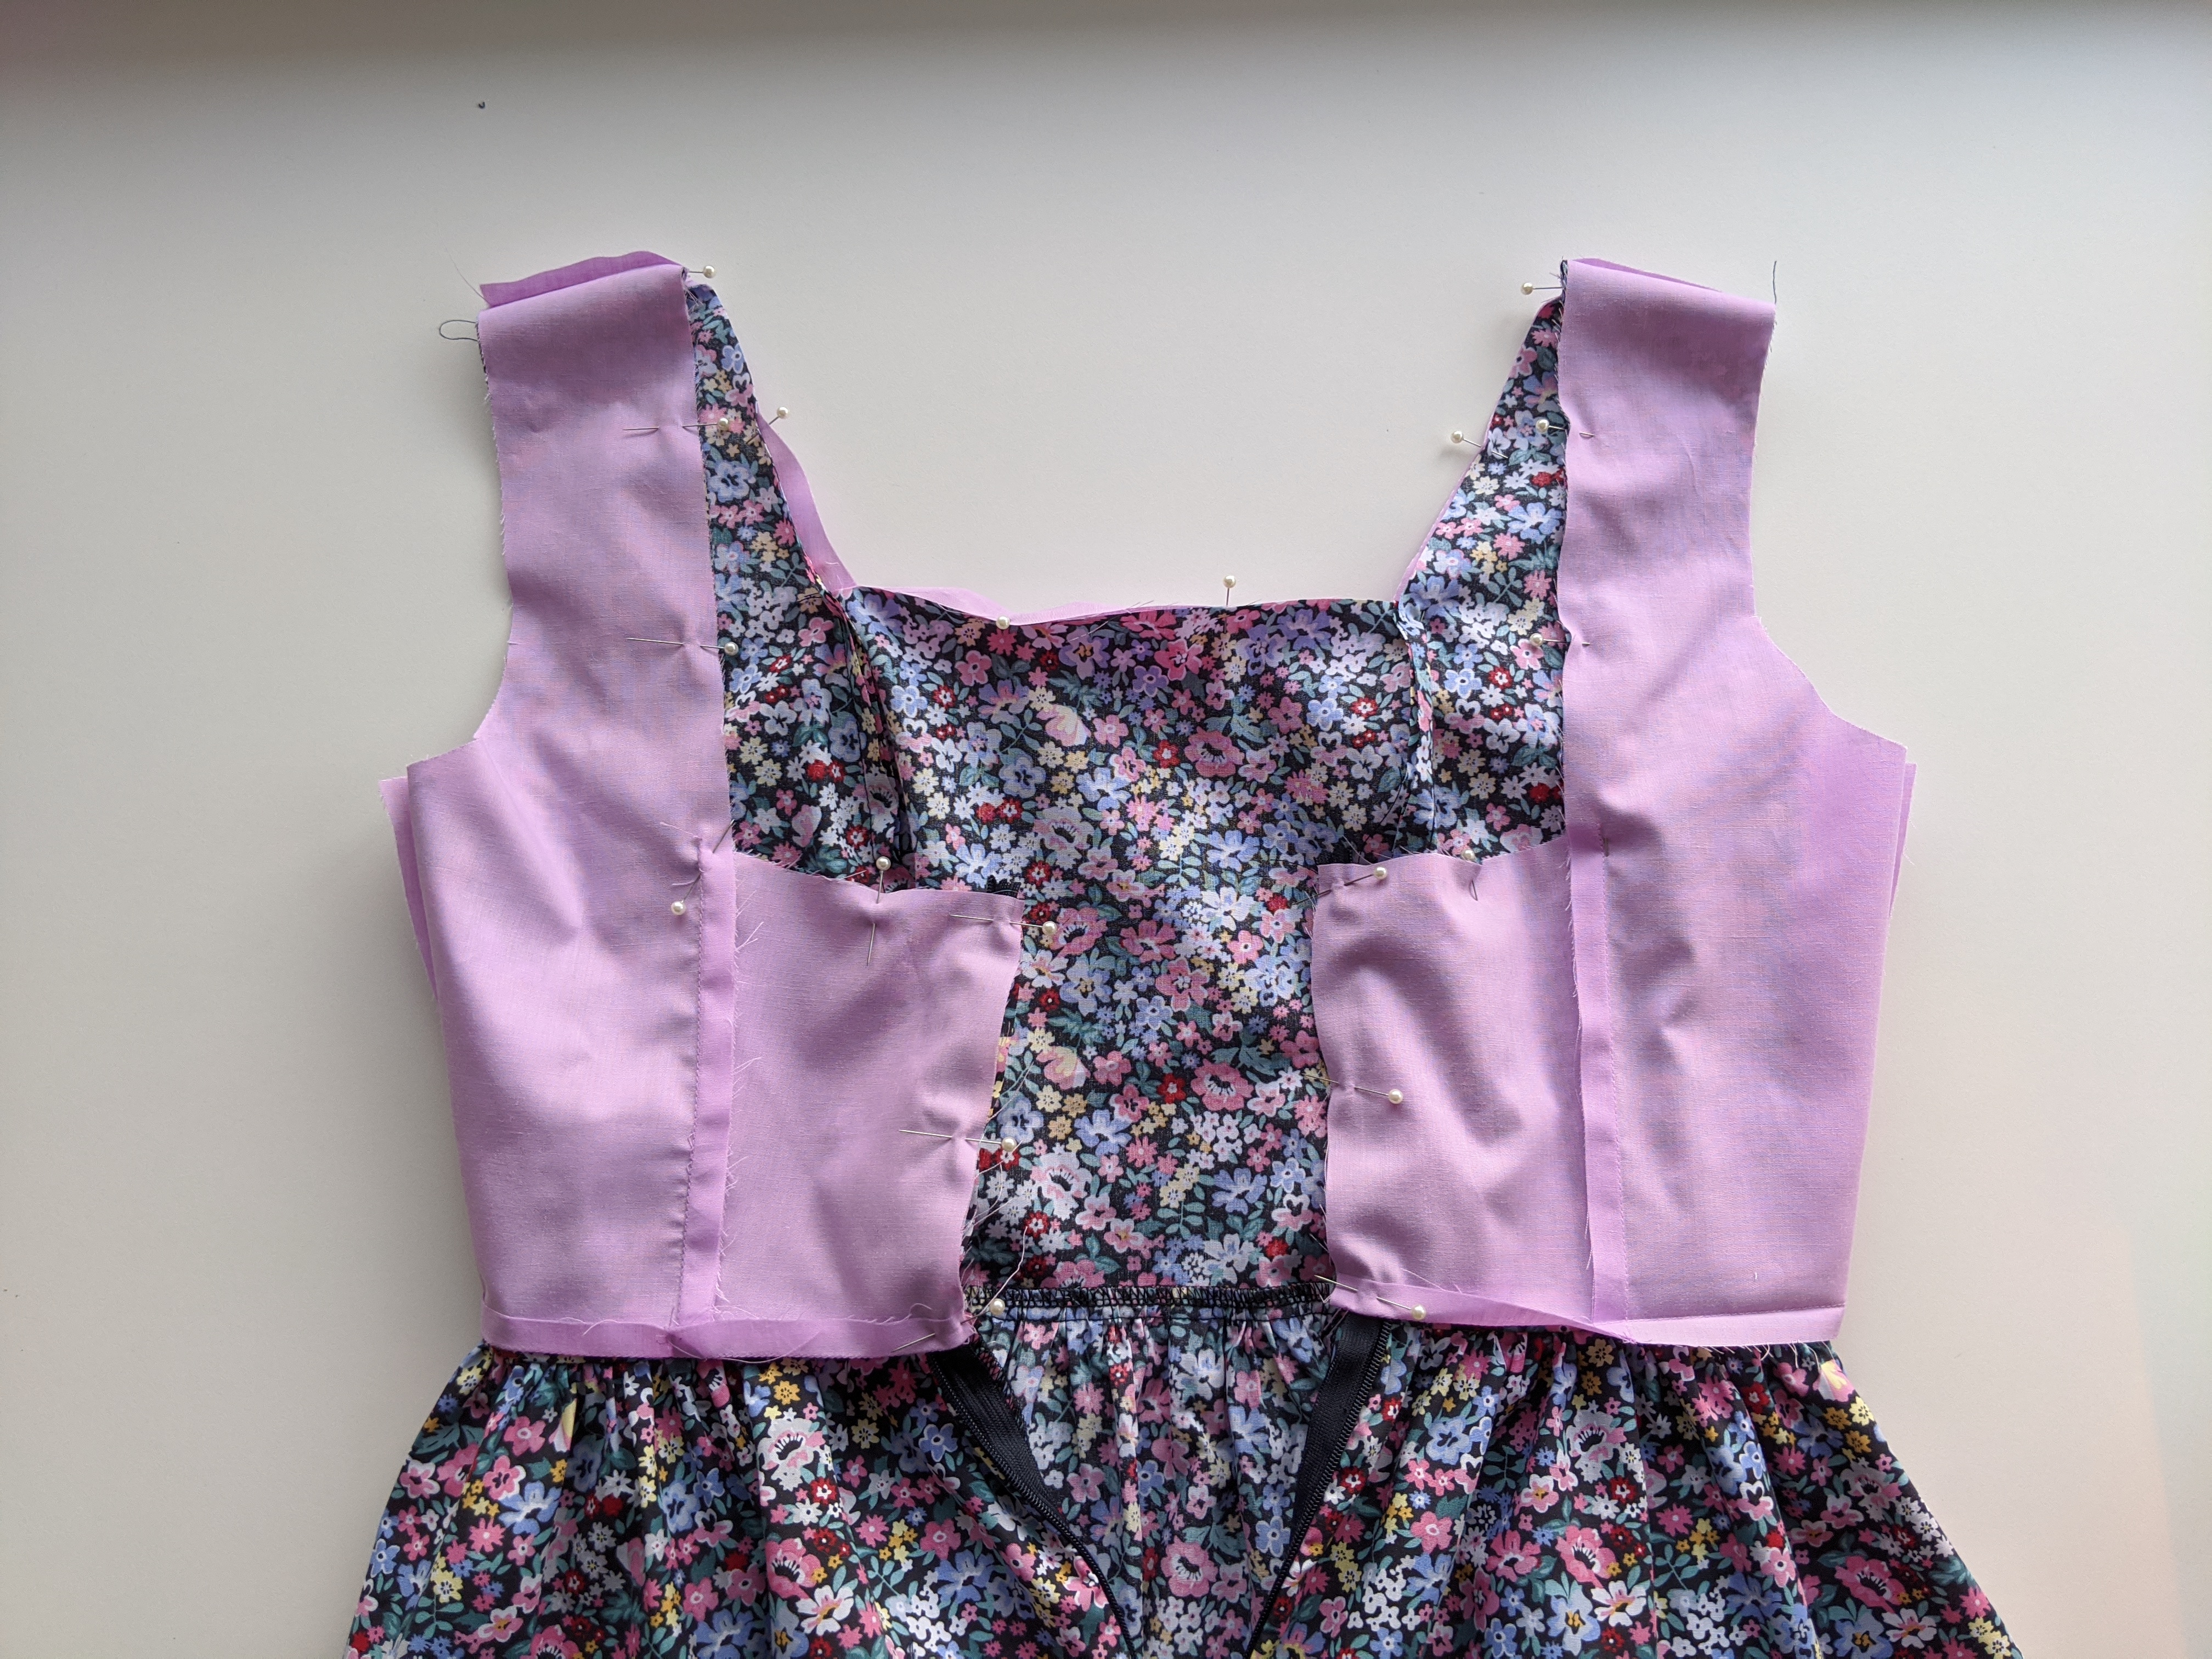
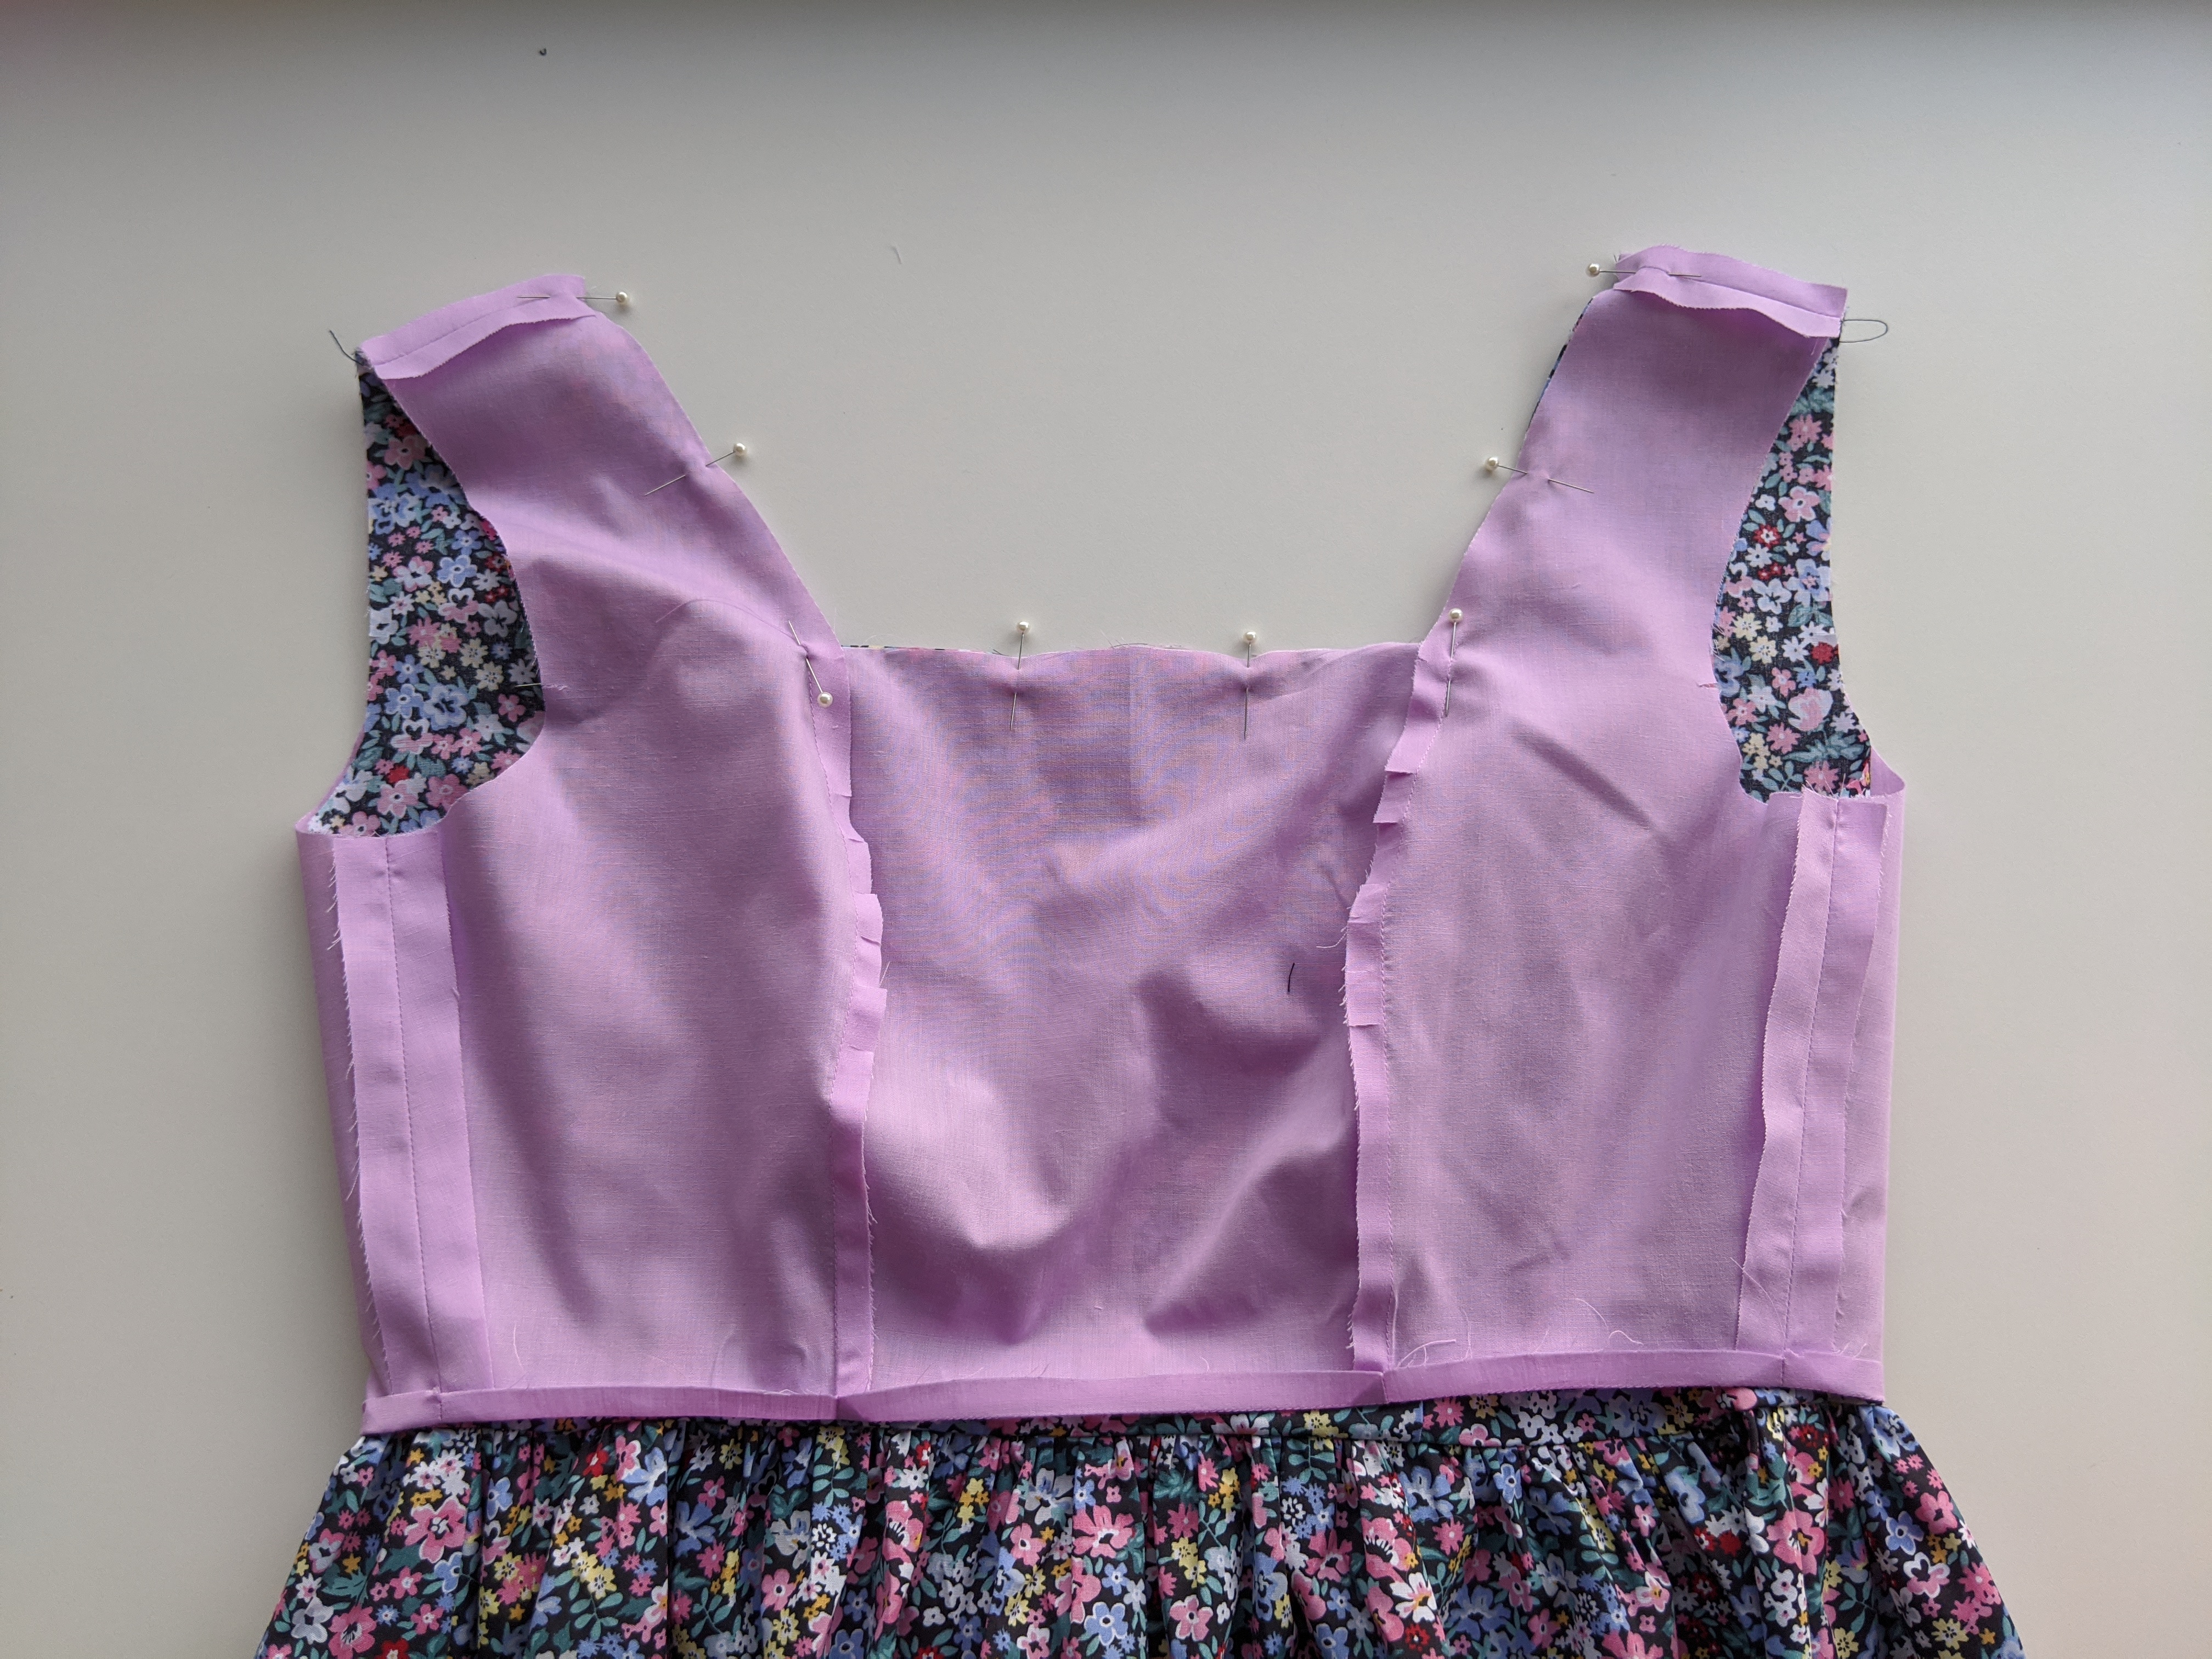
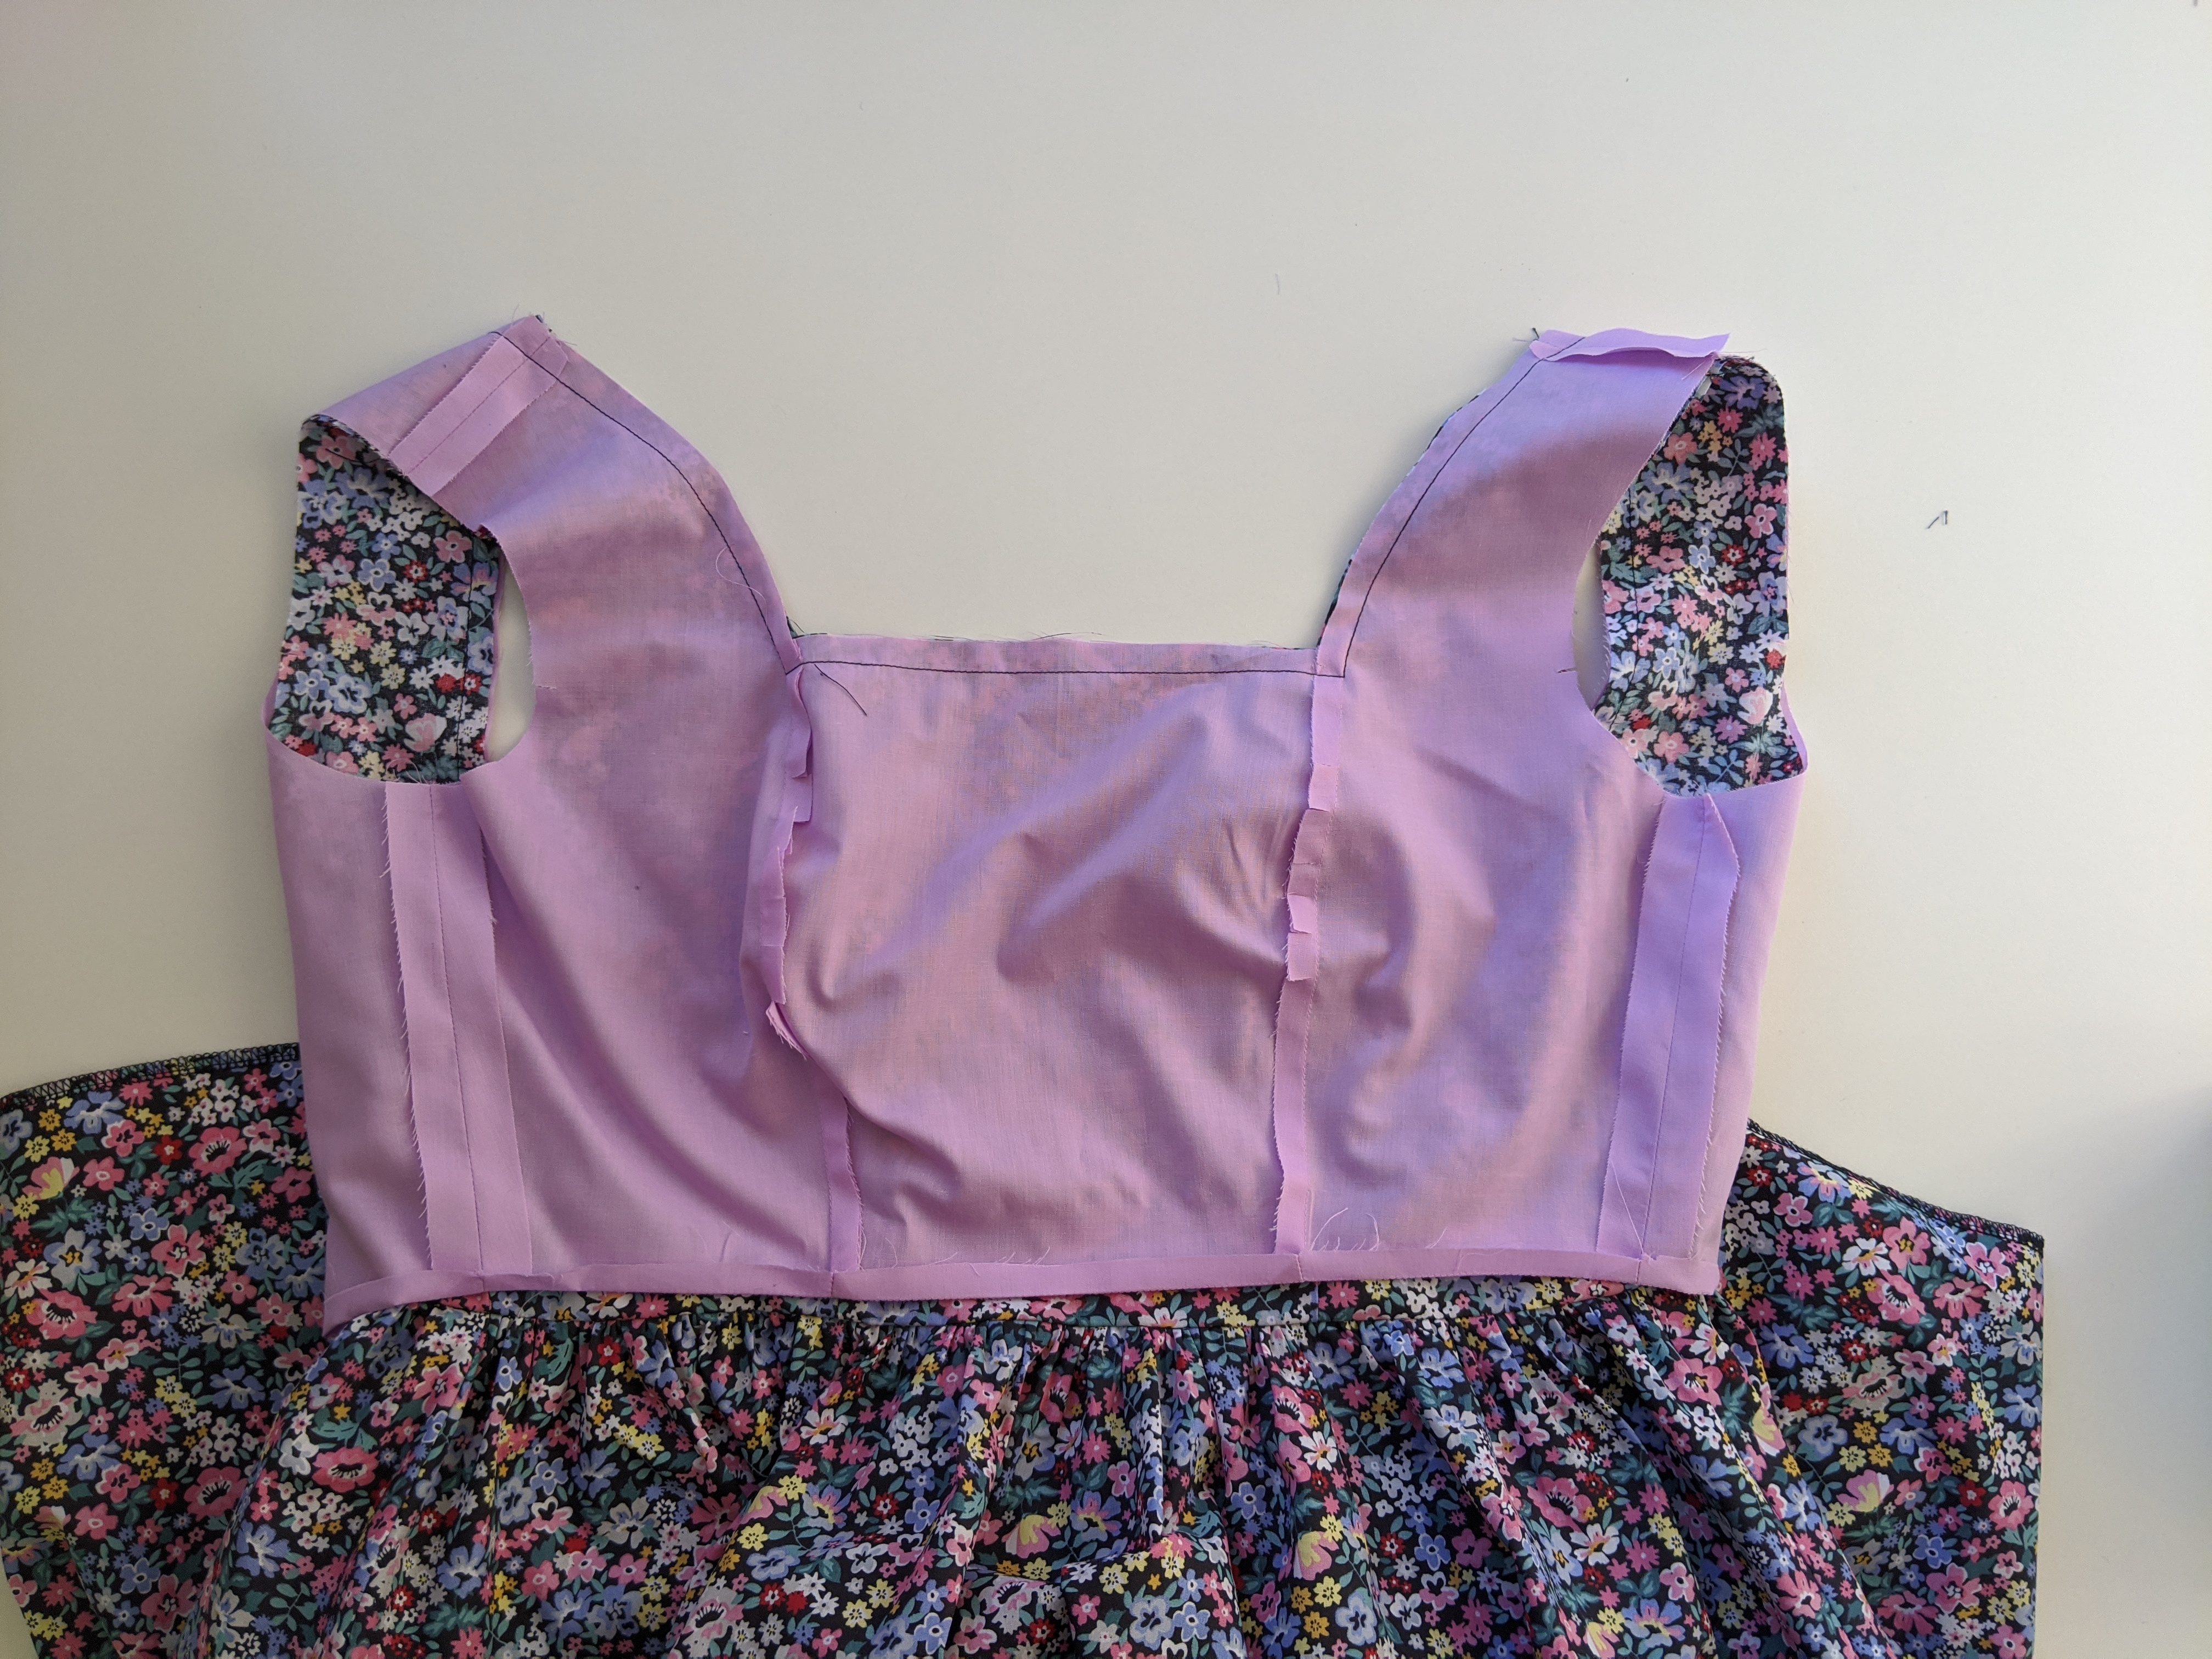
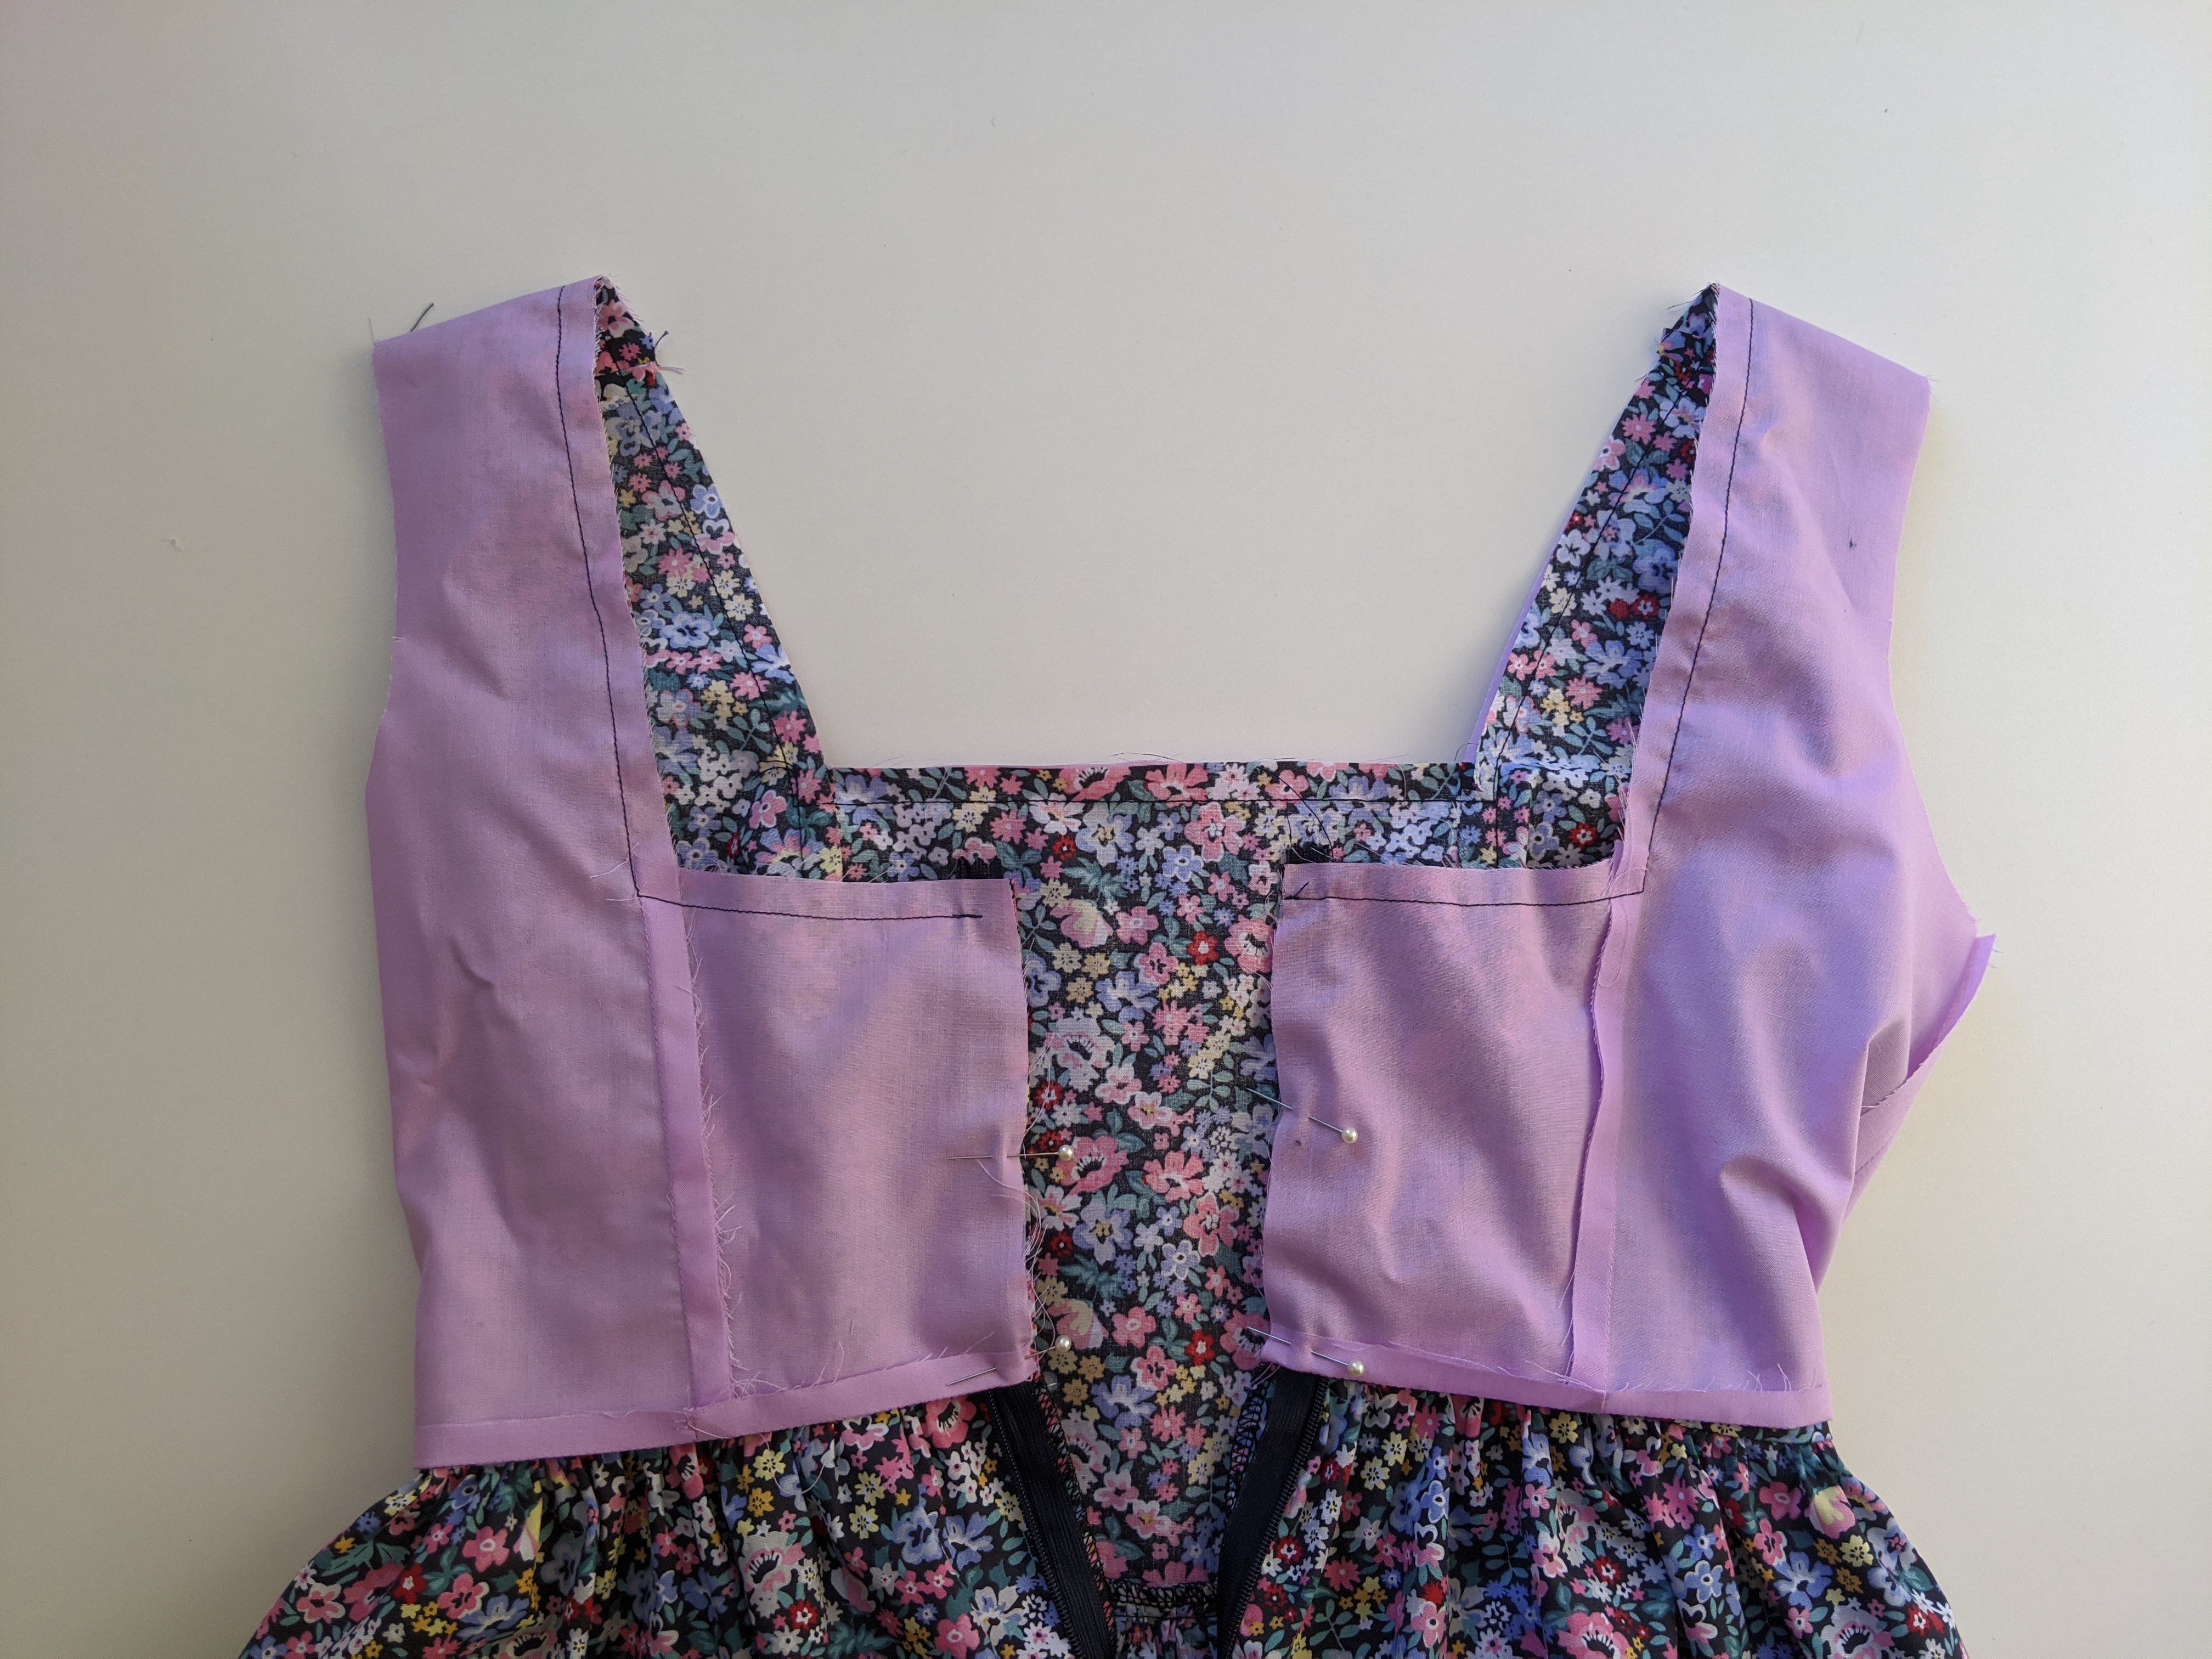
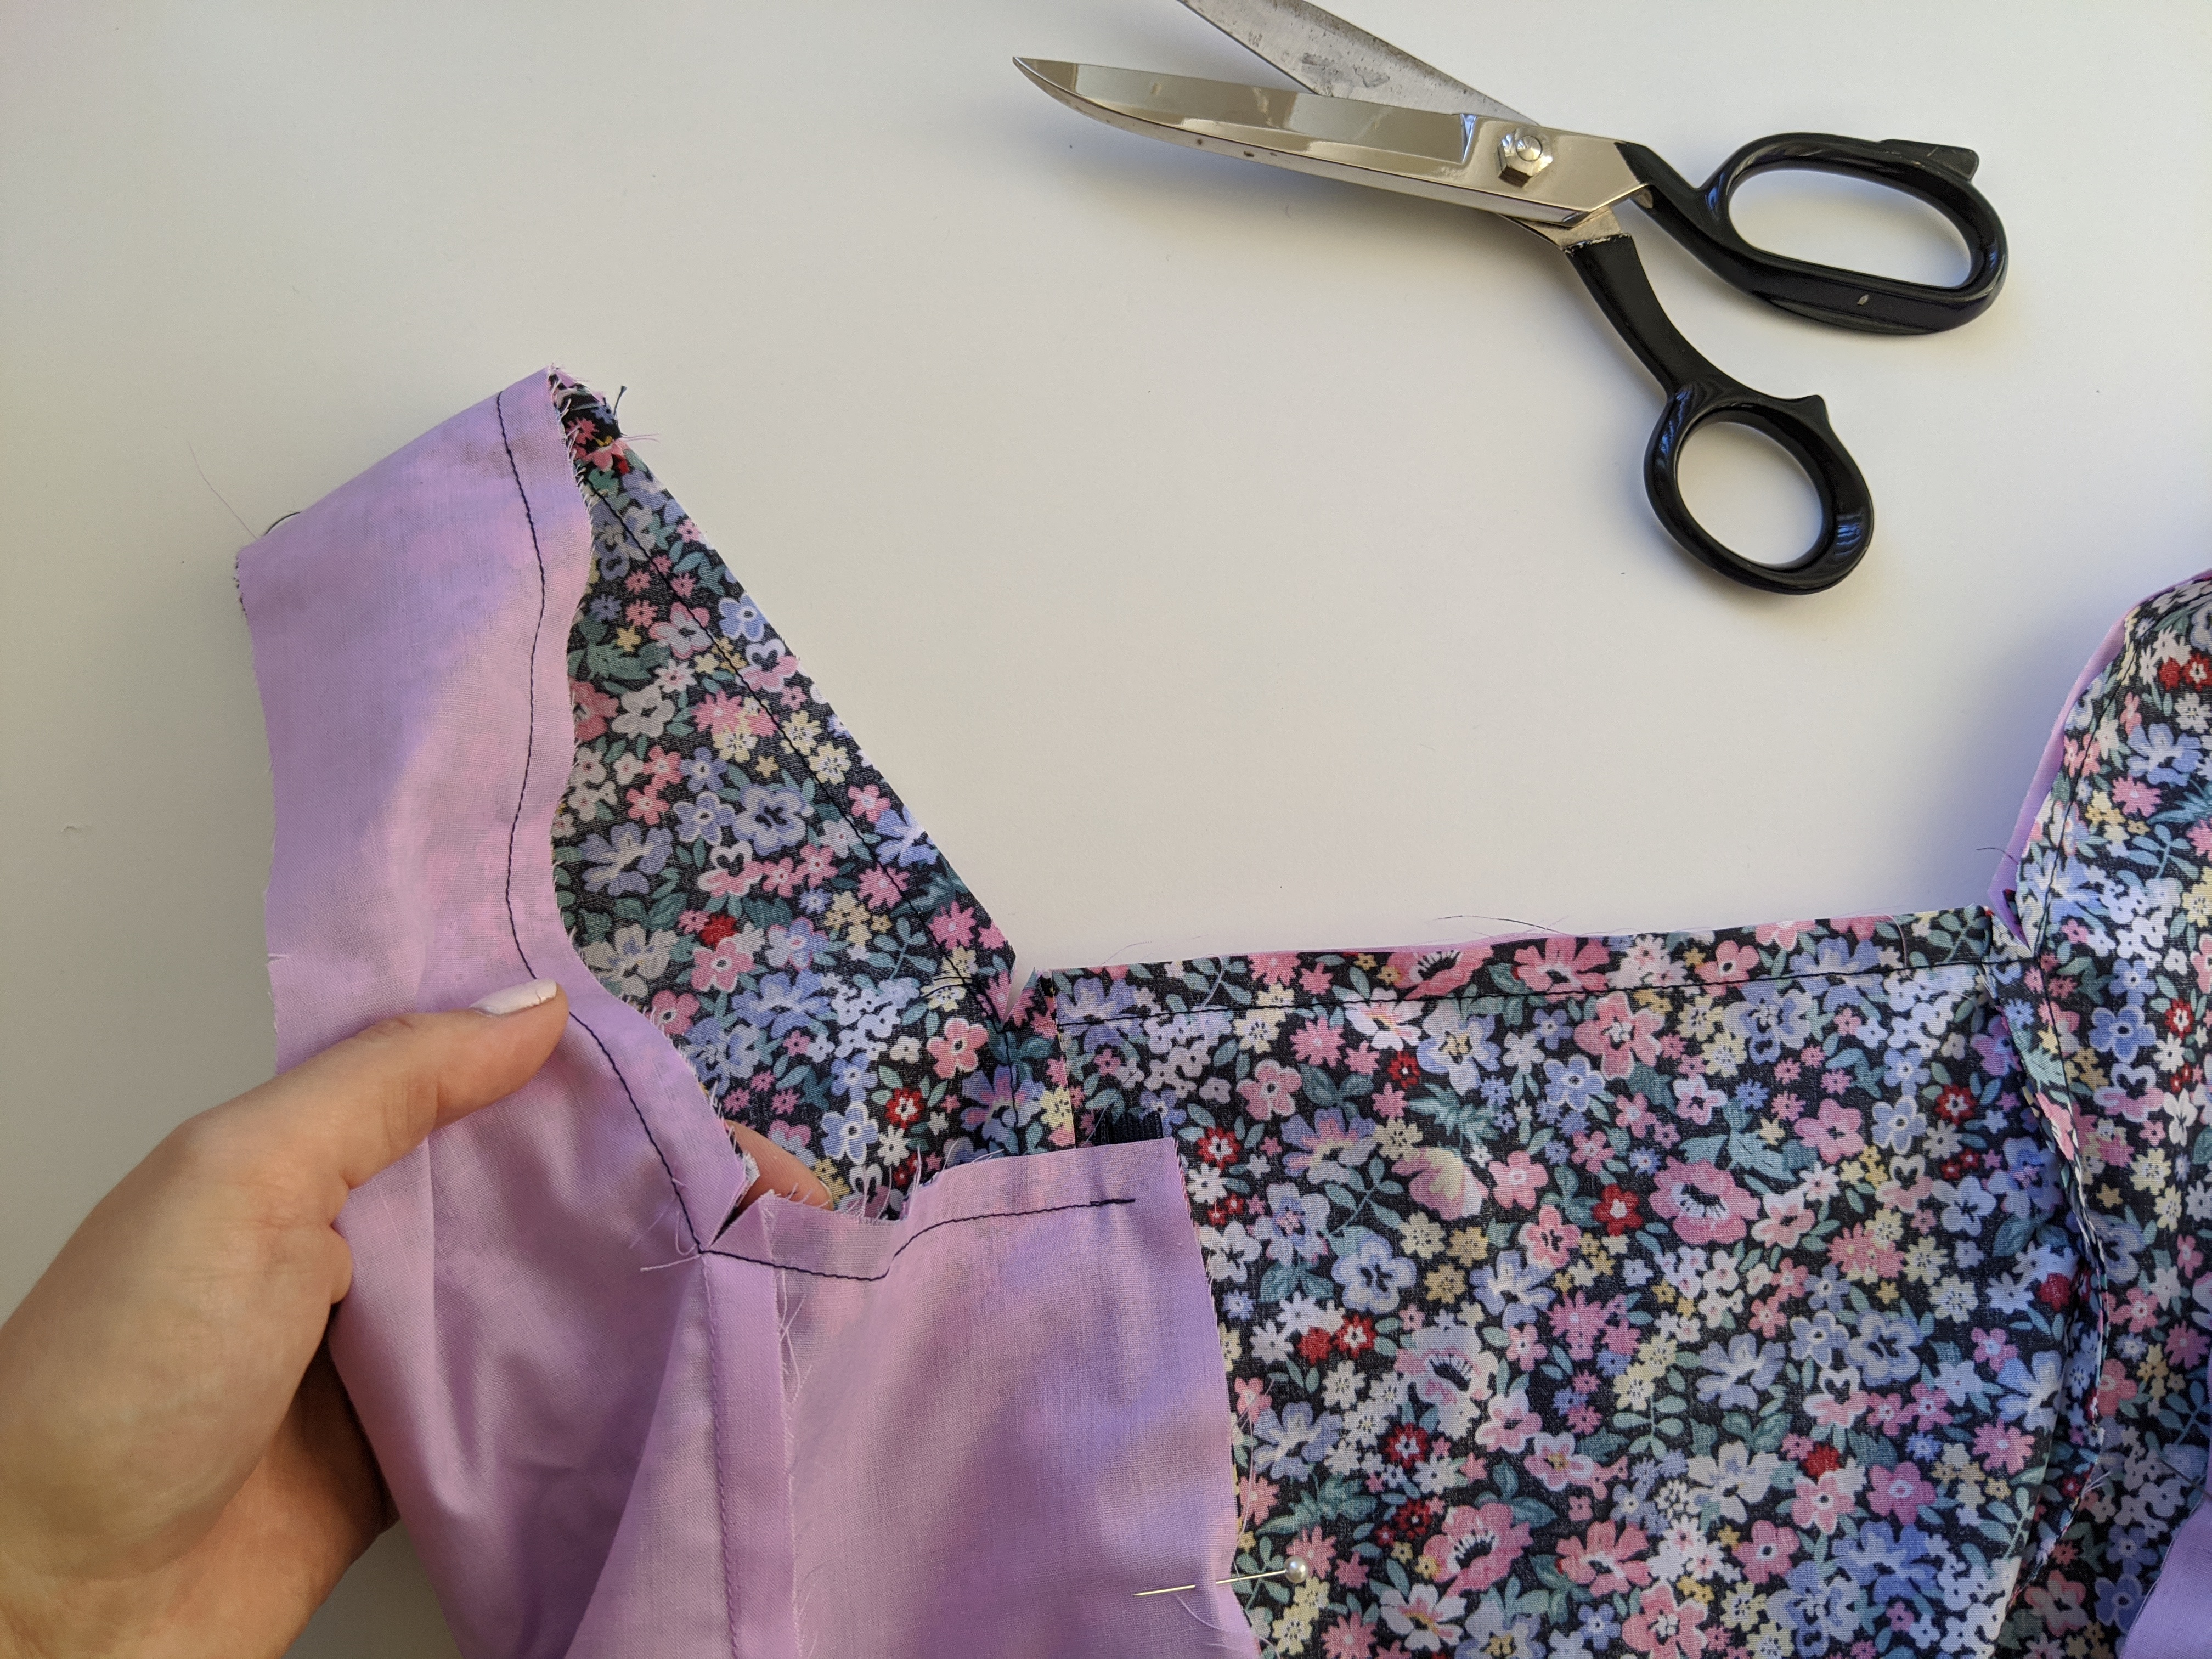
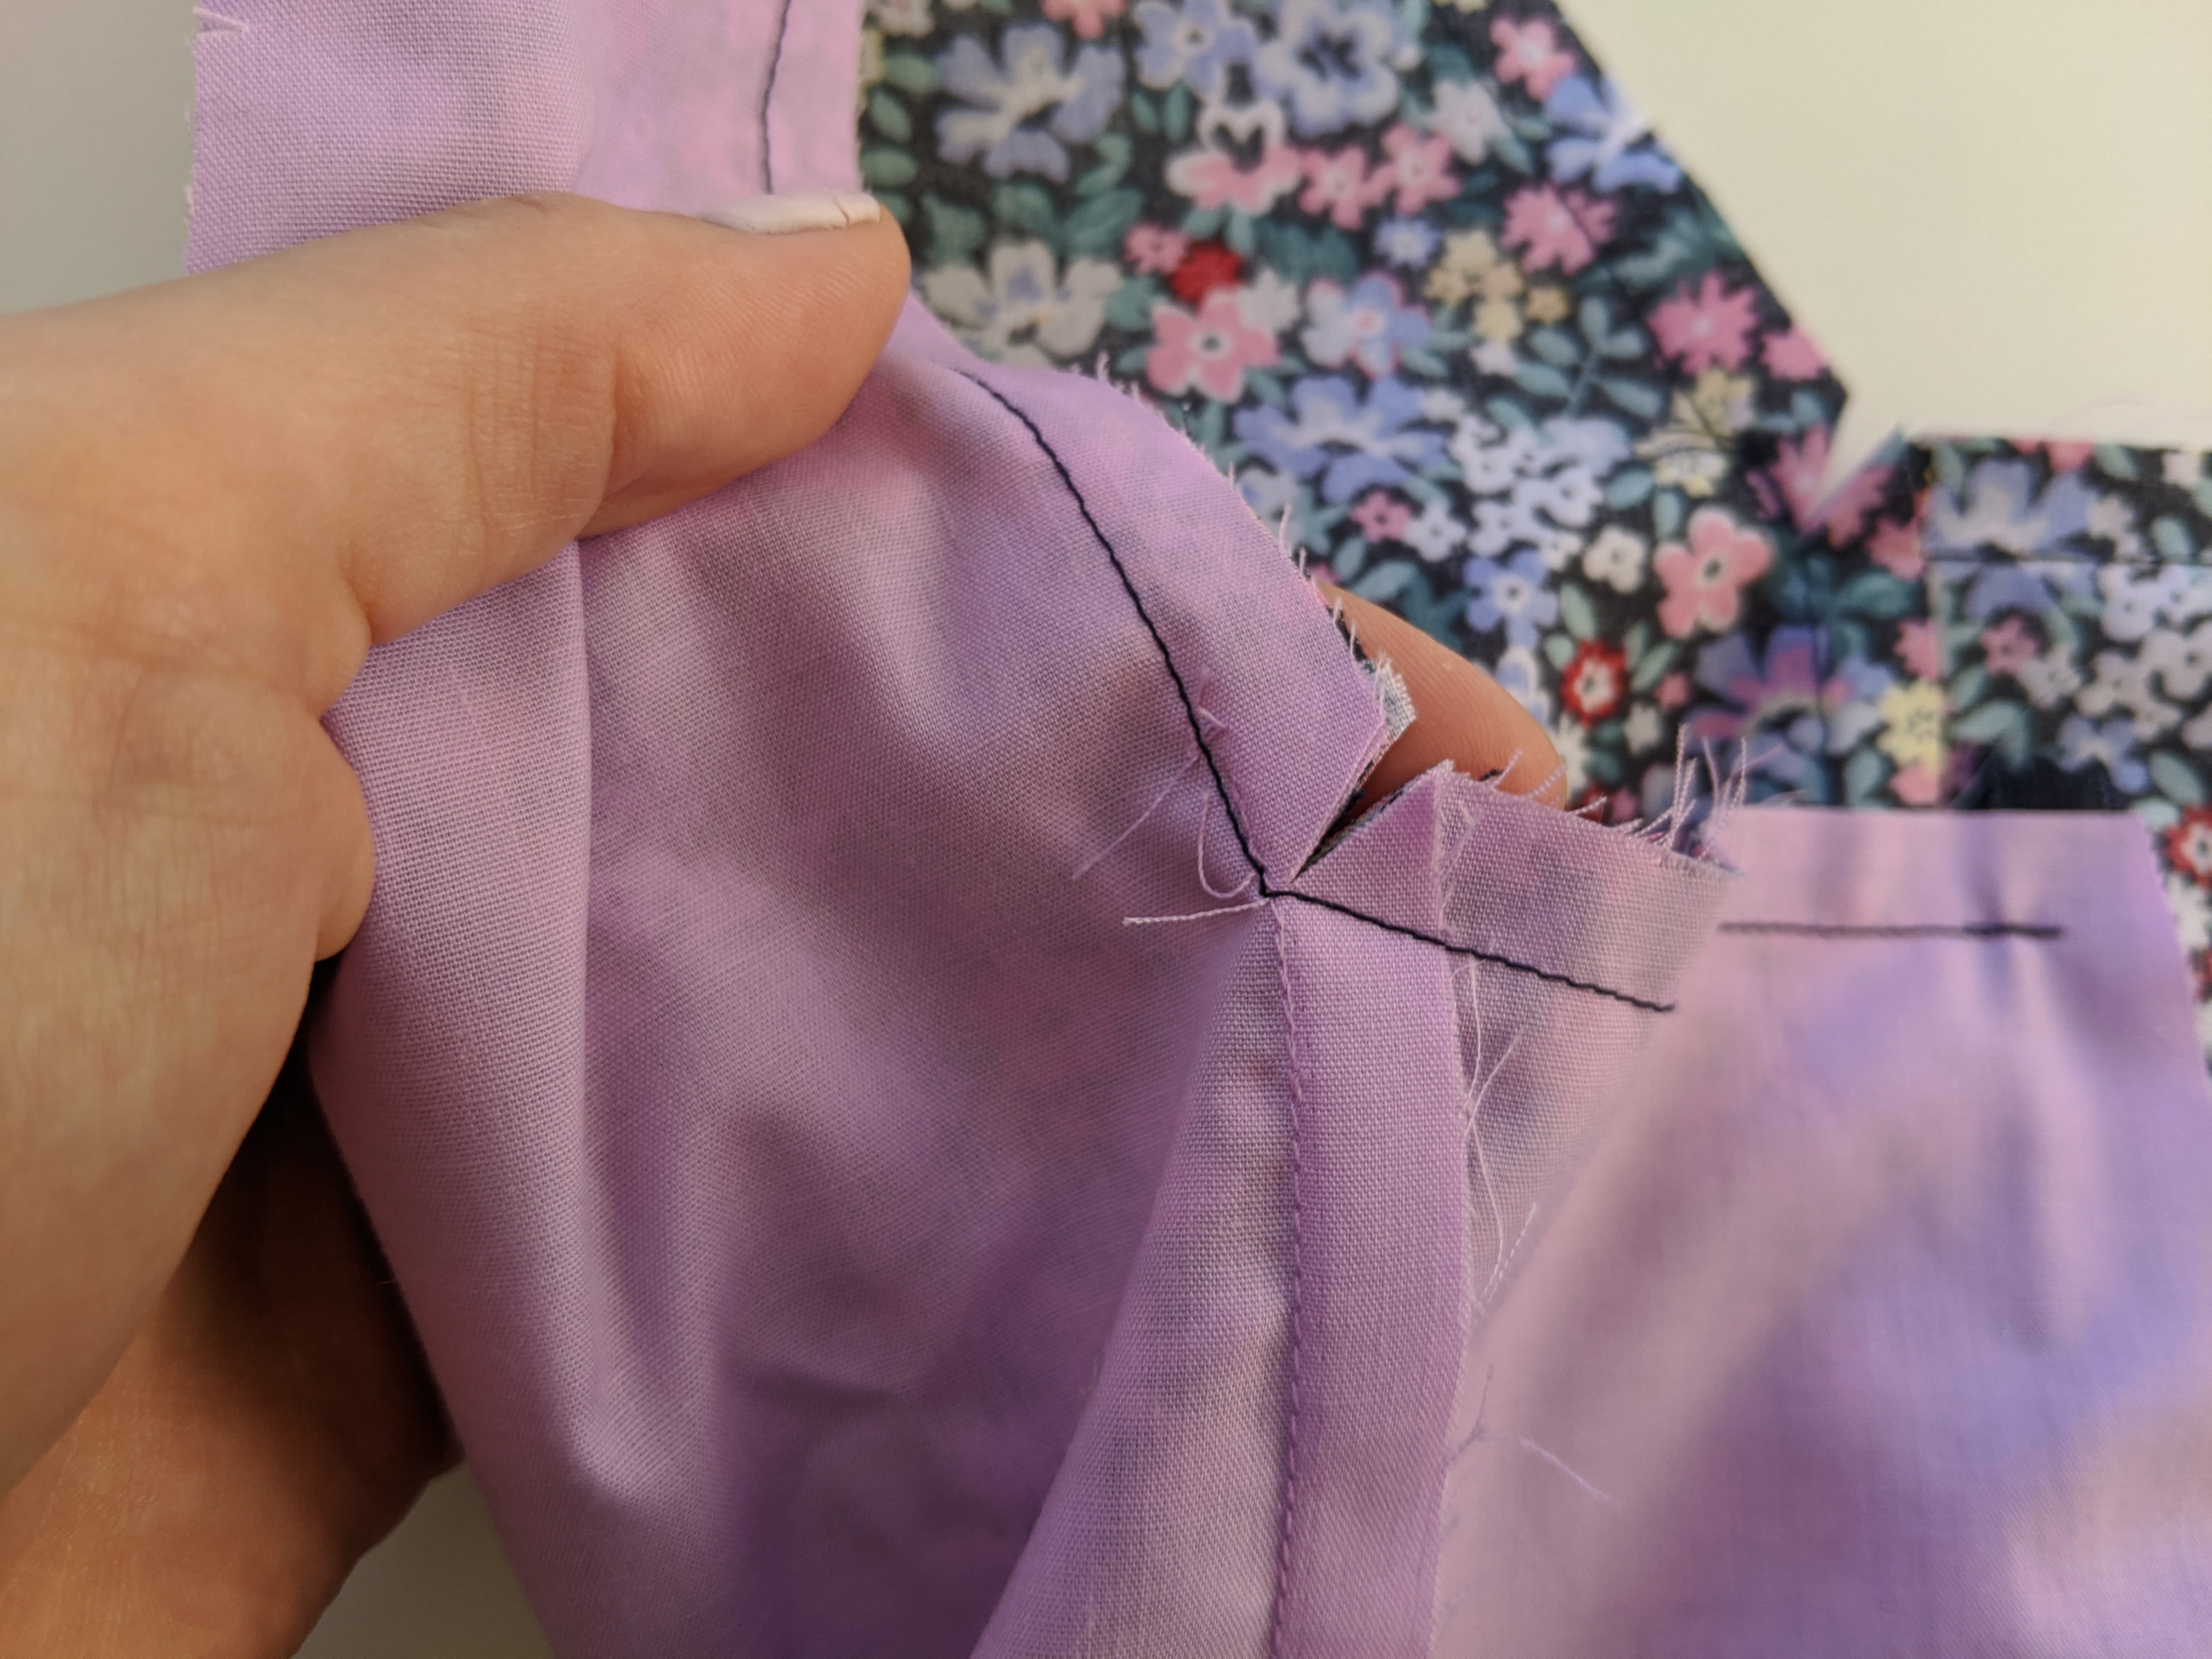
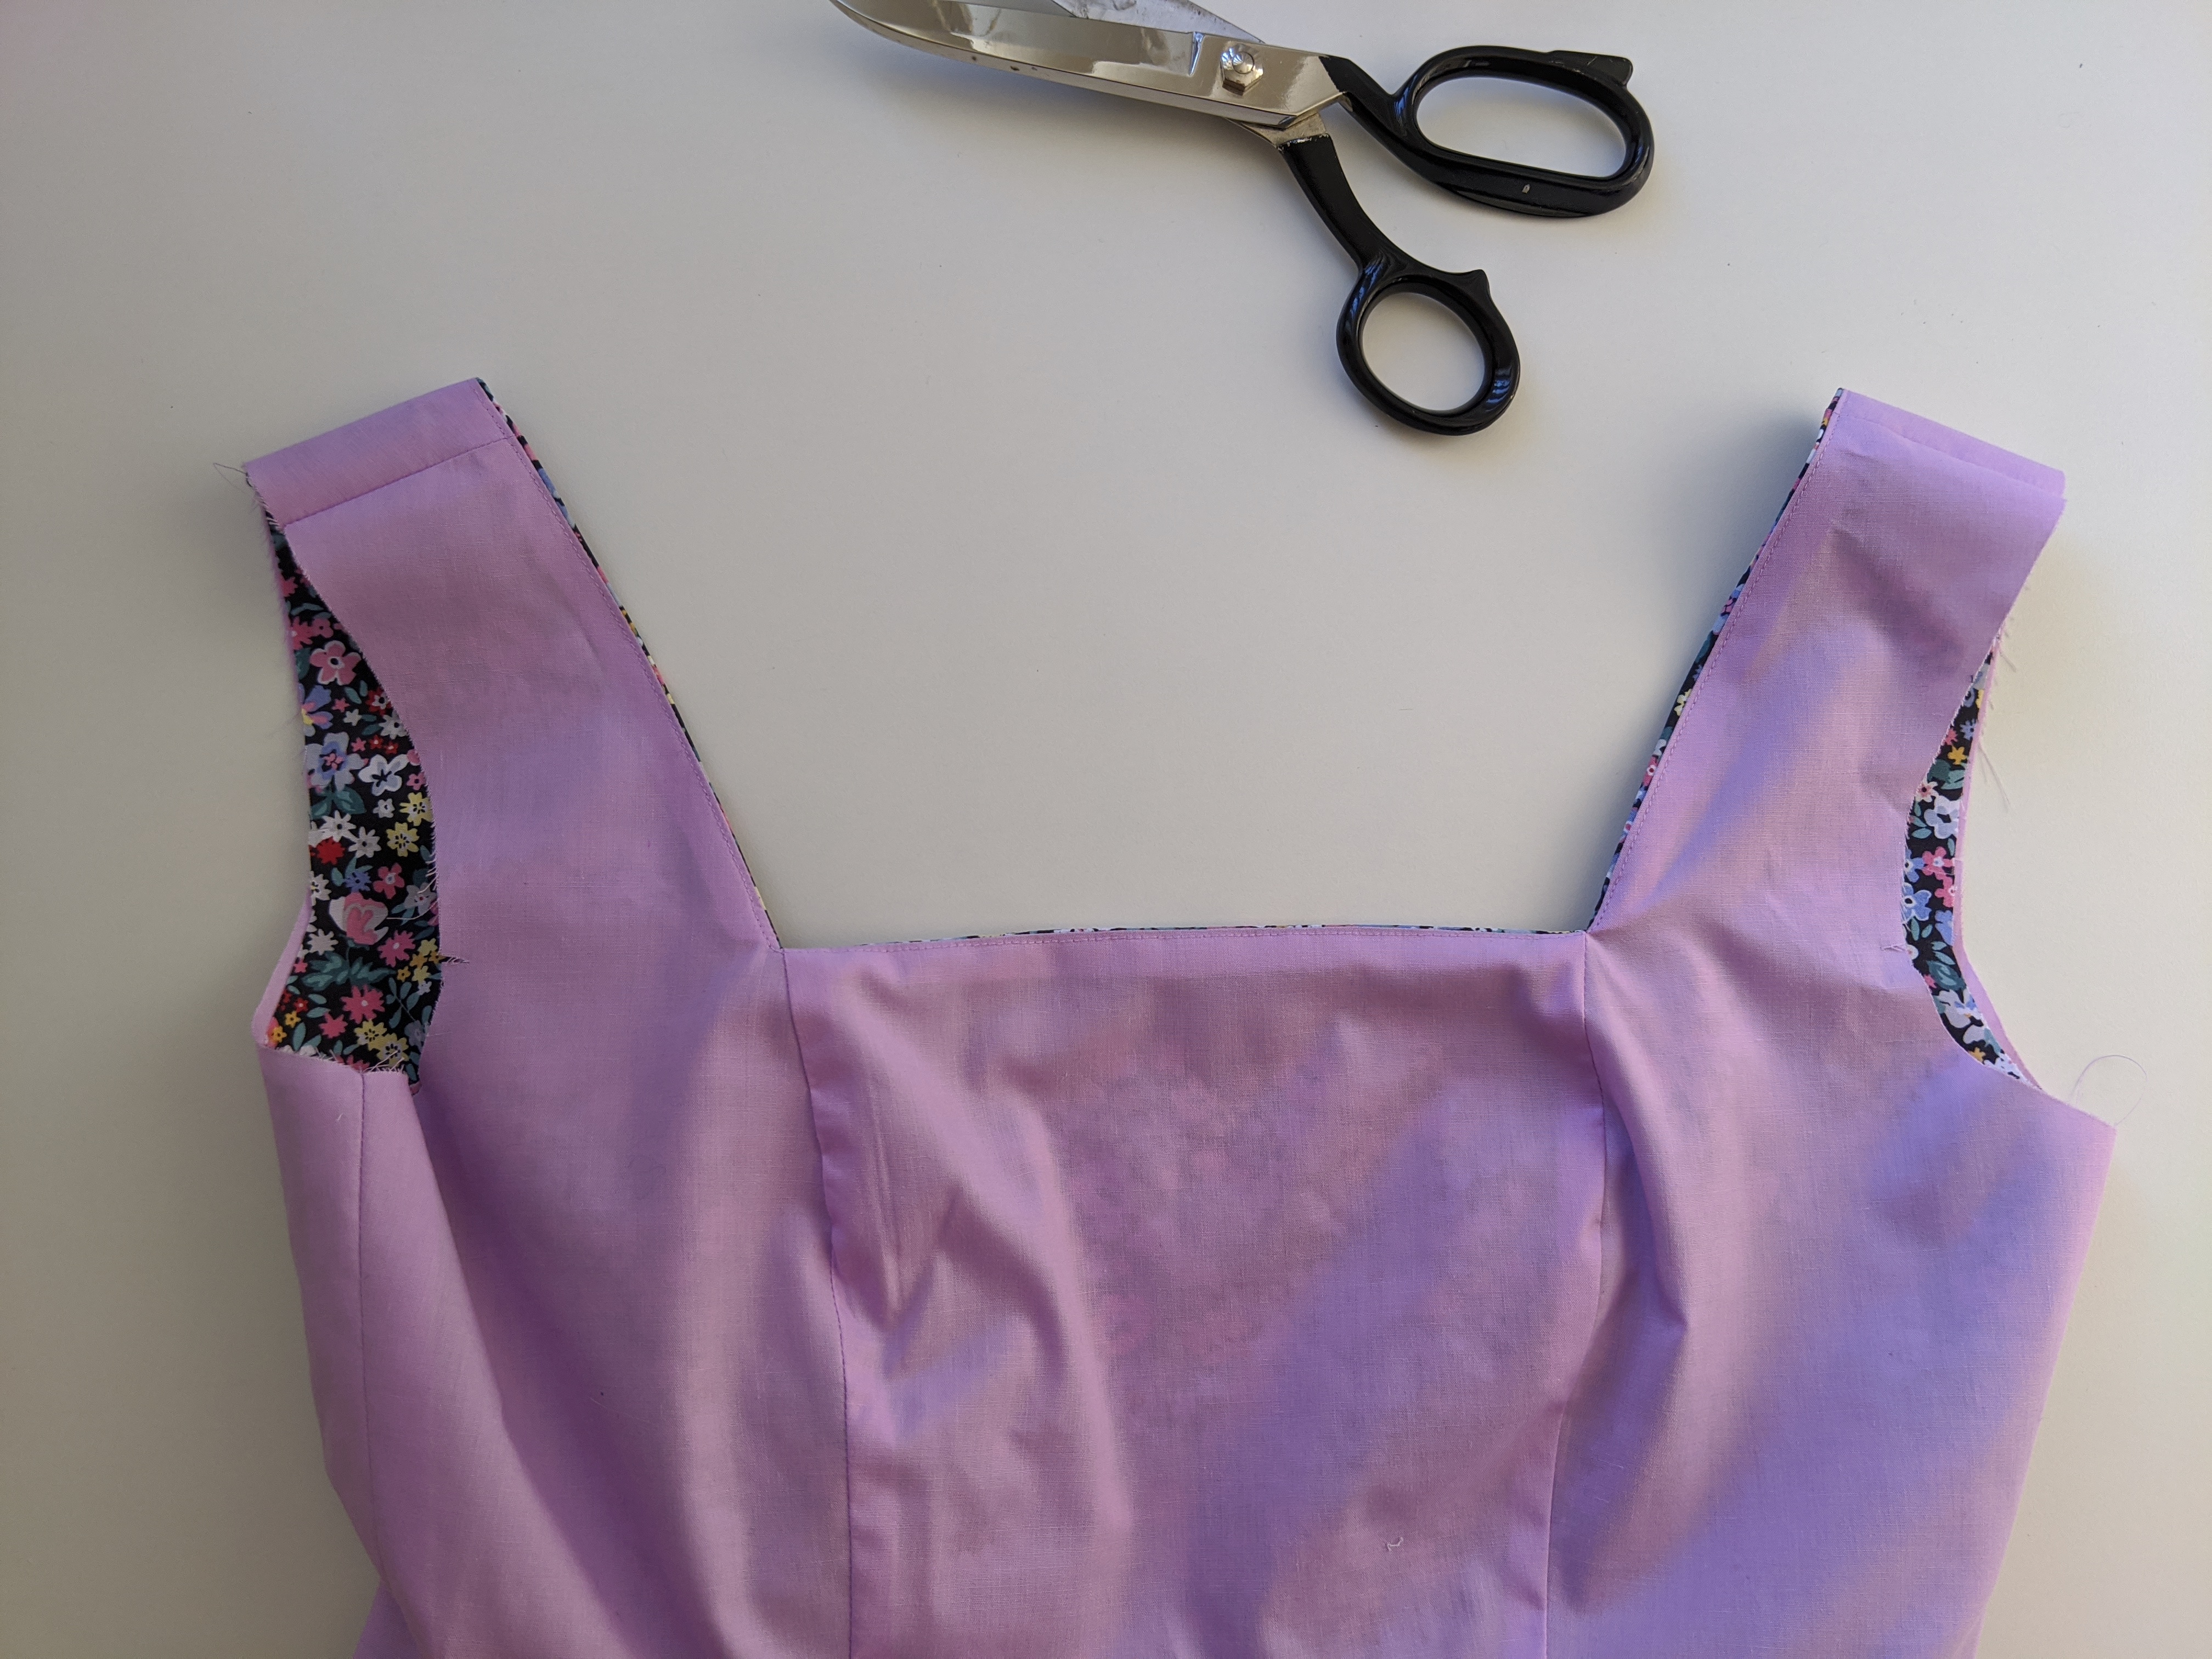
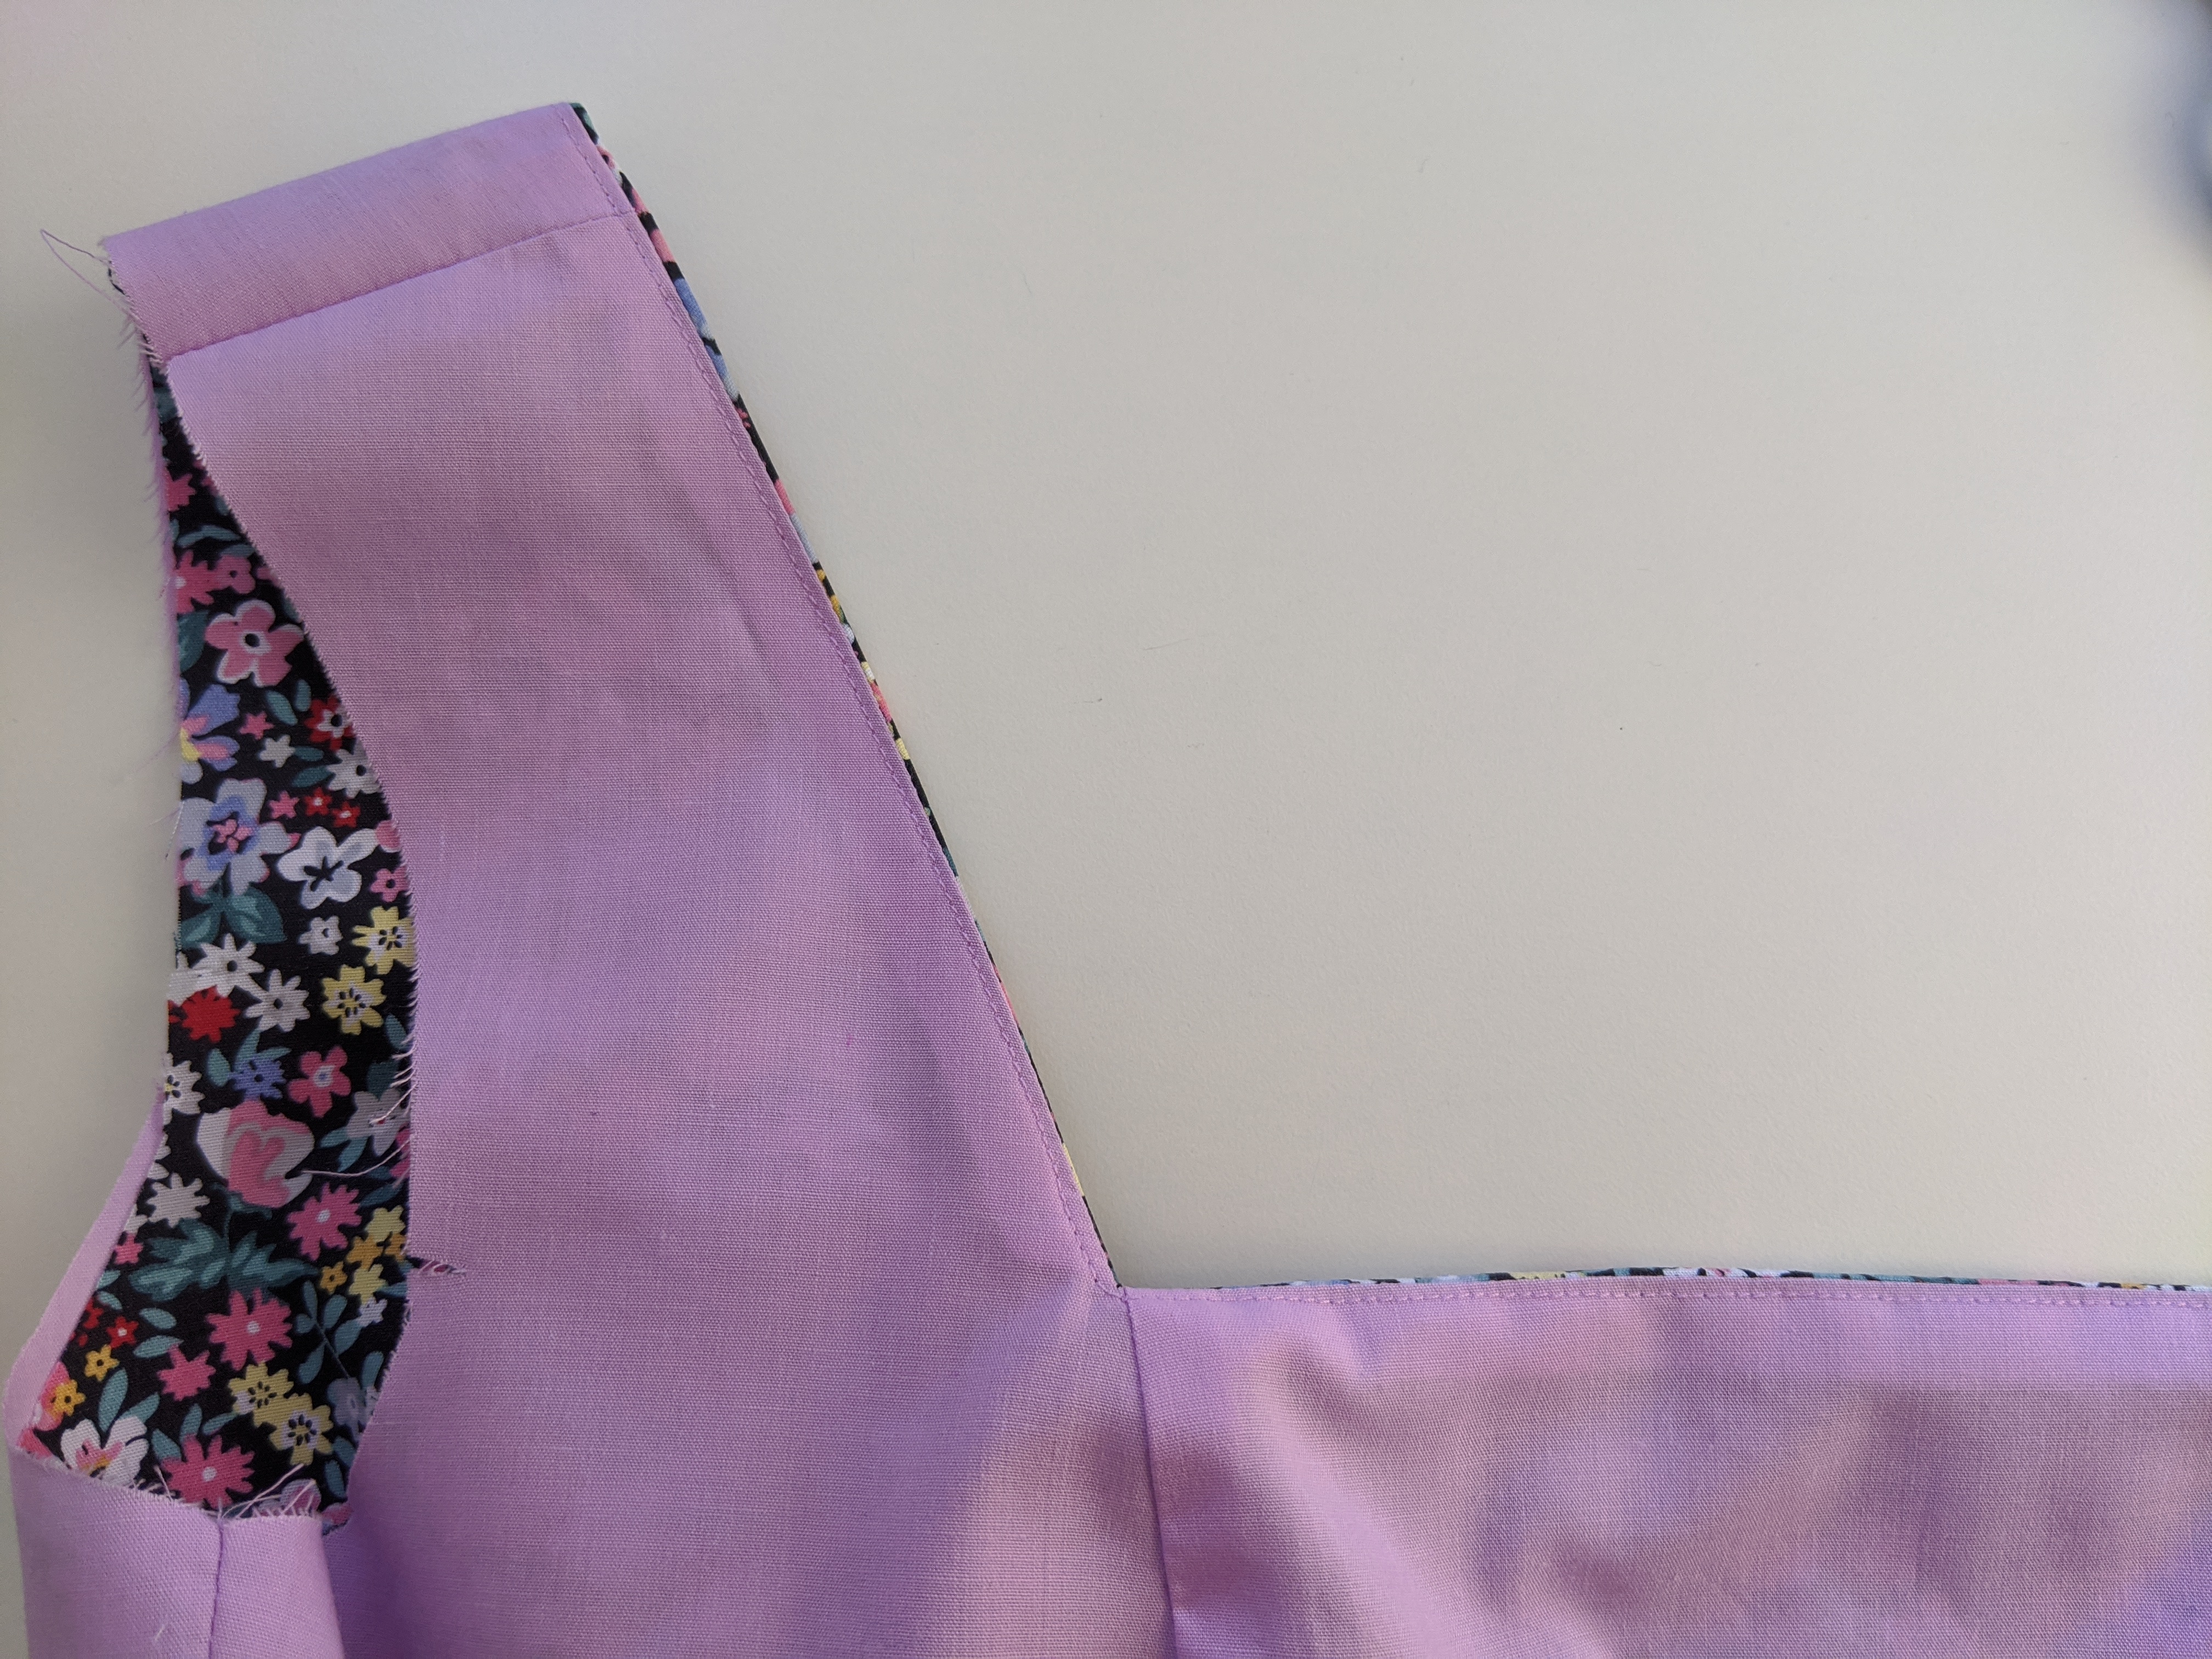
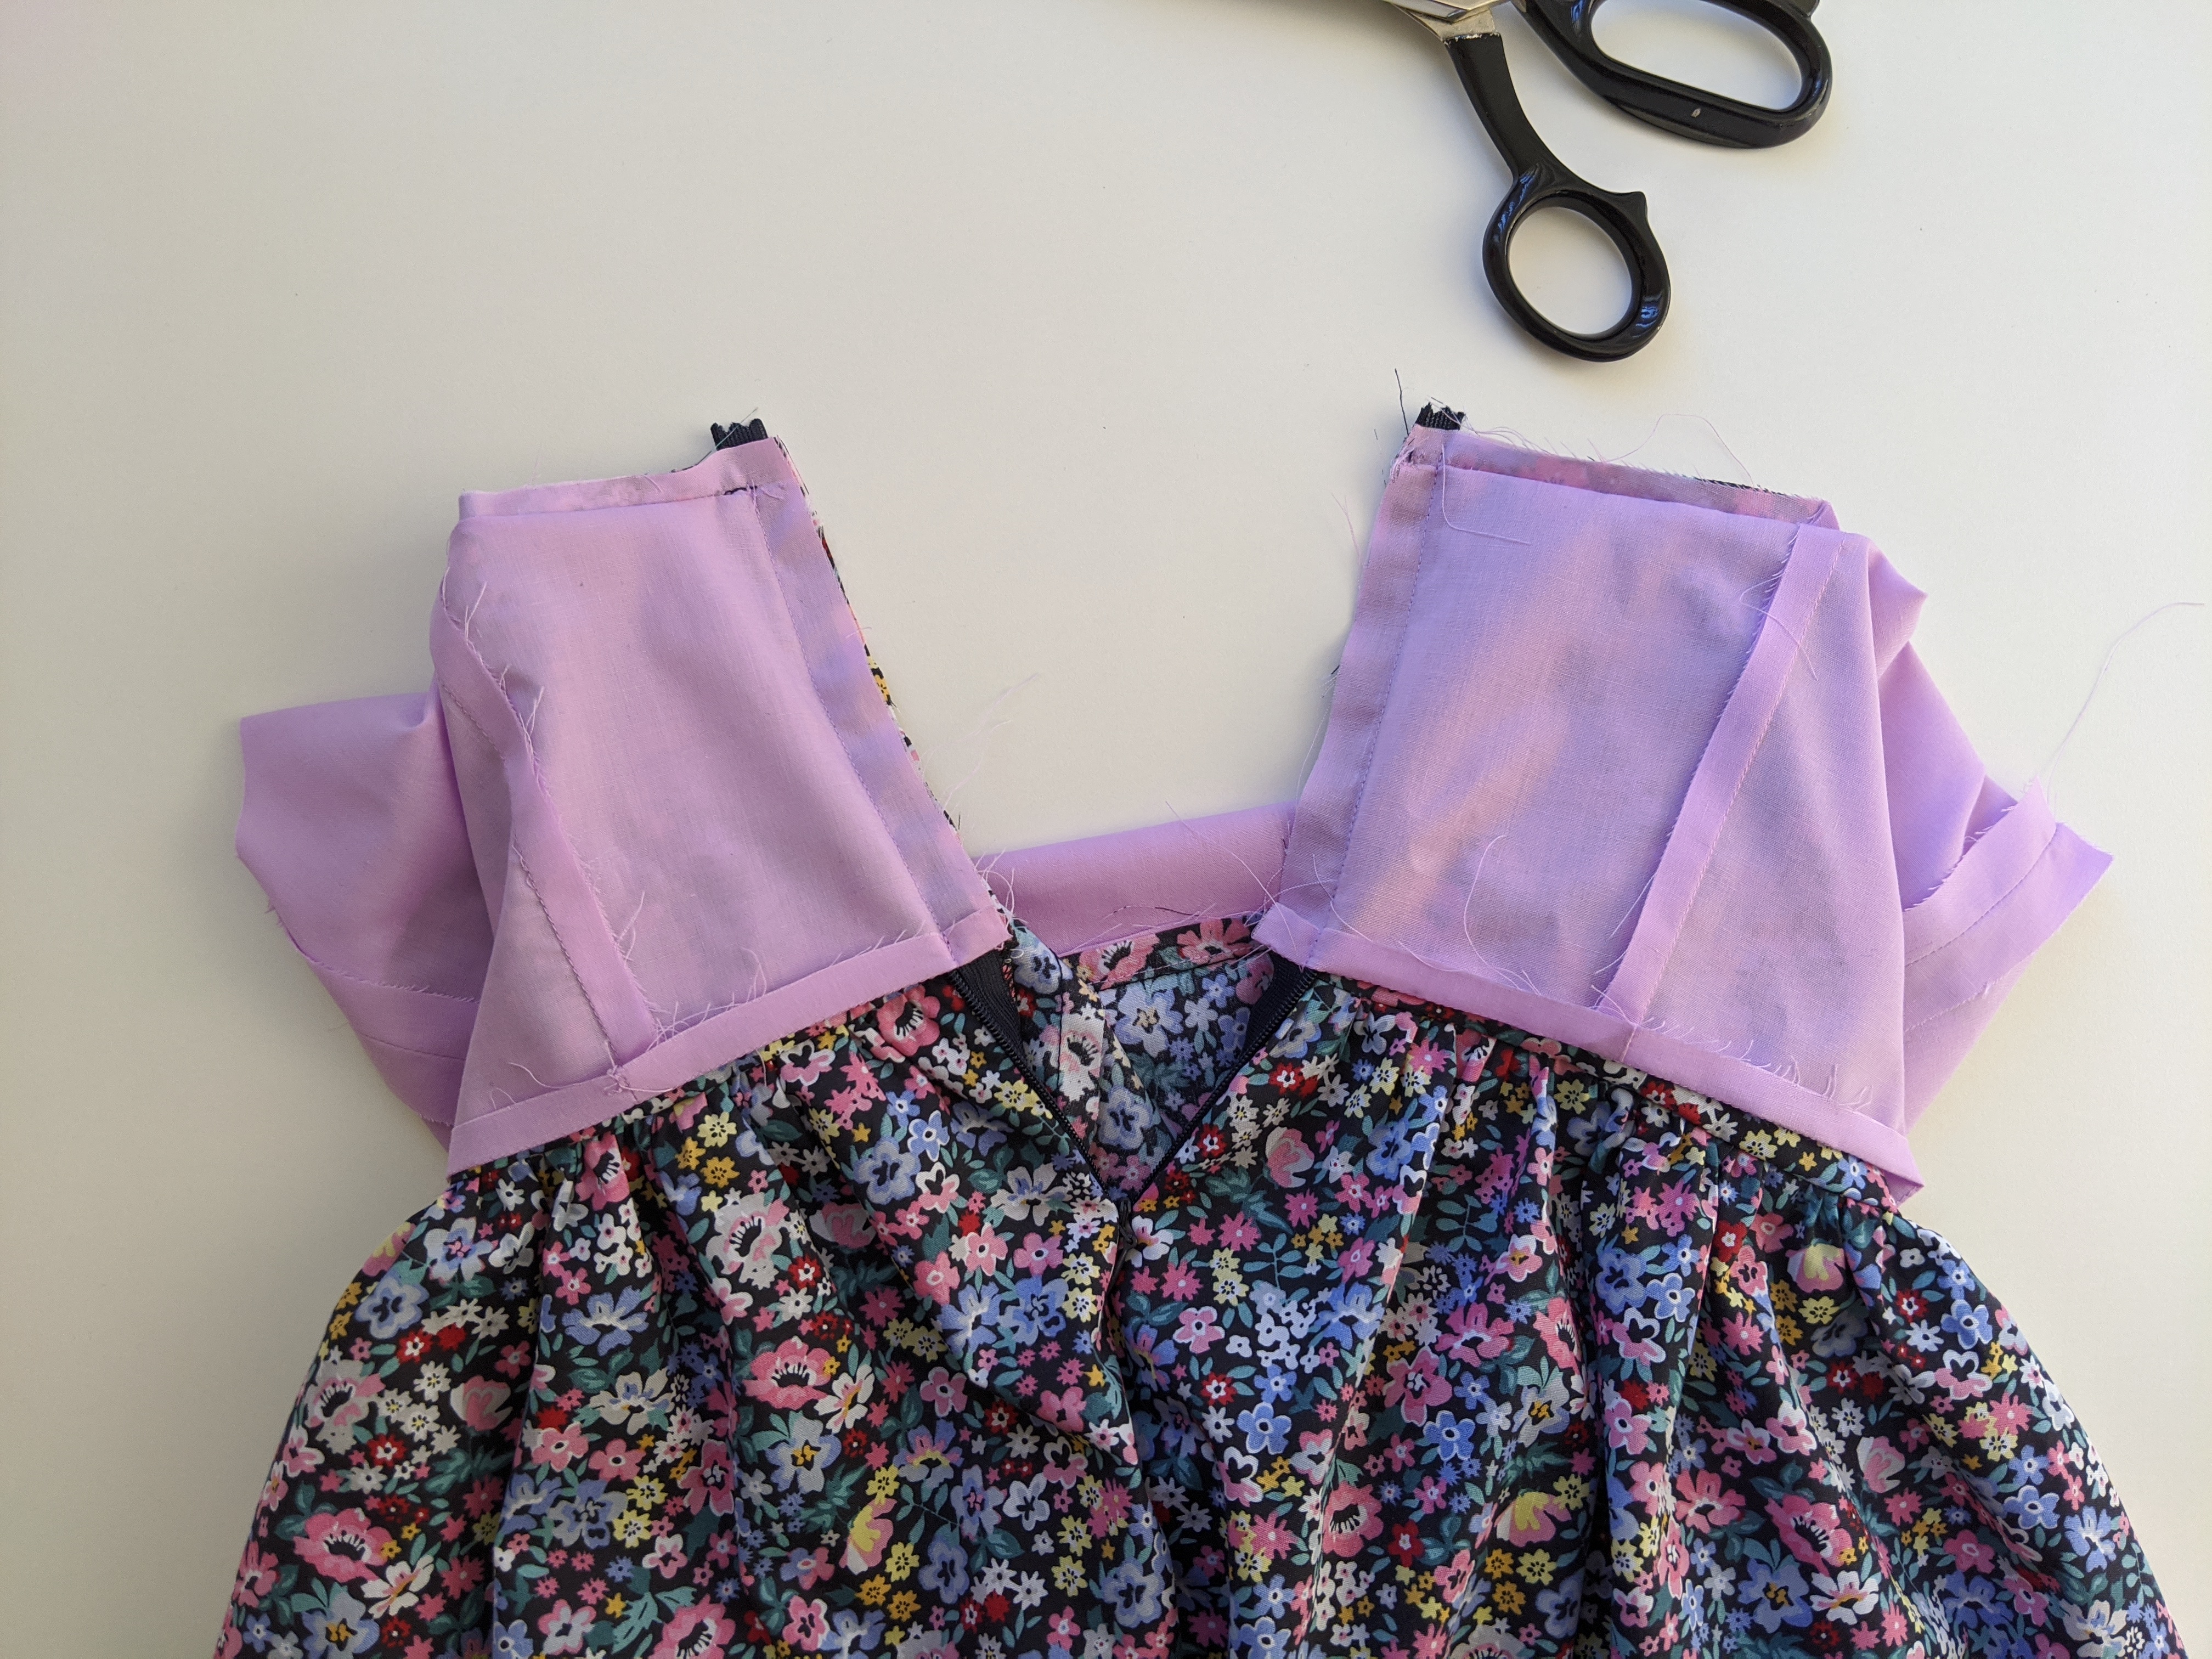
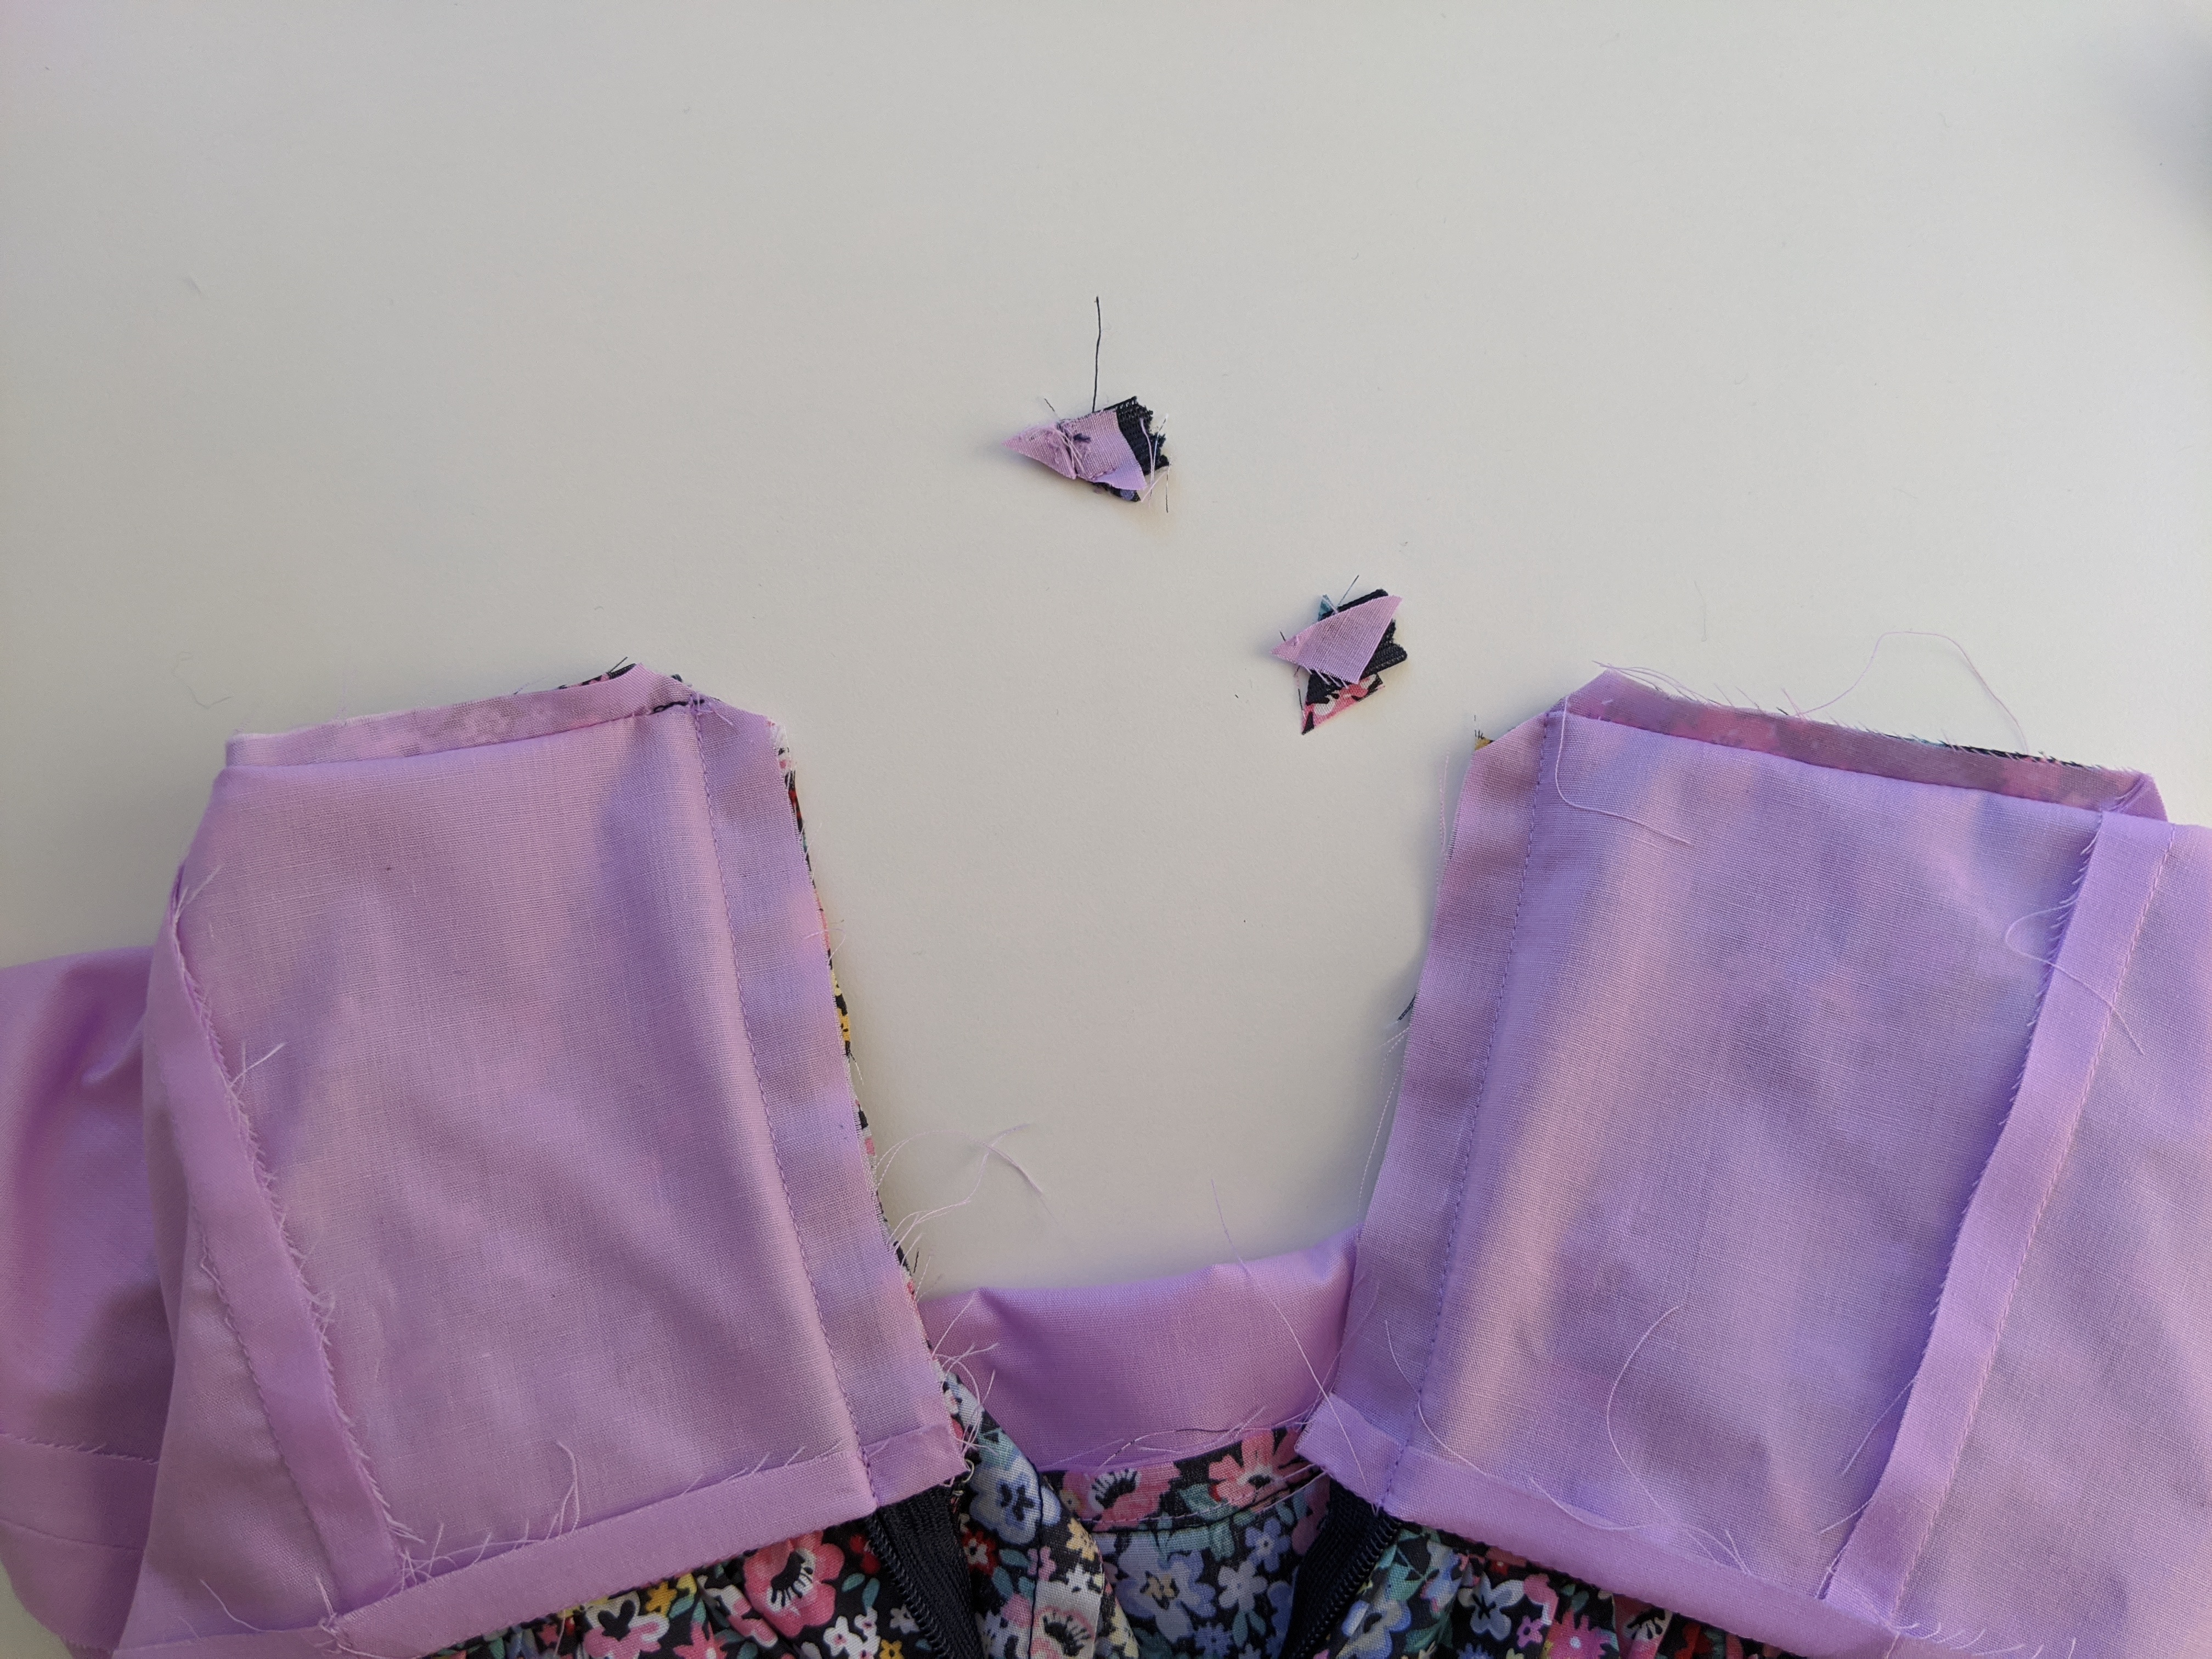
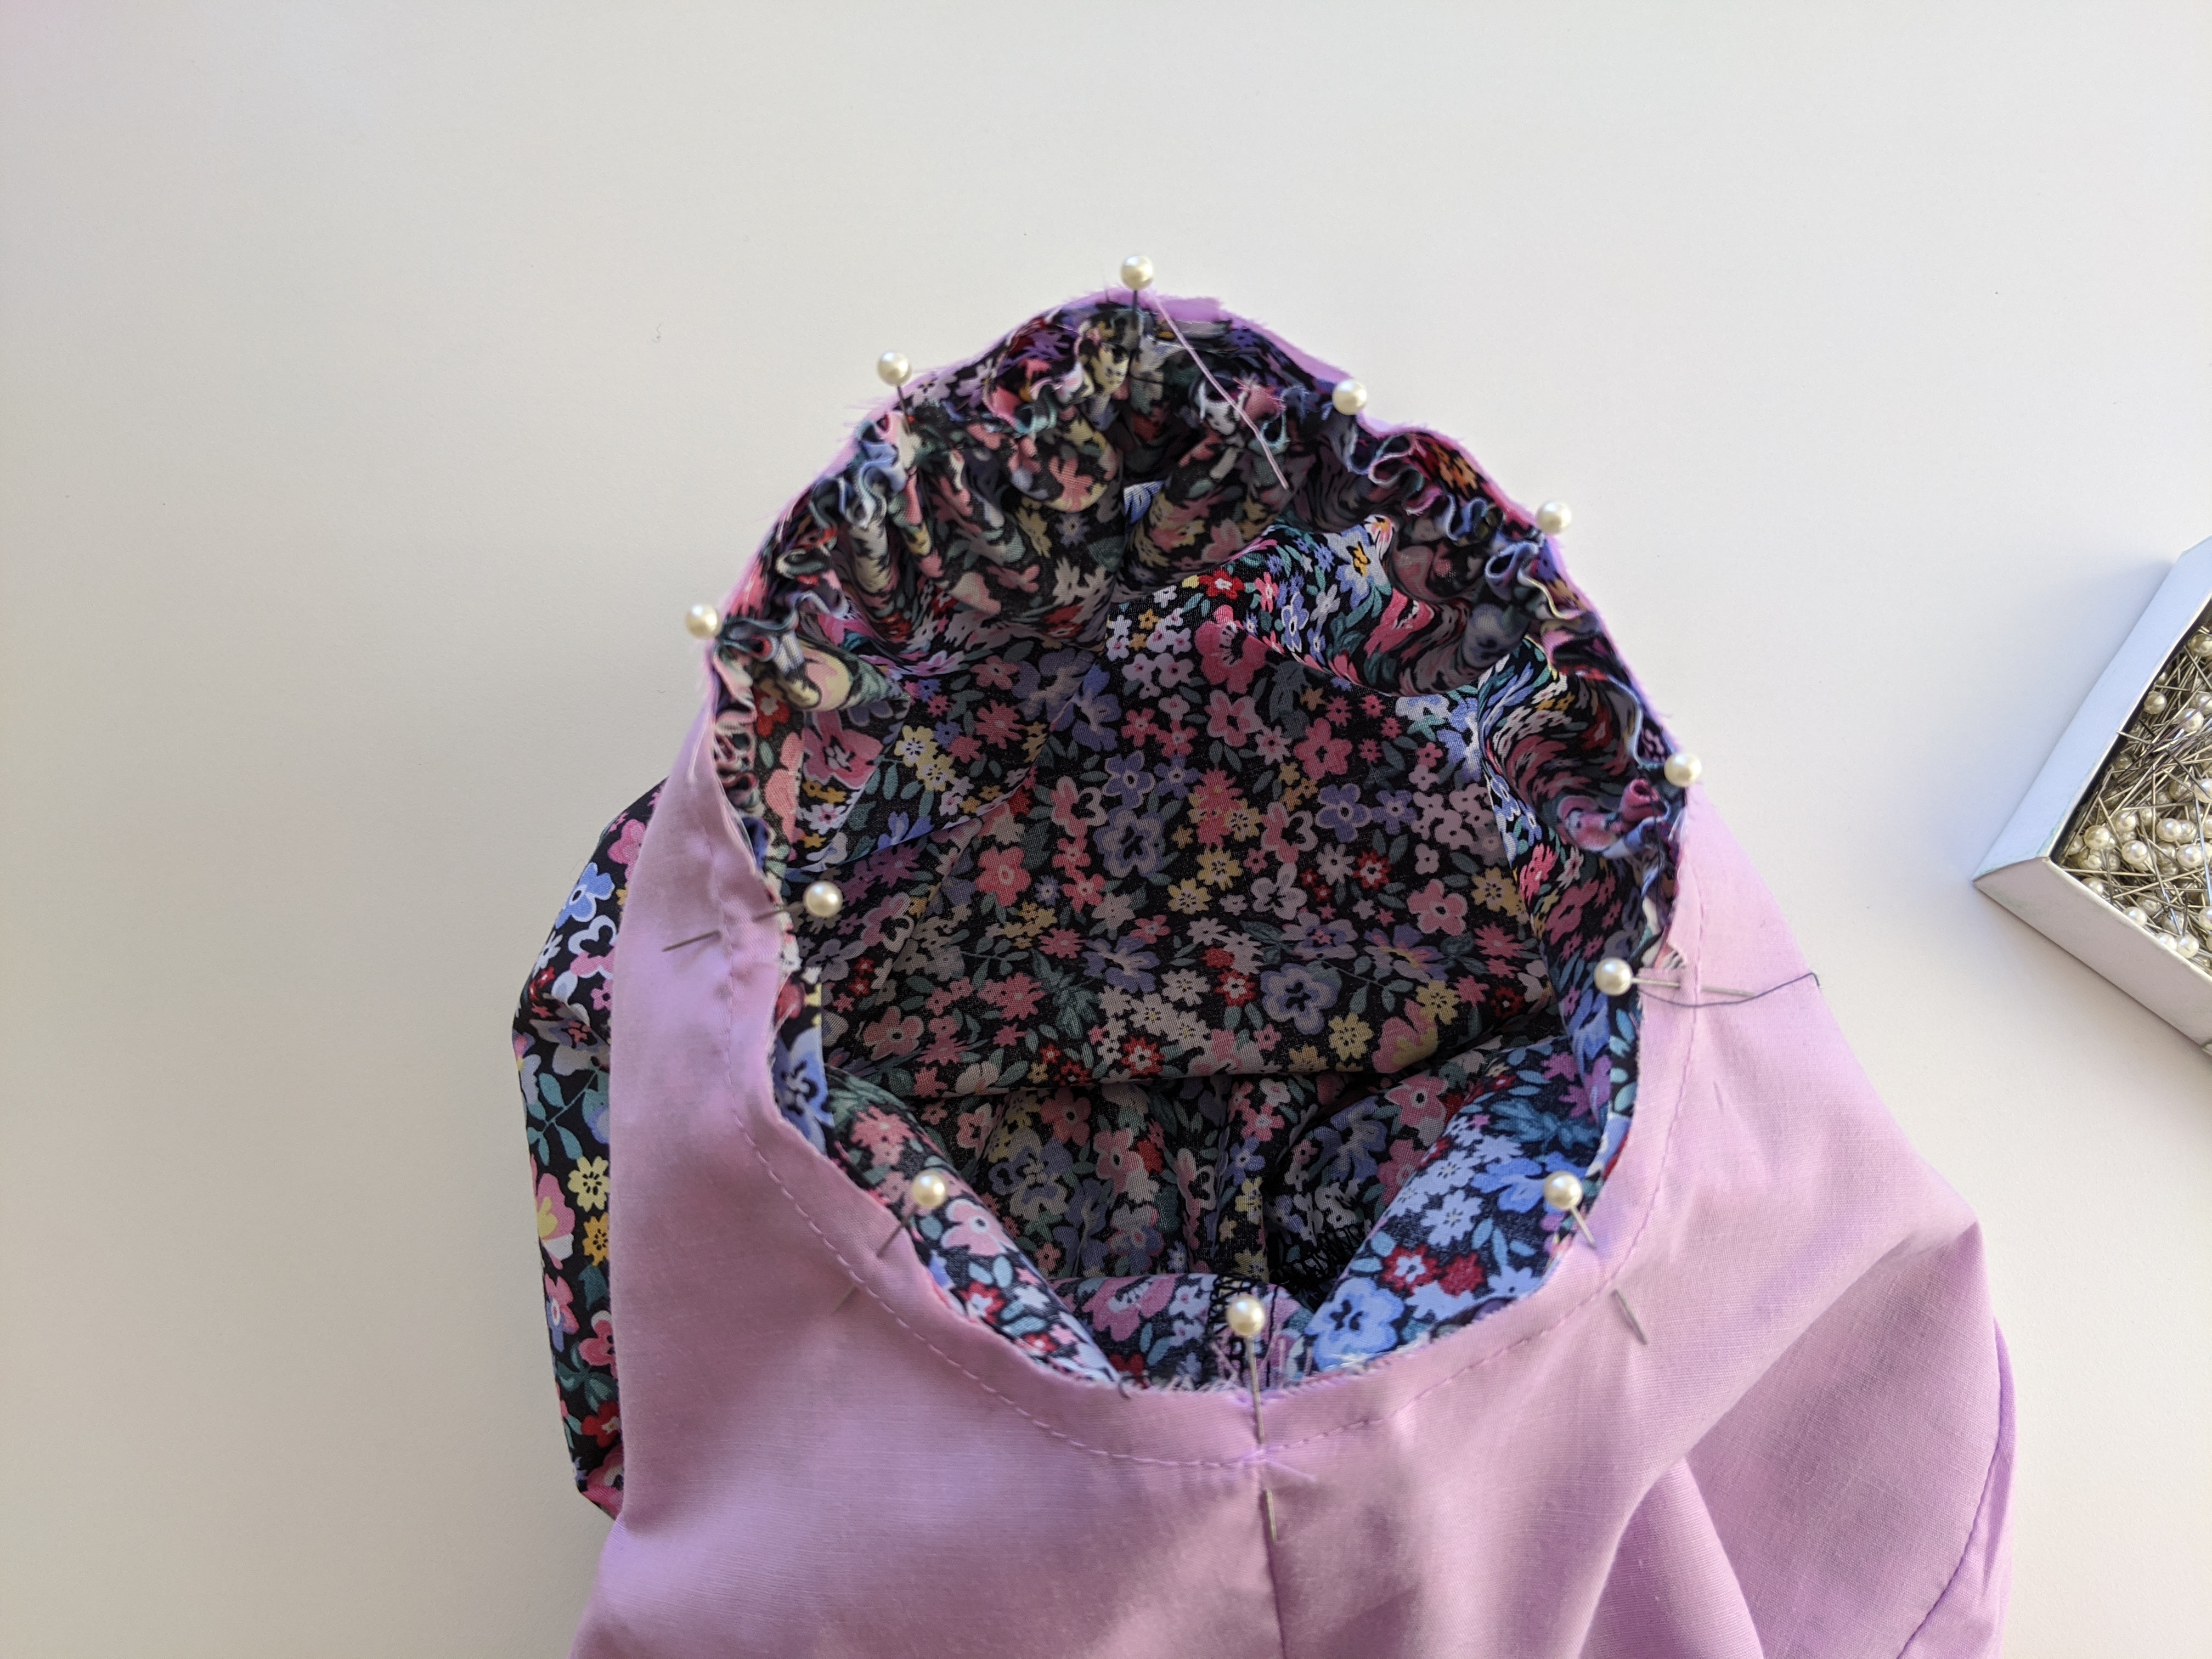
Next, pin main and lining right sides together around the neck edges. Clip the corners at the front and back seam junctions then turn through and press. Pin stitch the seam allowance to the lining.
Step 13
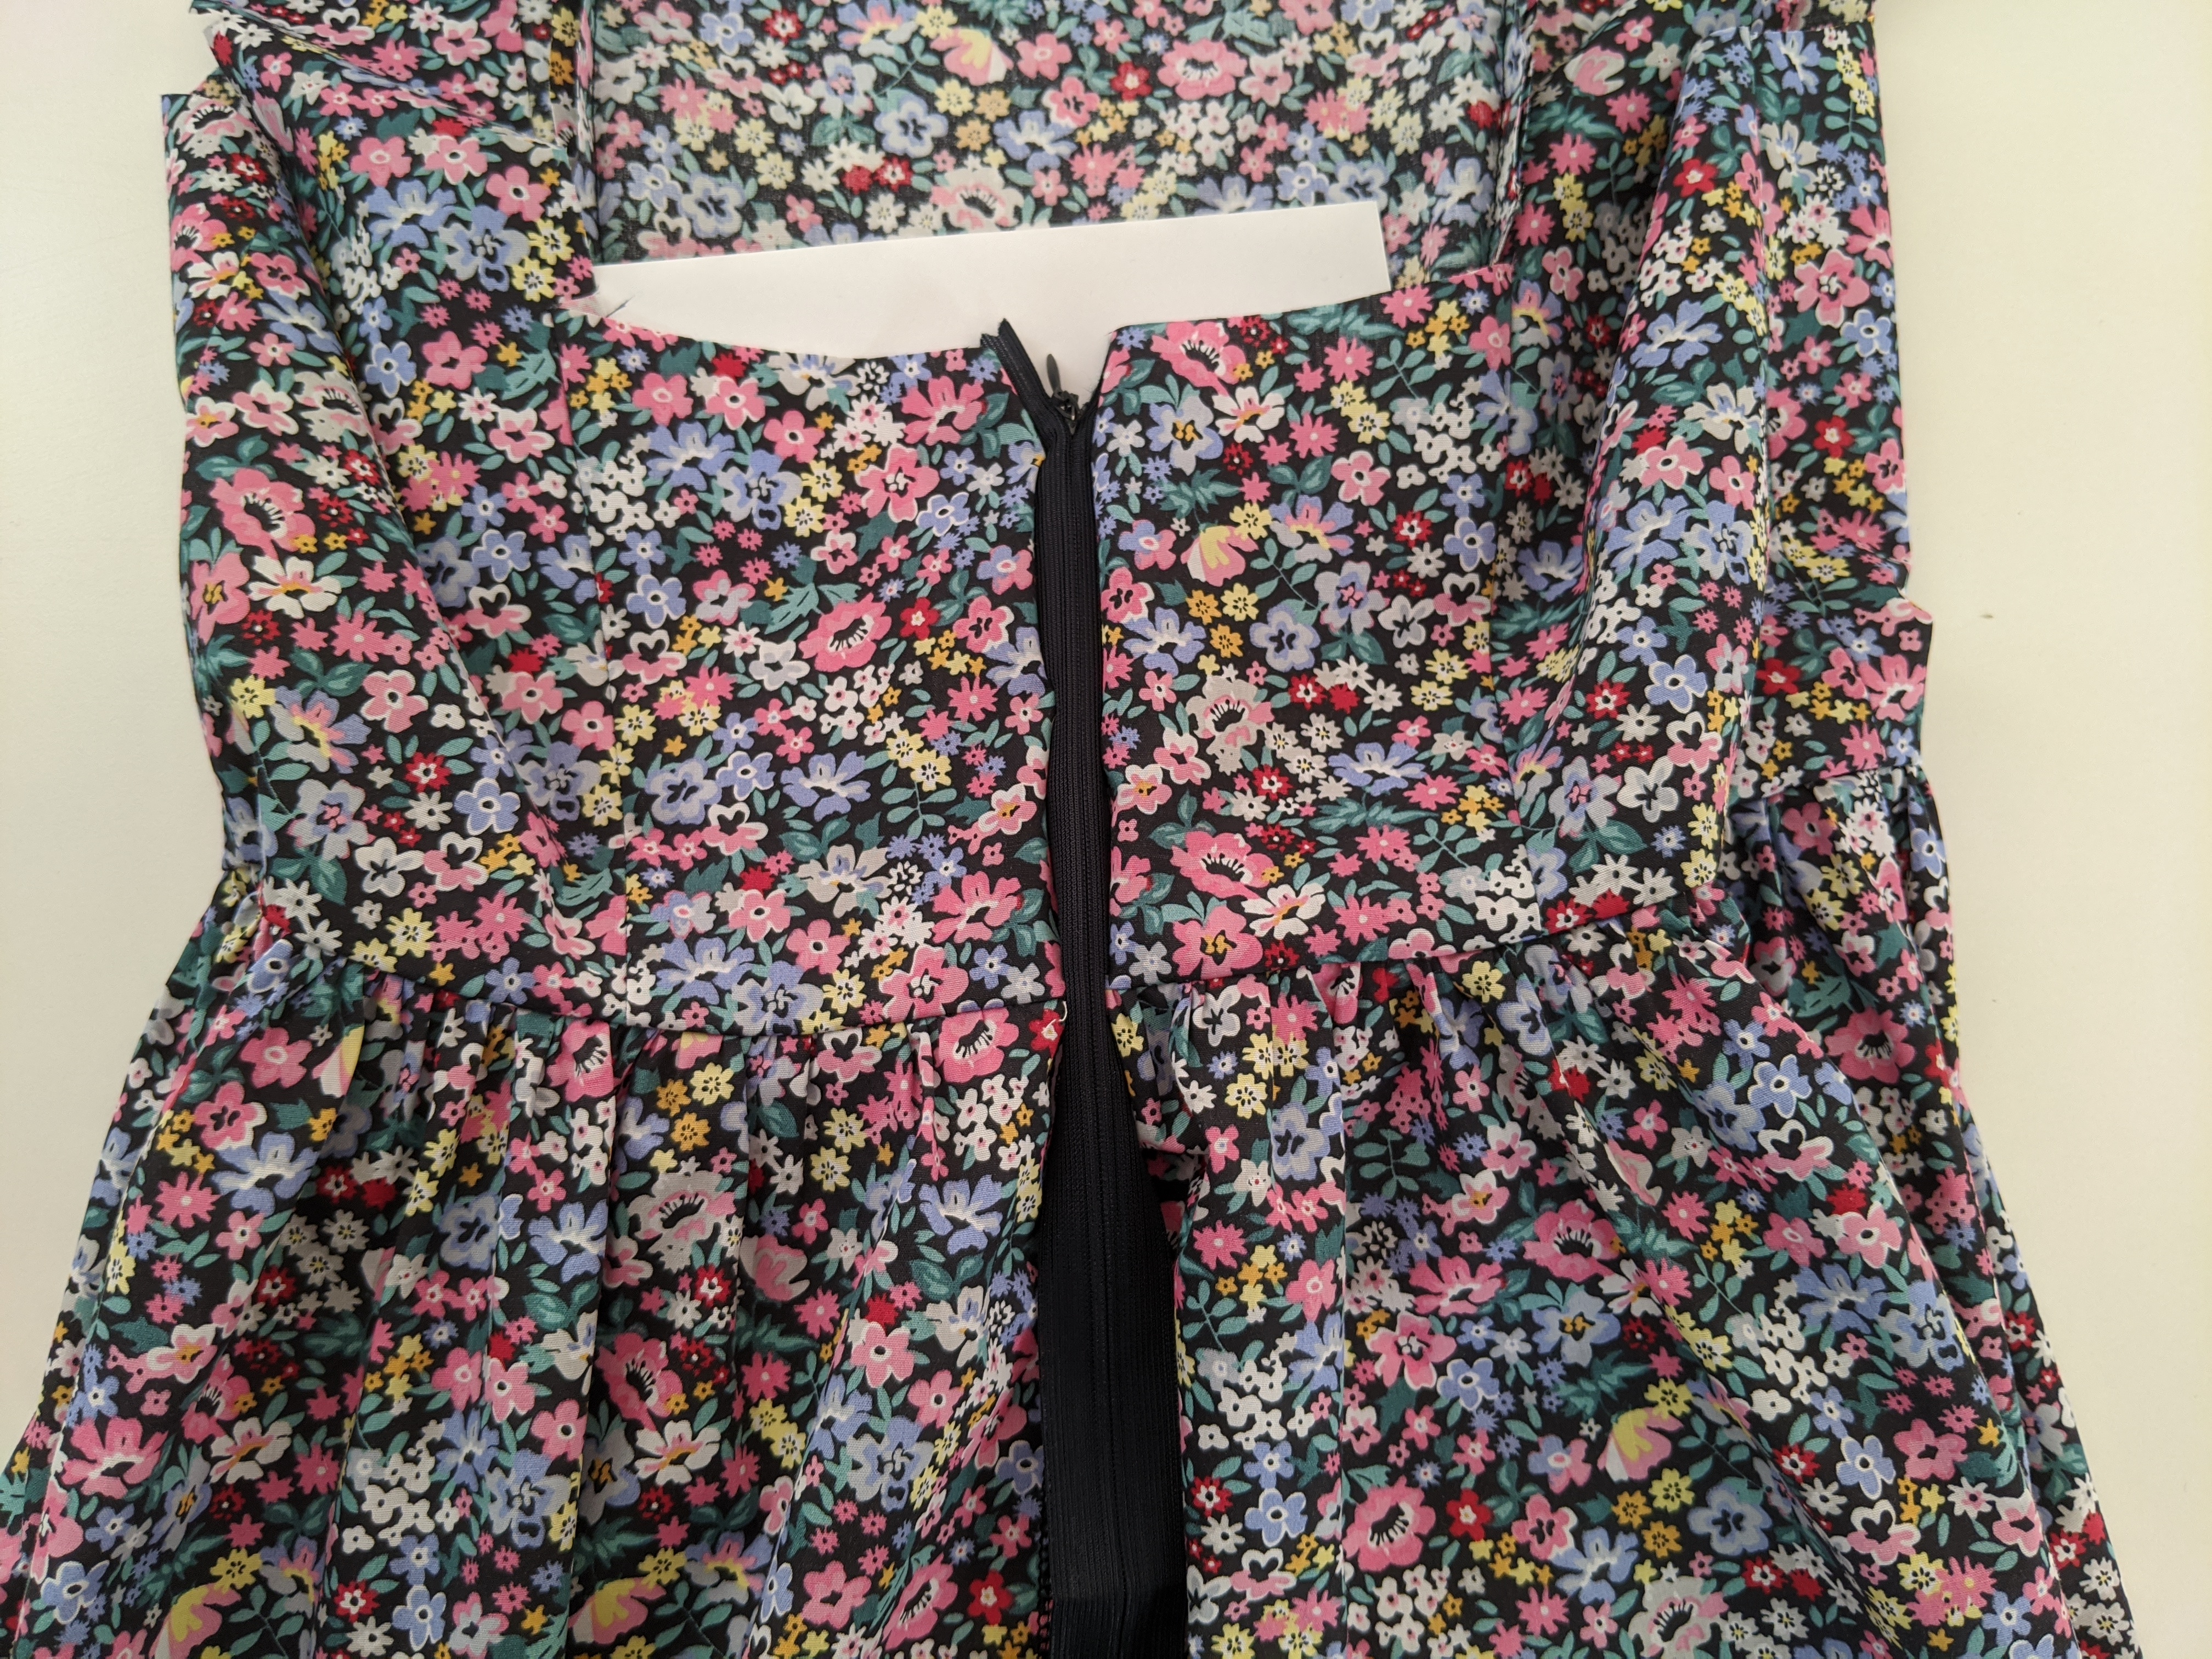
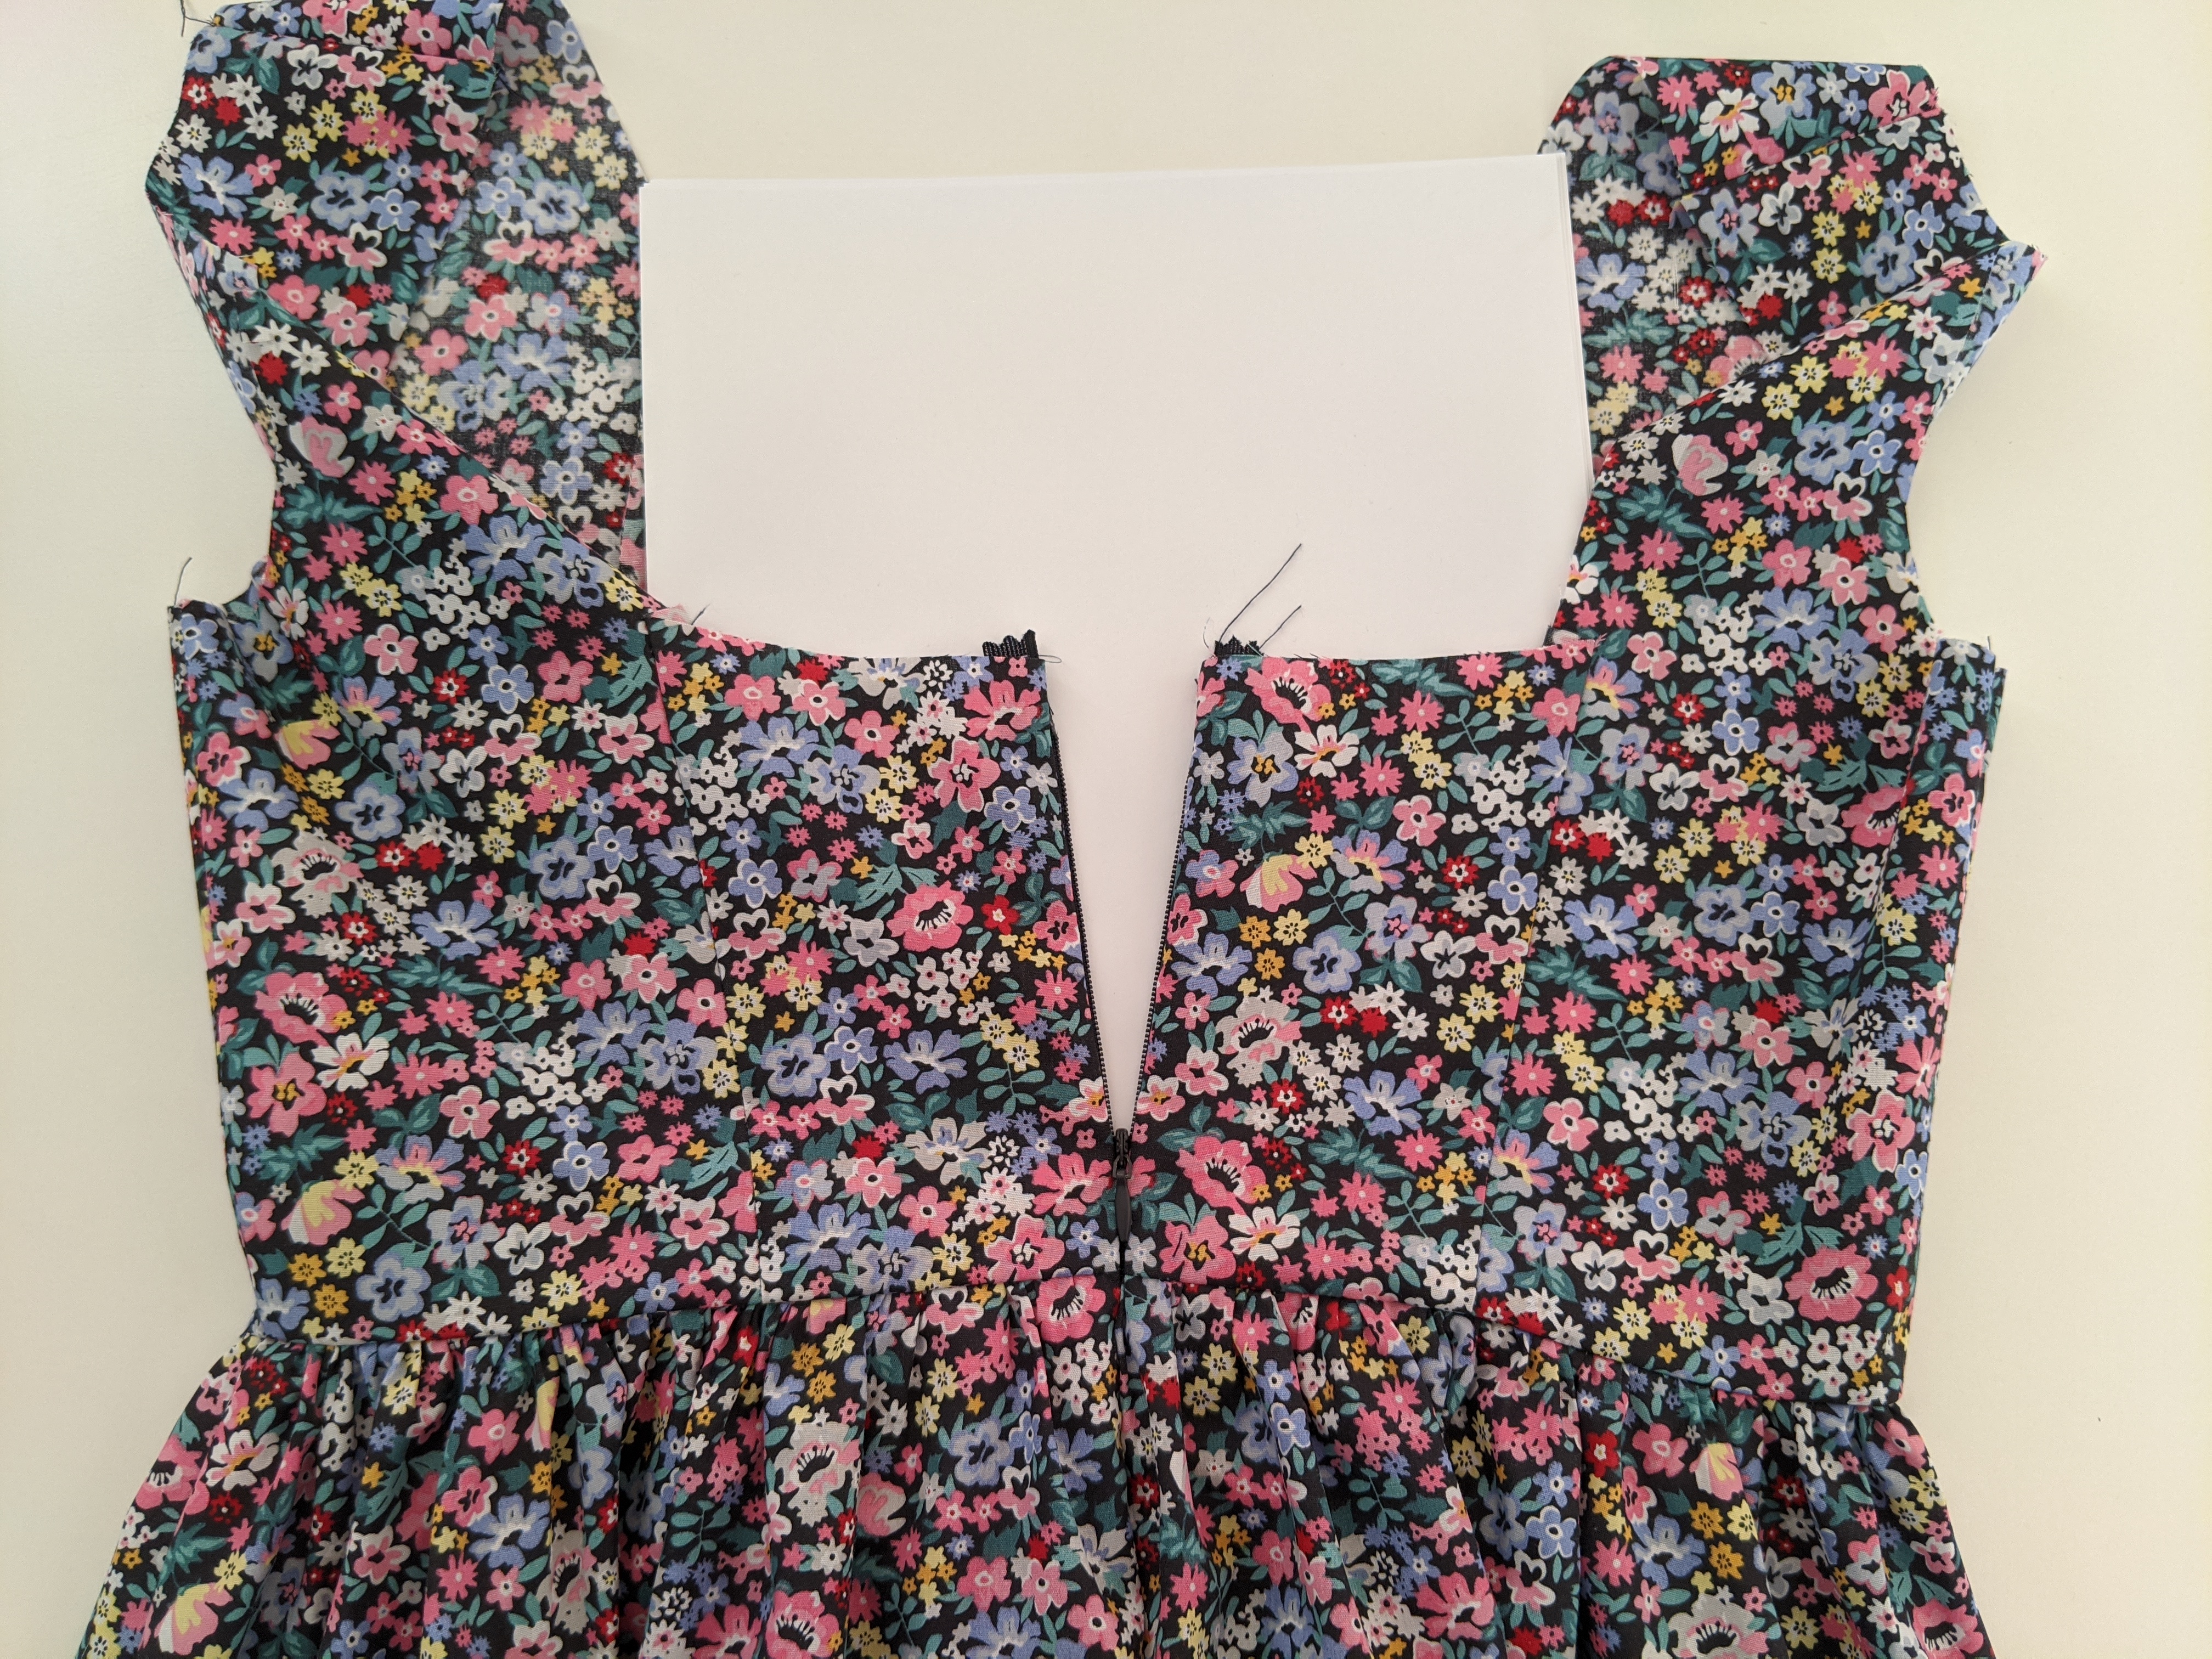
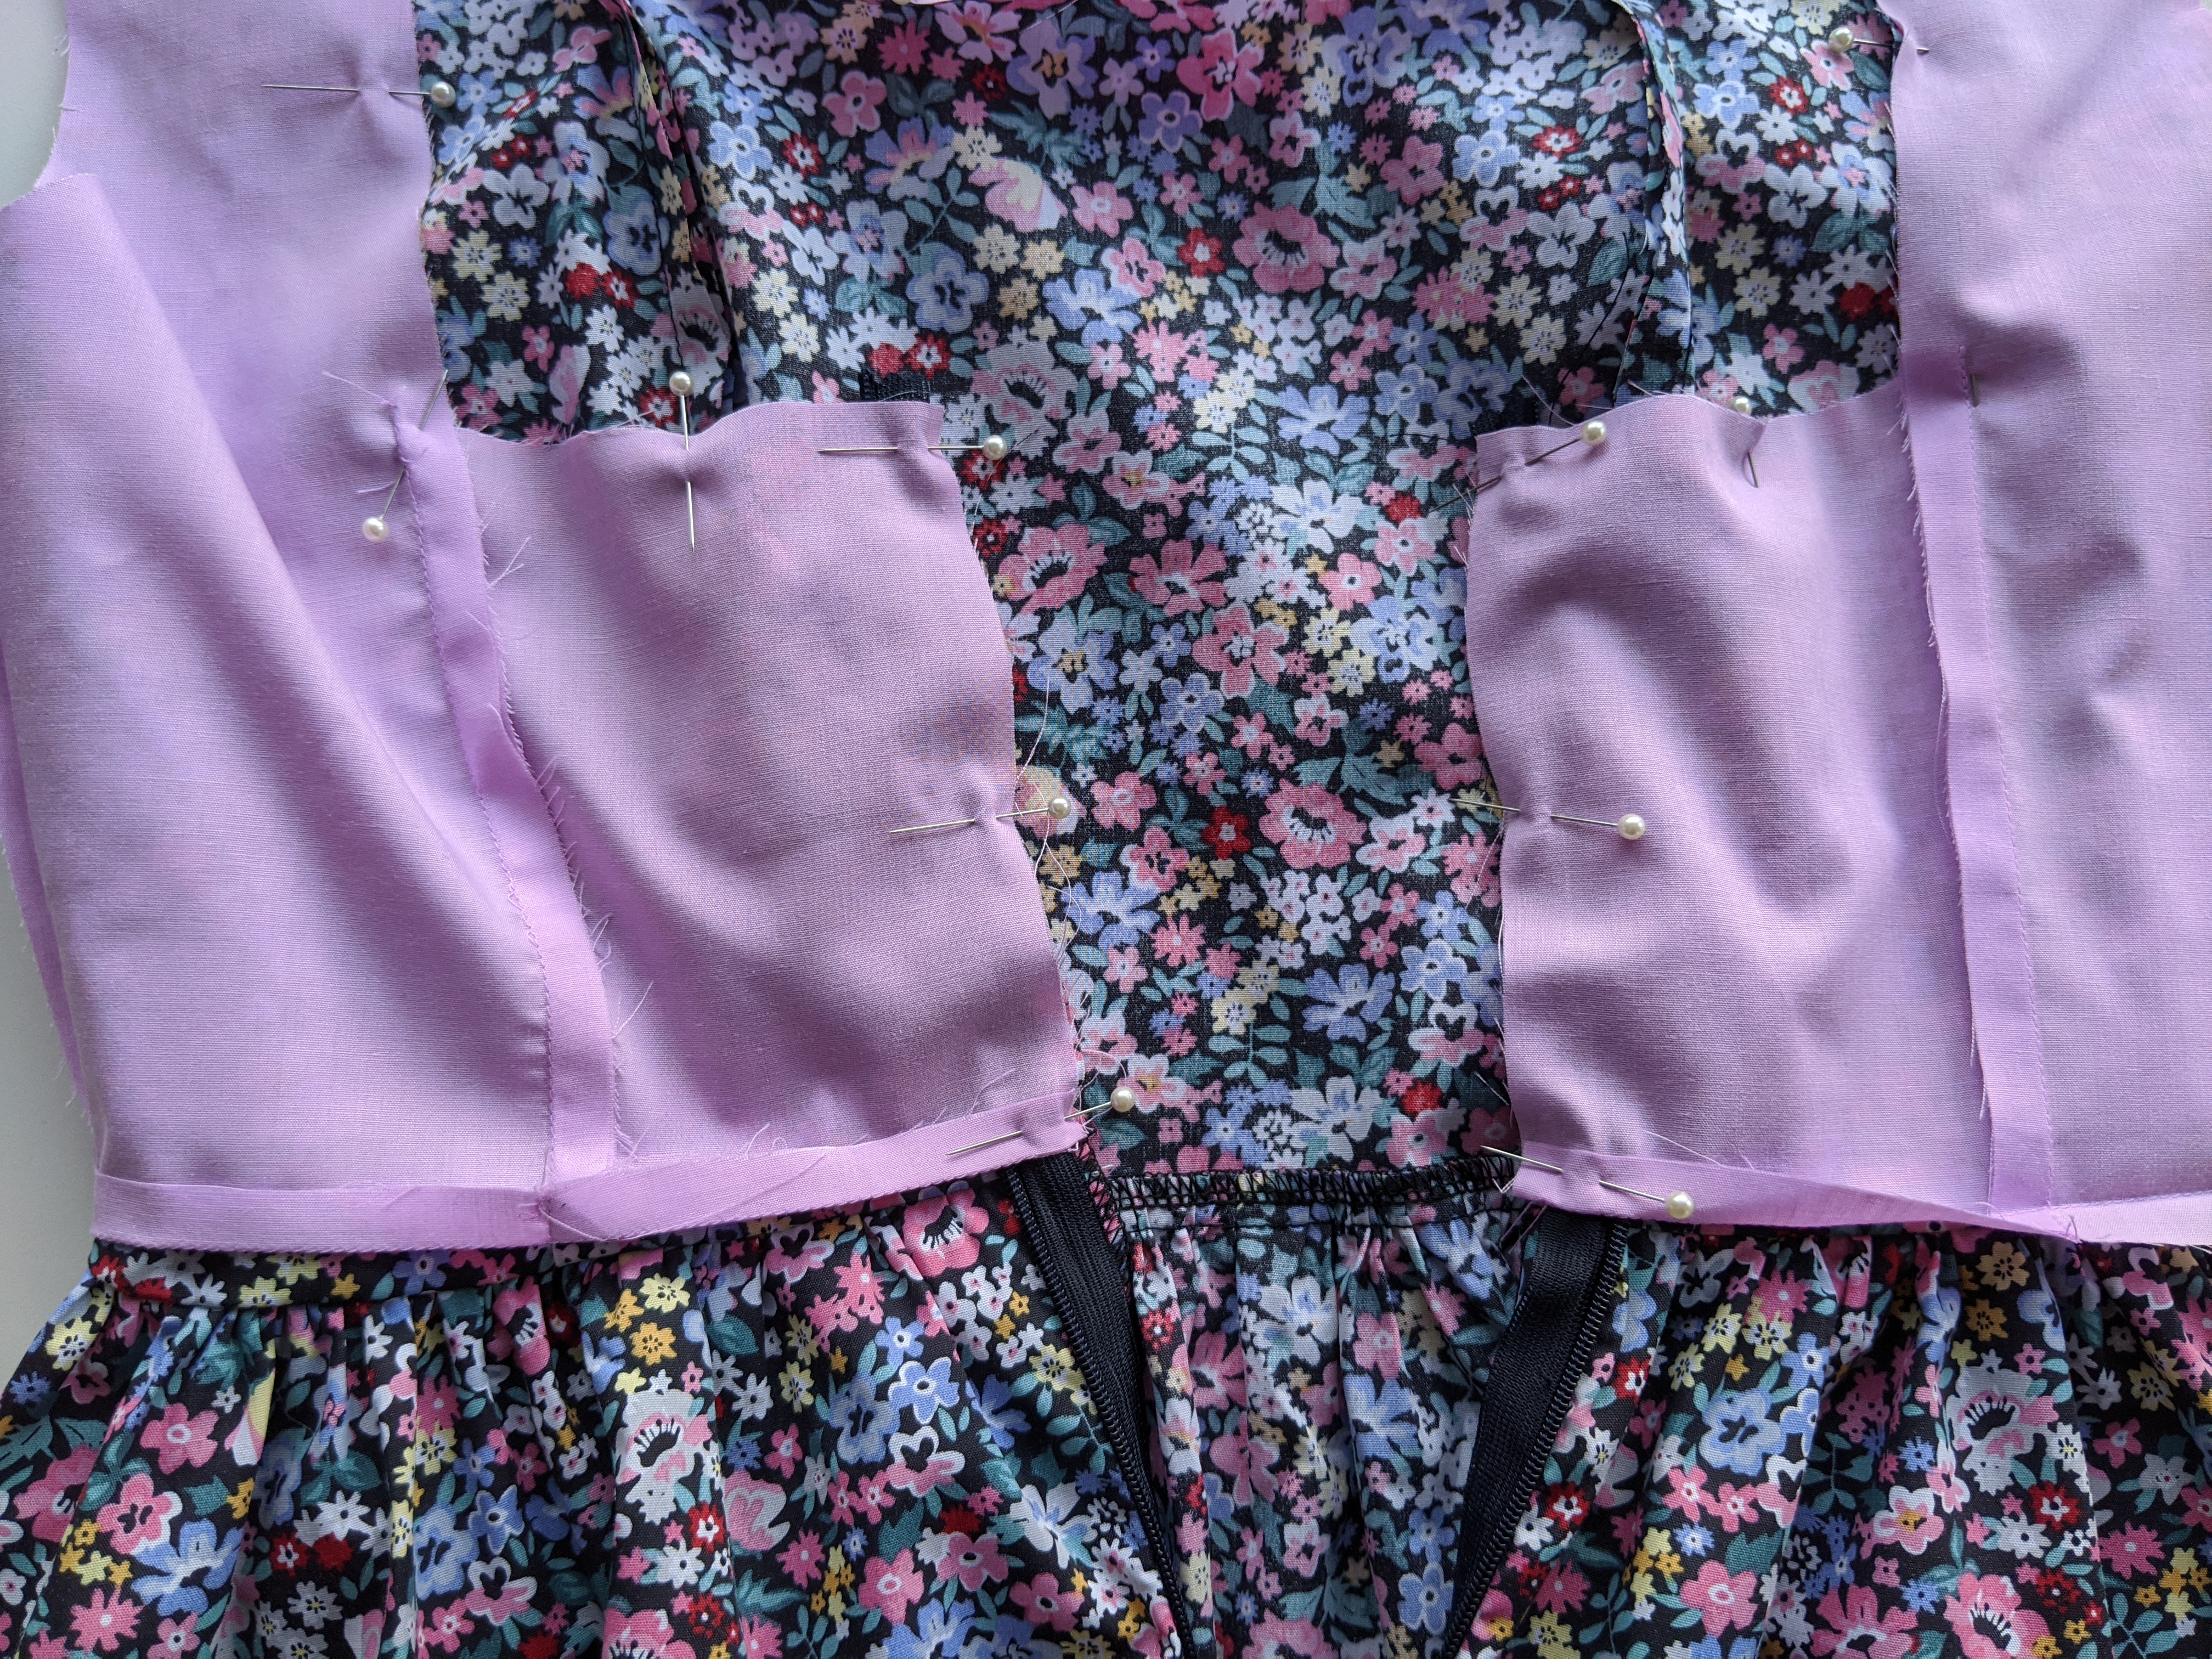
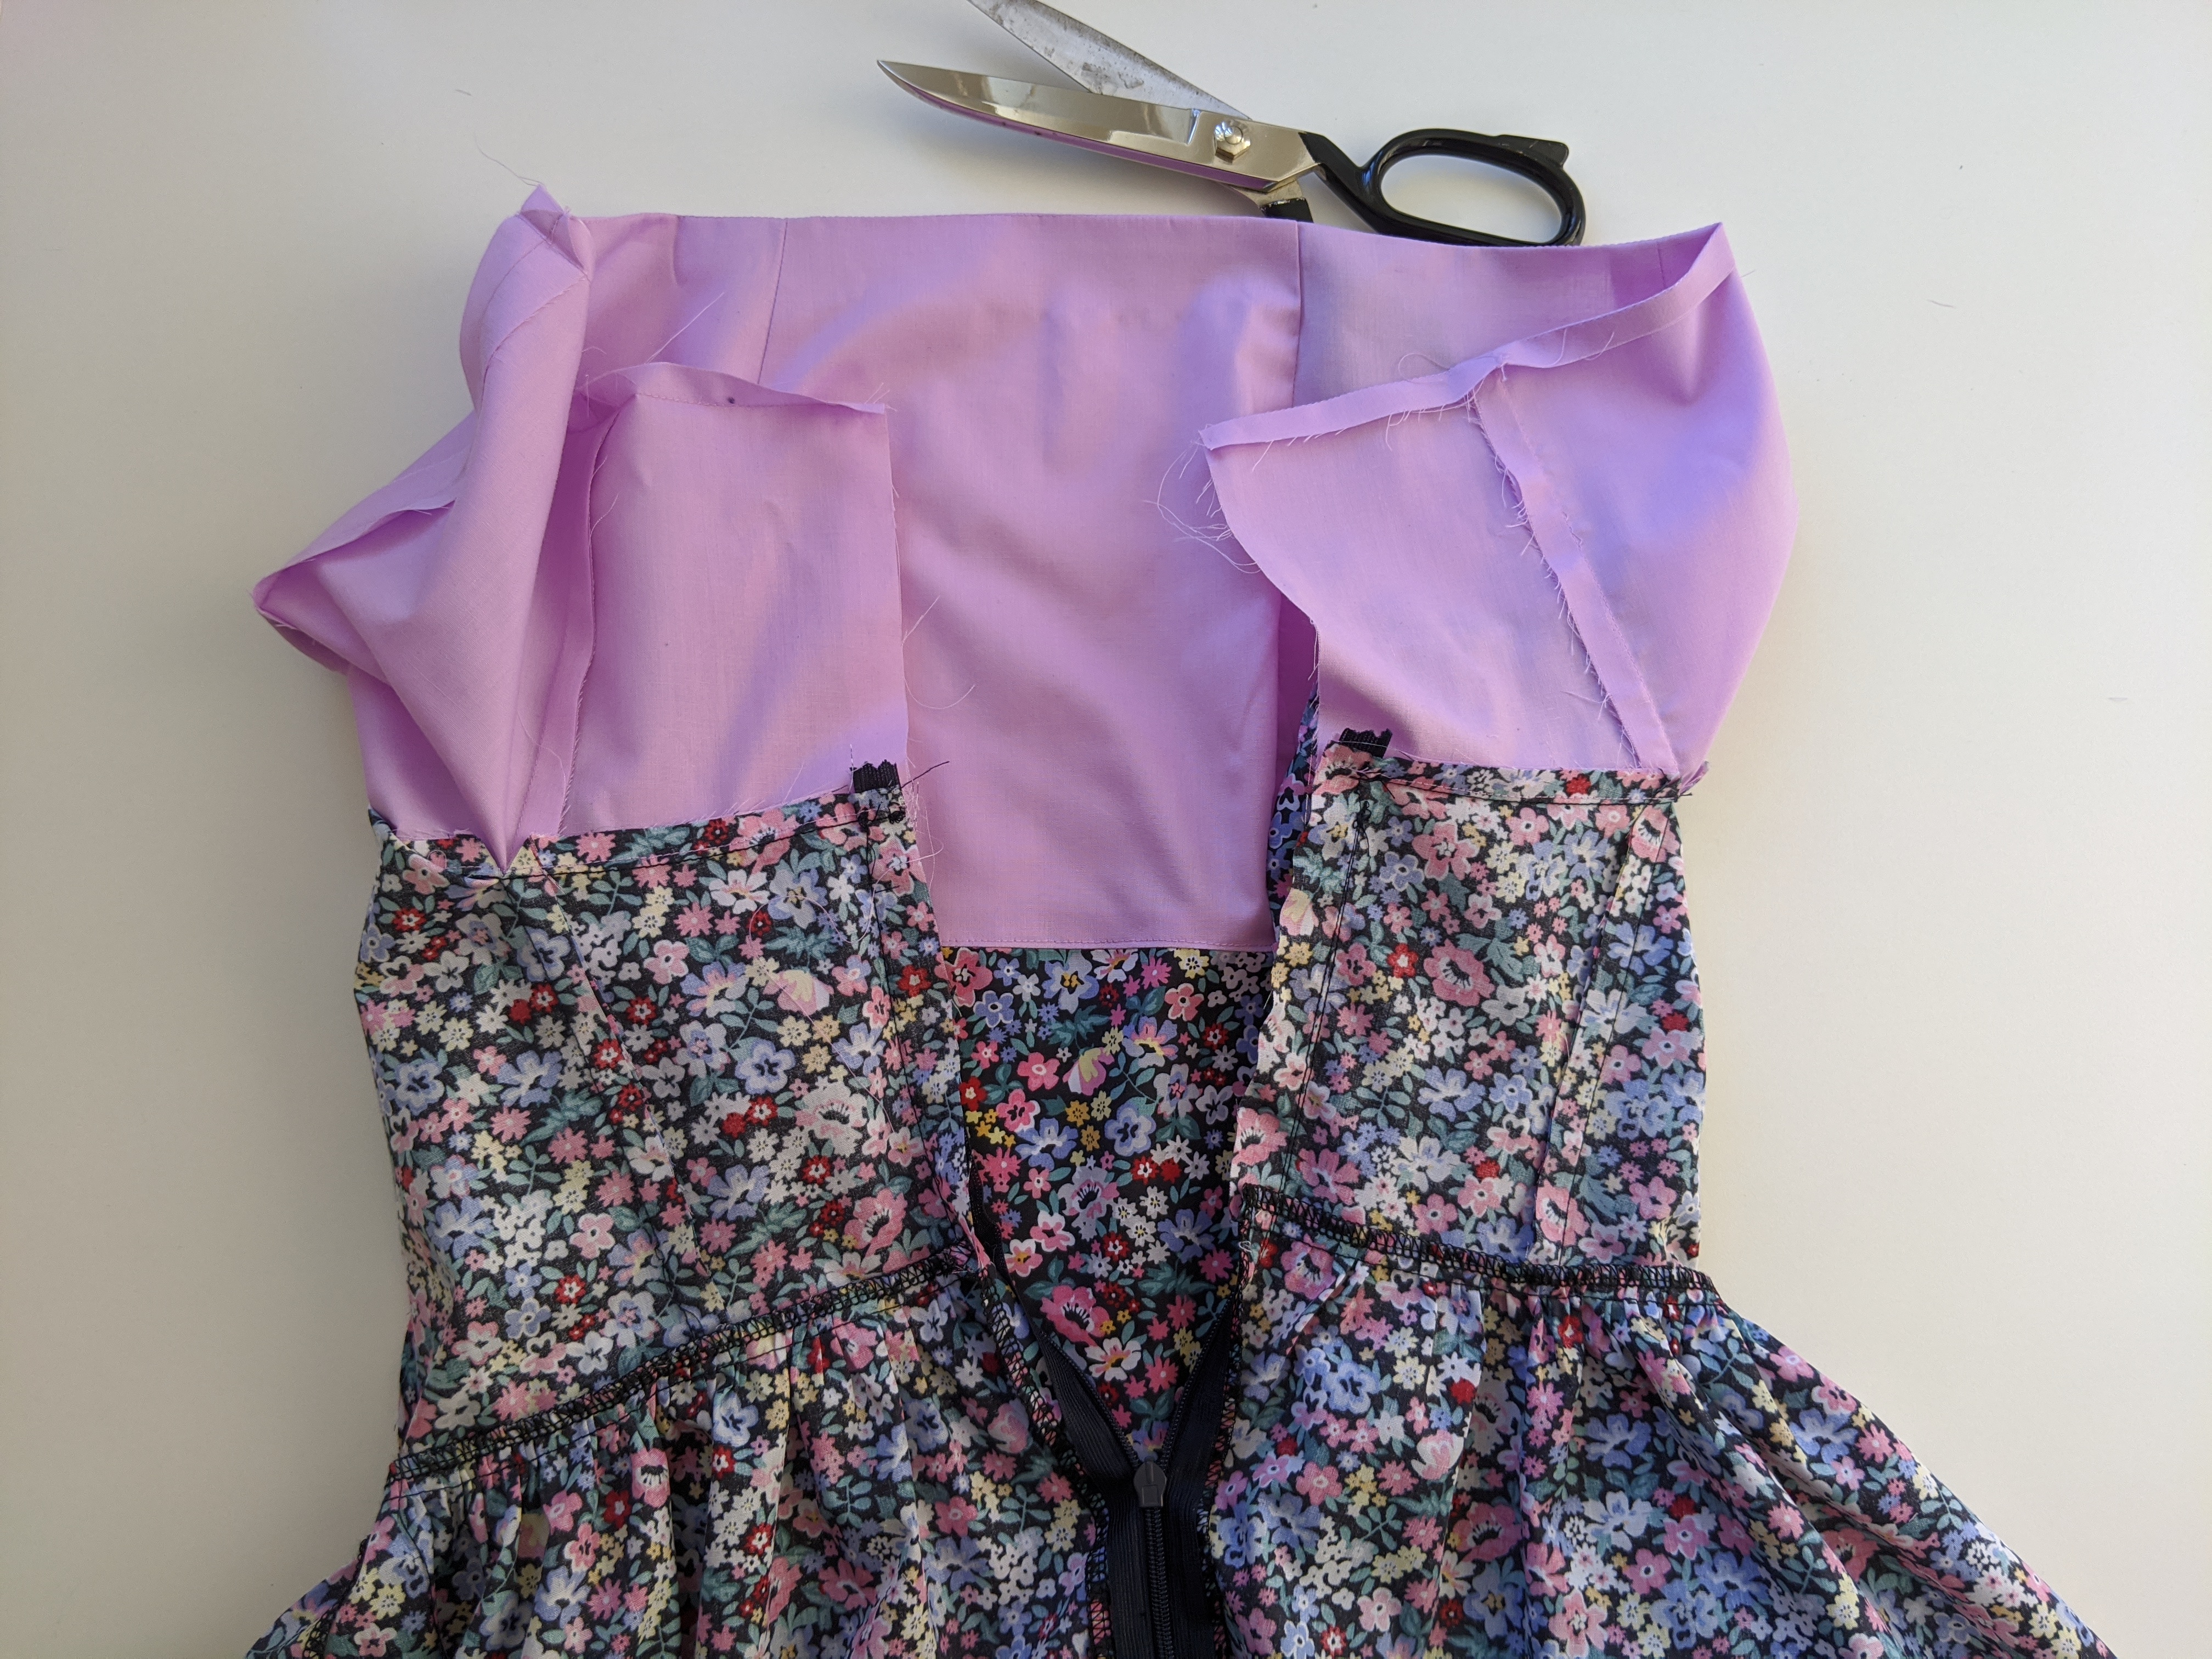
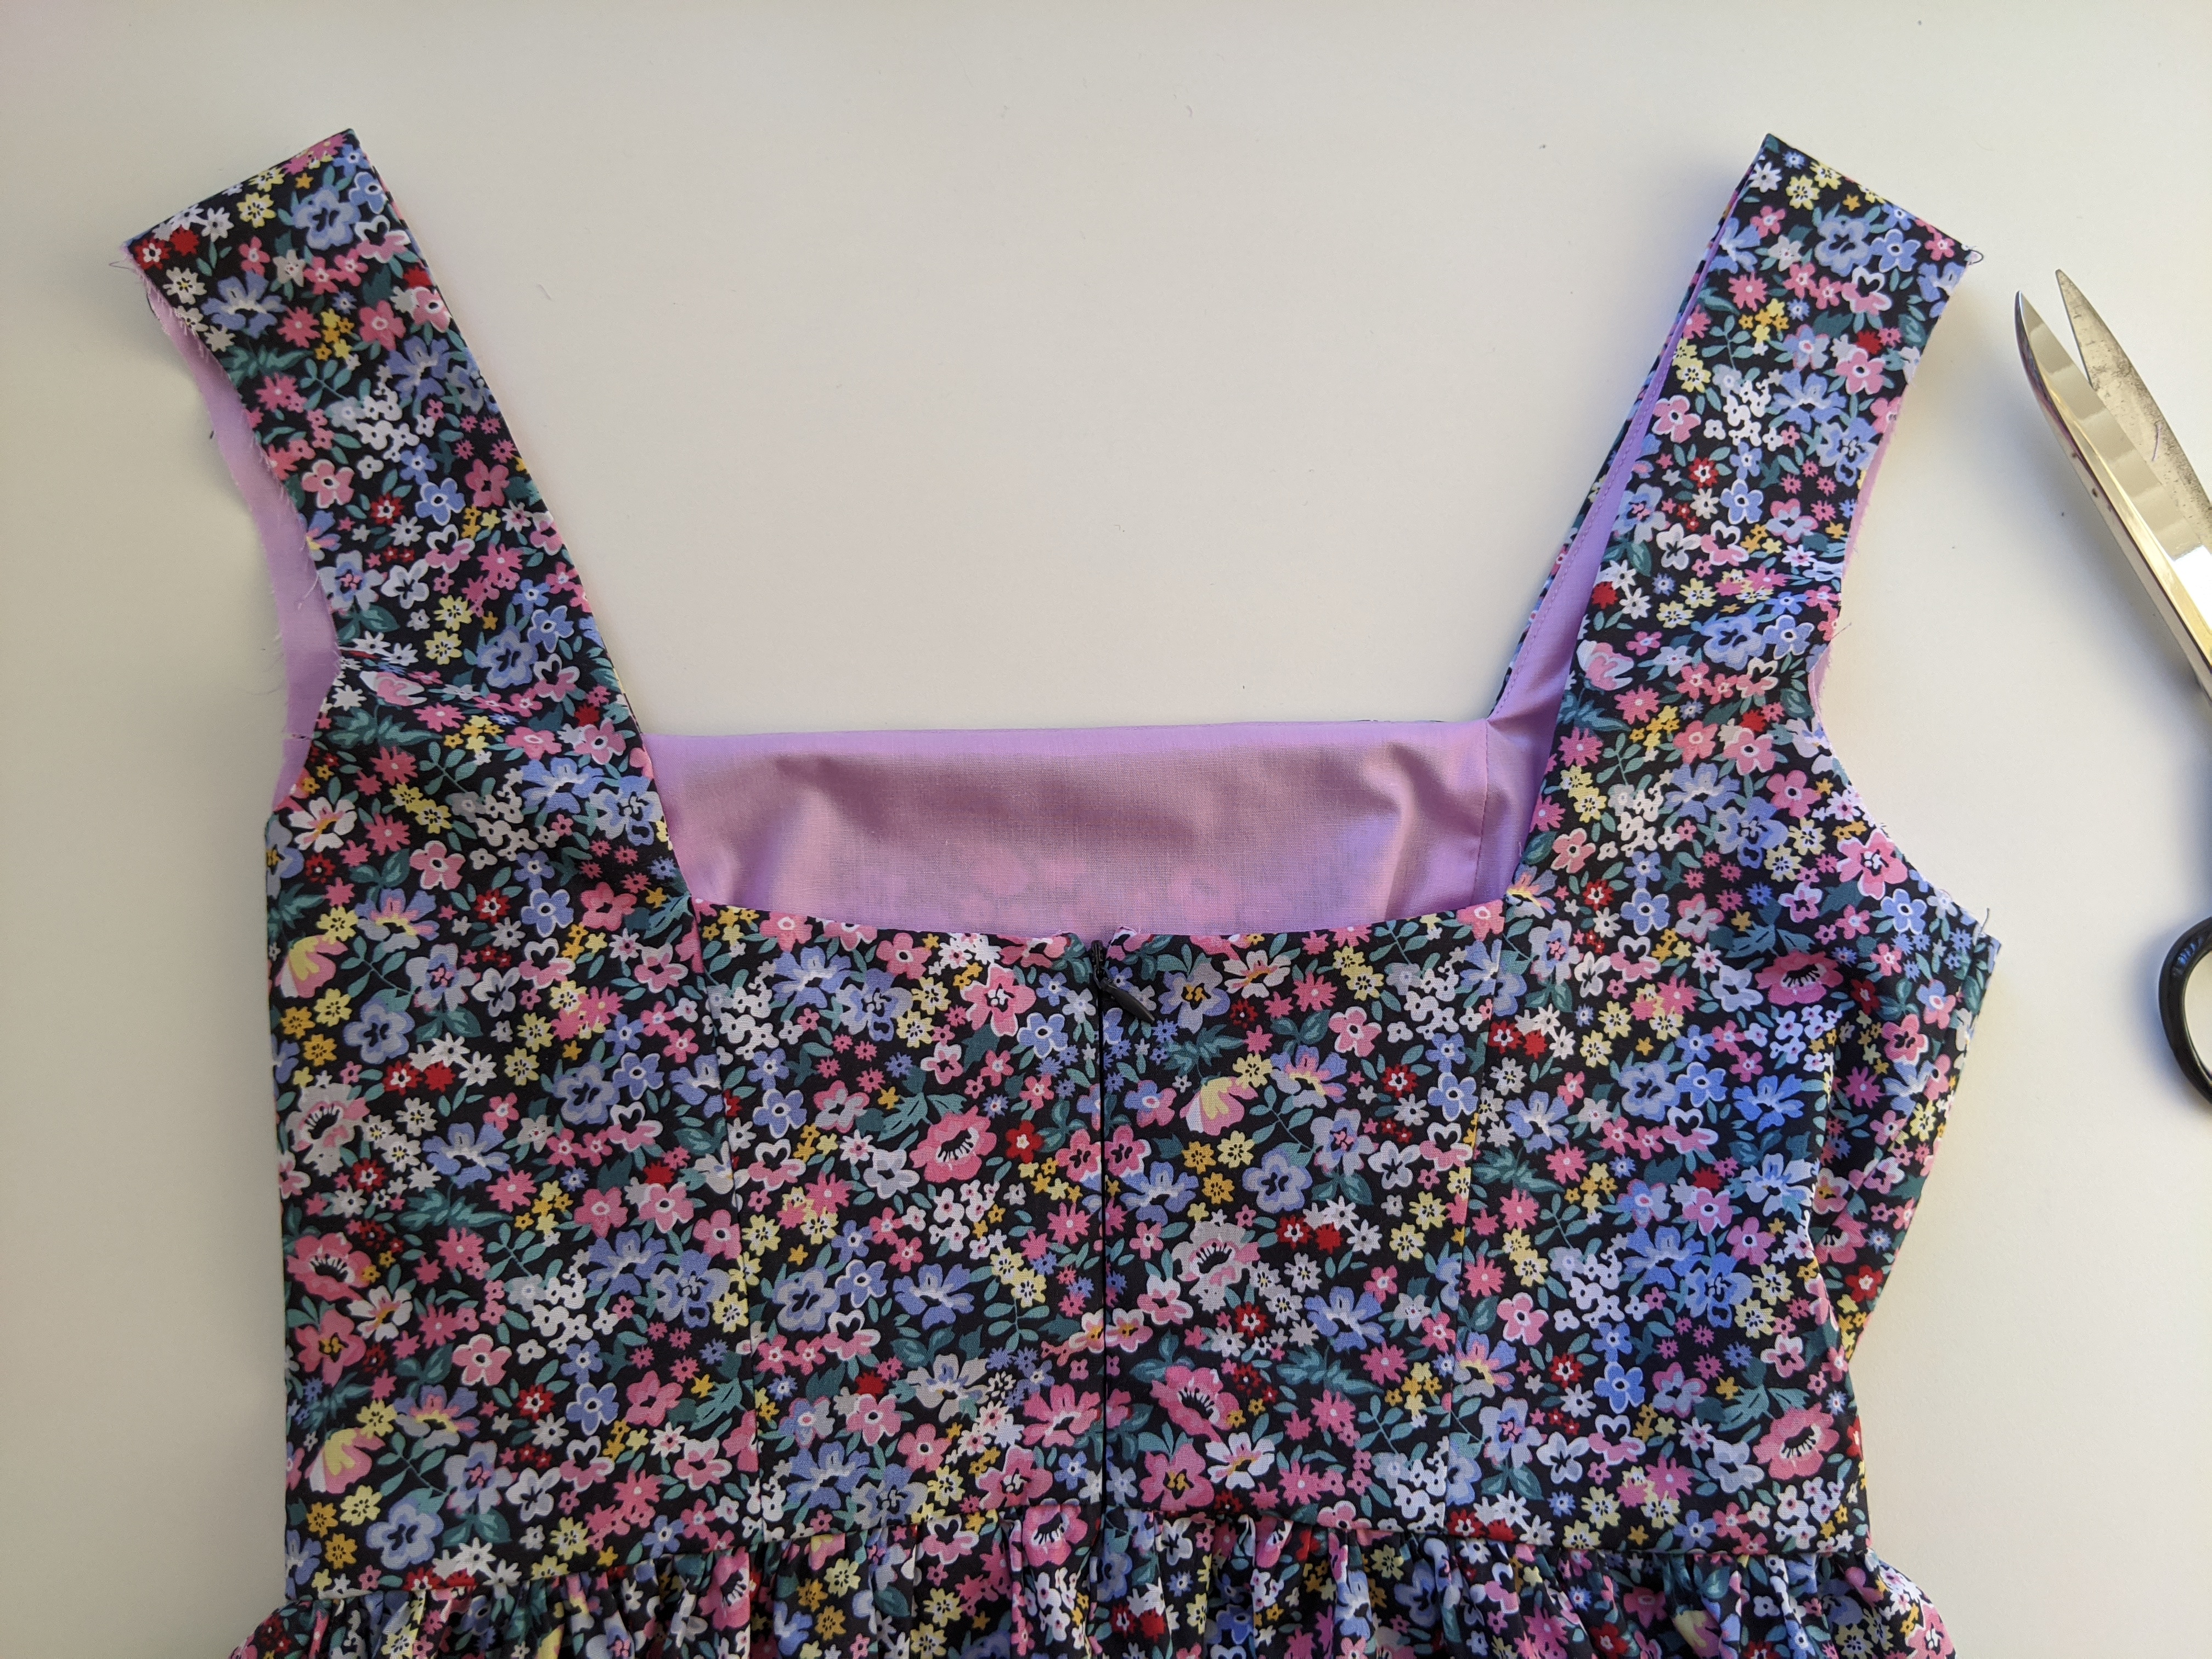
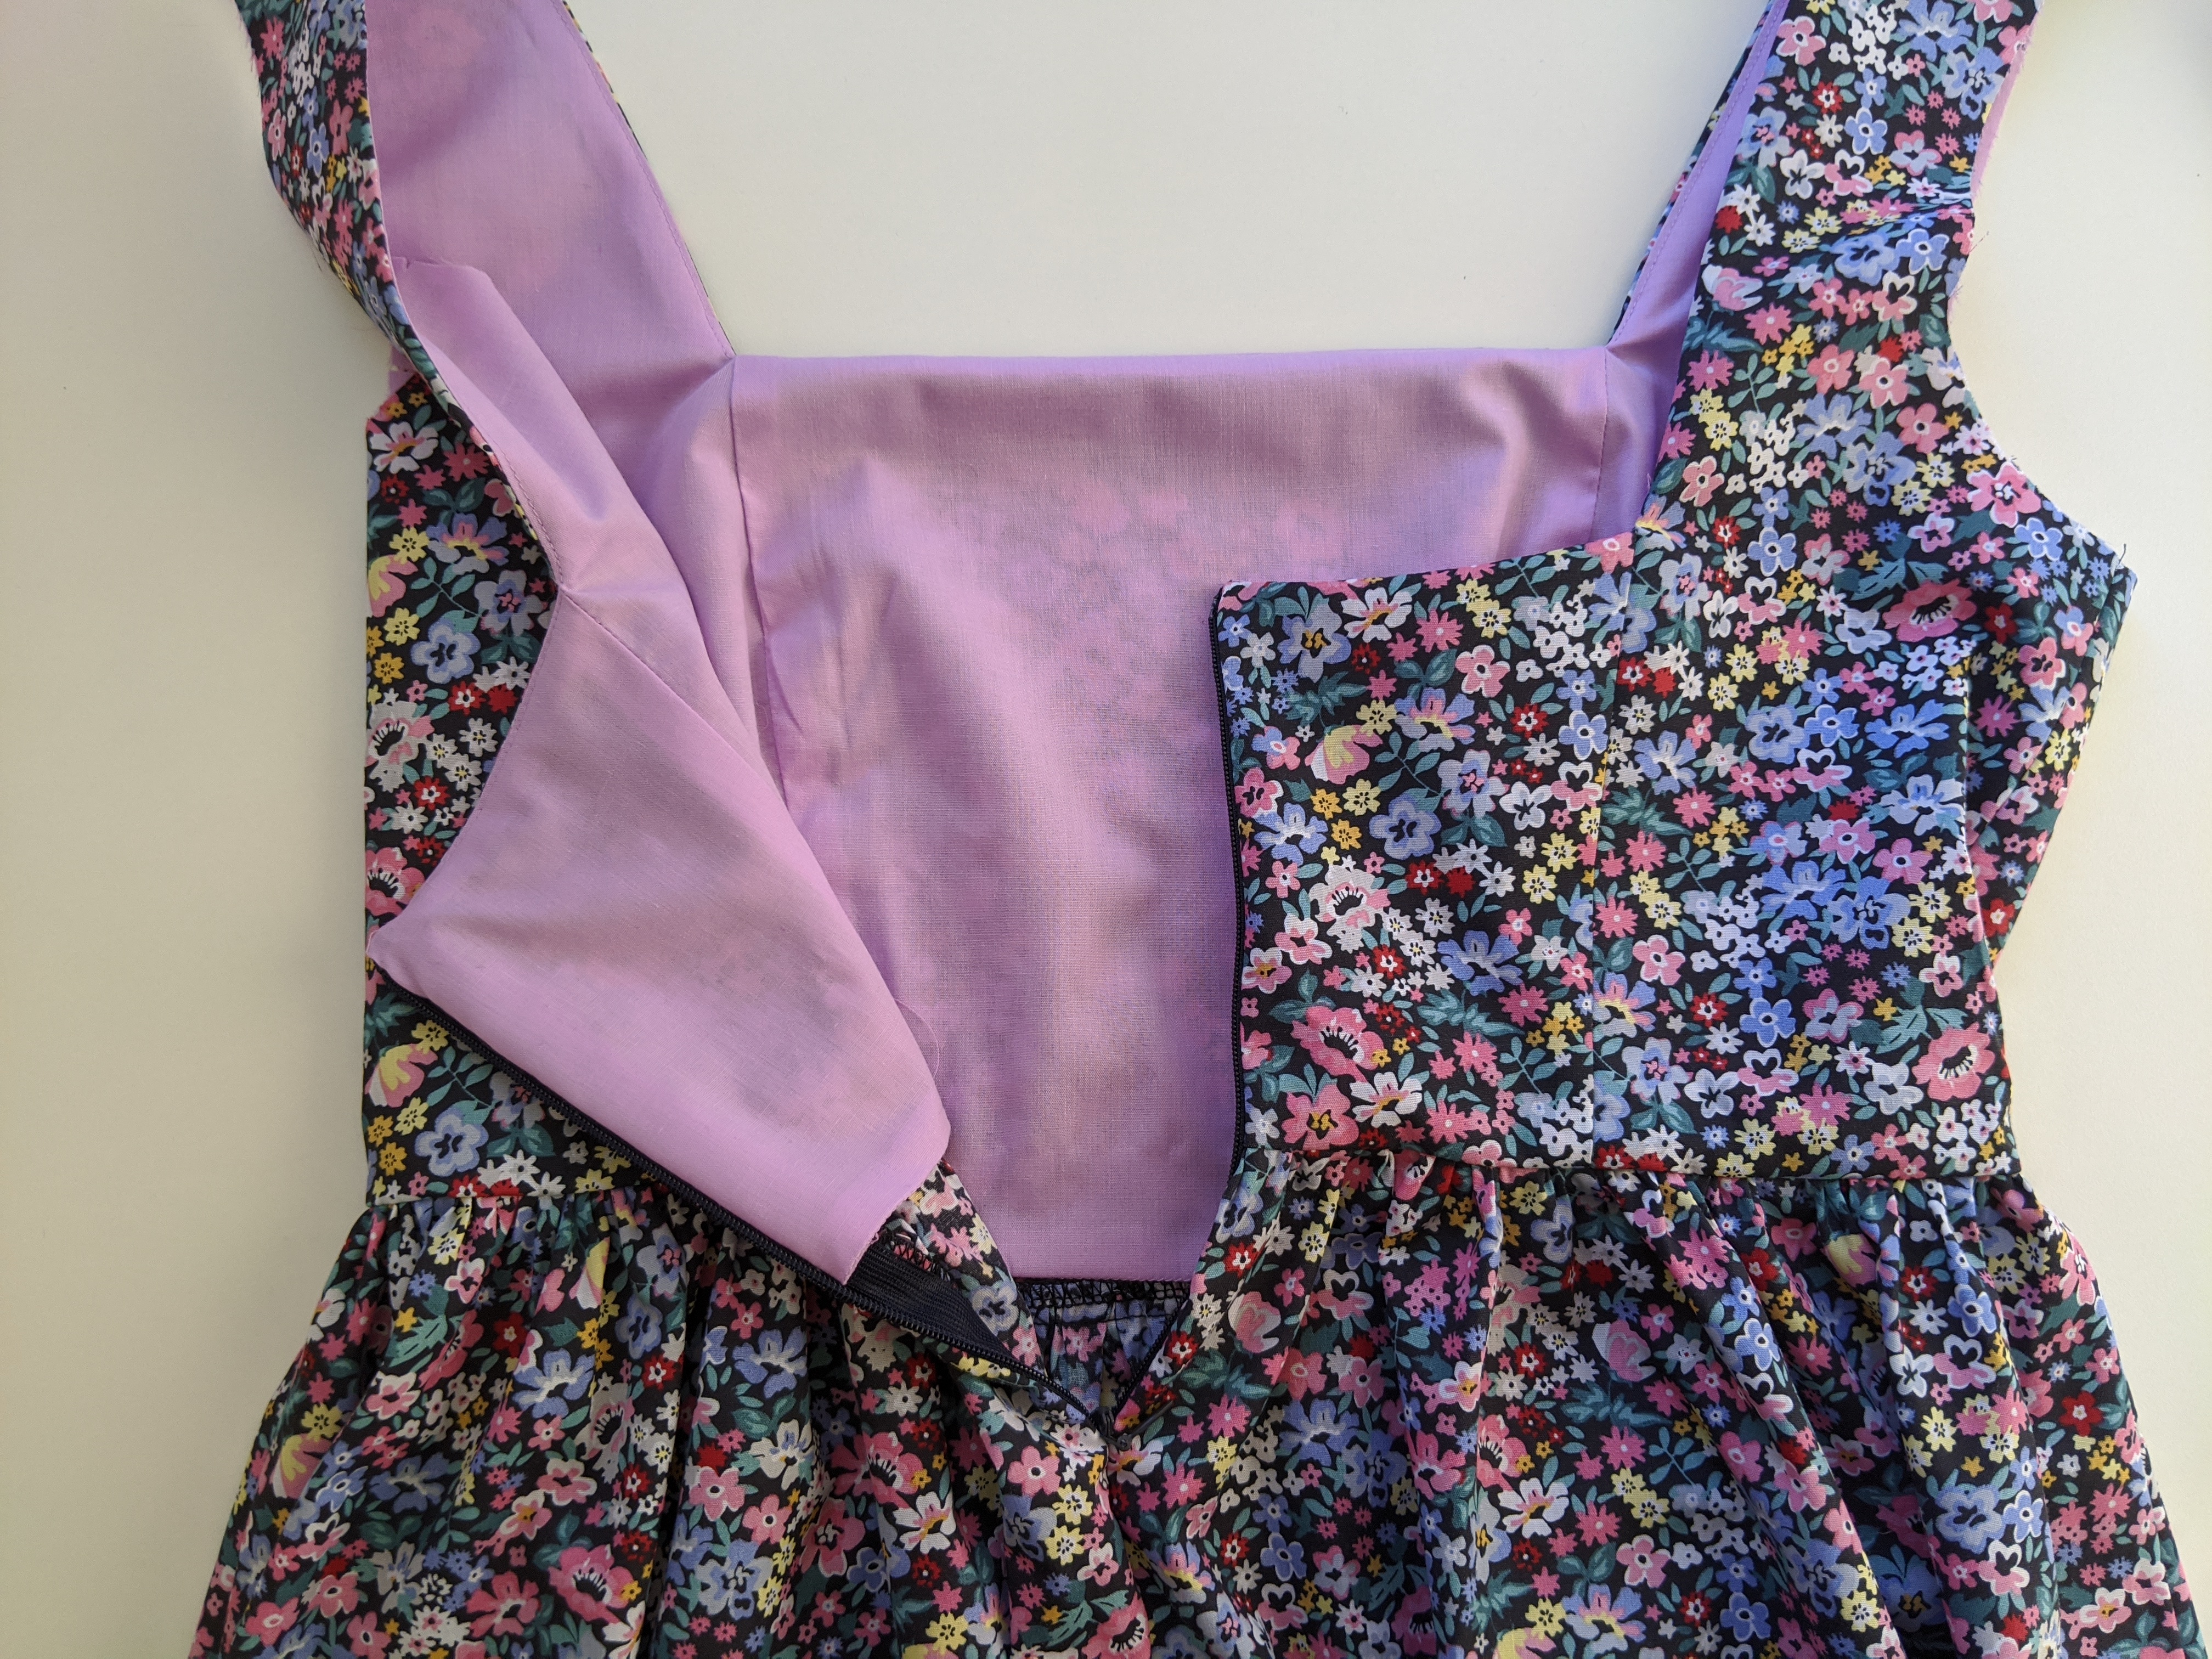
Turn back through, then pin and stitch the lining to the zipper. Then clip the seam allowance at the top of the zipper. Once the garment is turned through the zipper will be bagged out between the main and lining showing no raw edges or zipper tape. )Please see step 26 before completing this step)
Step 14
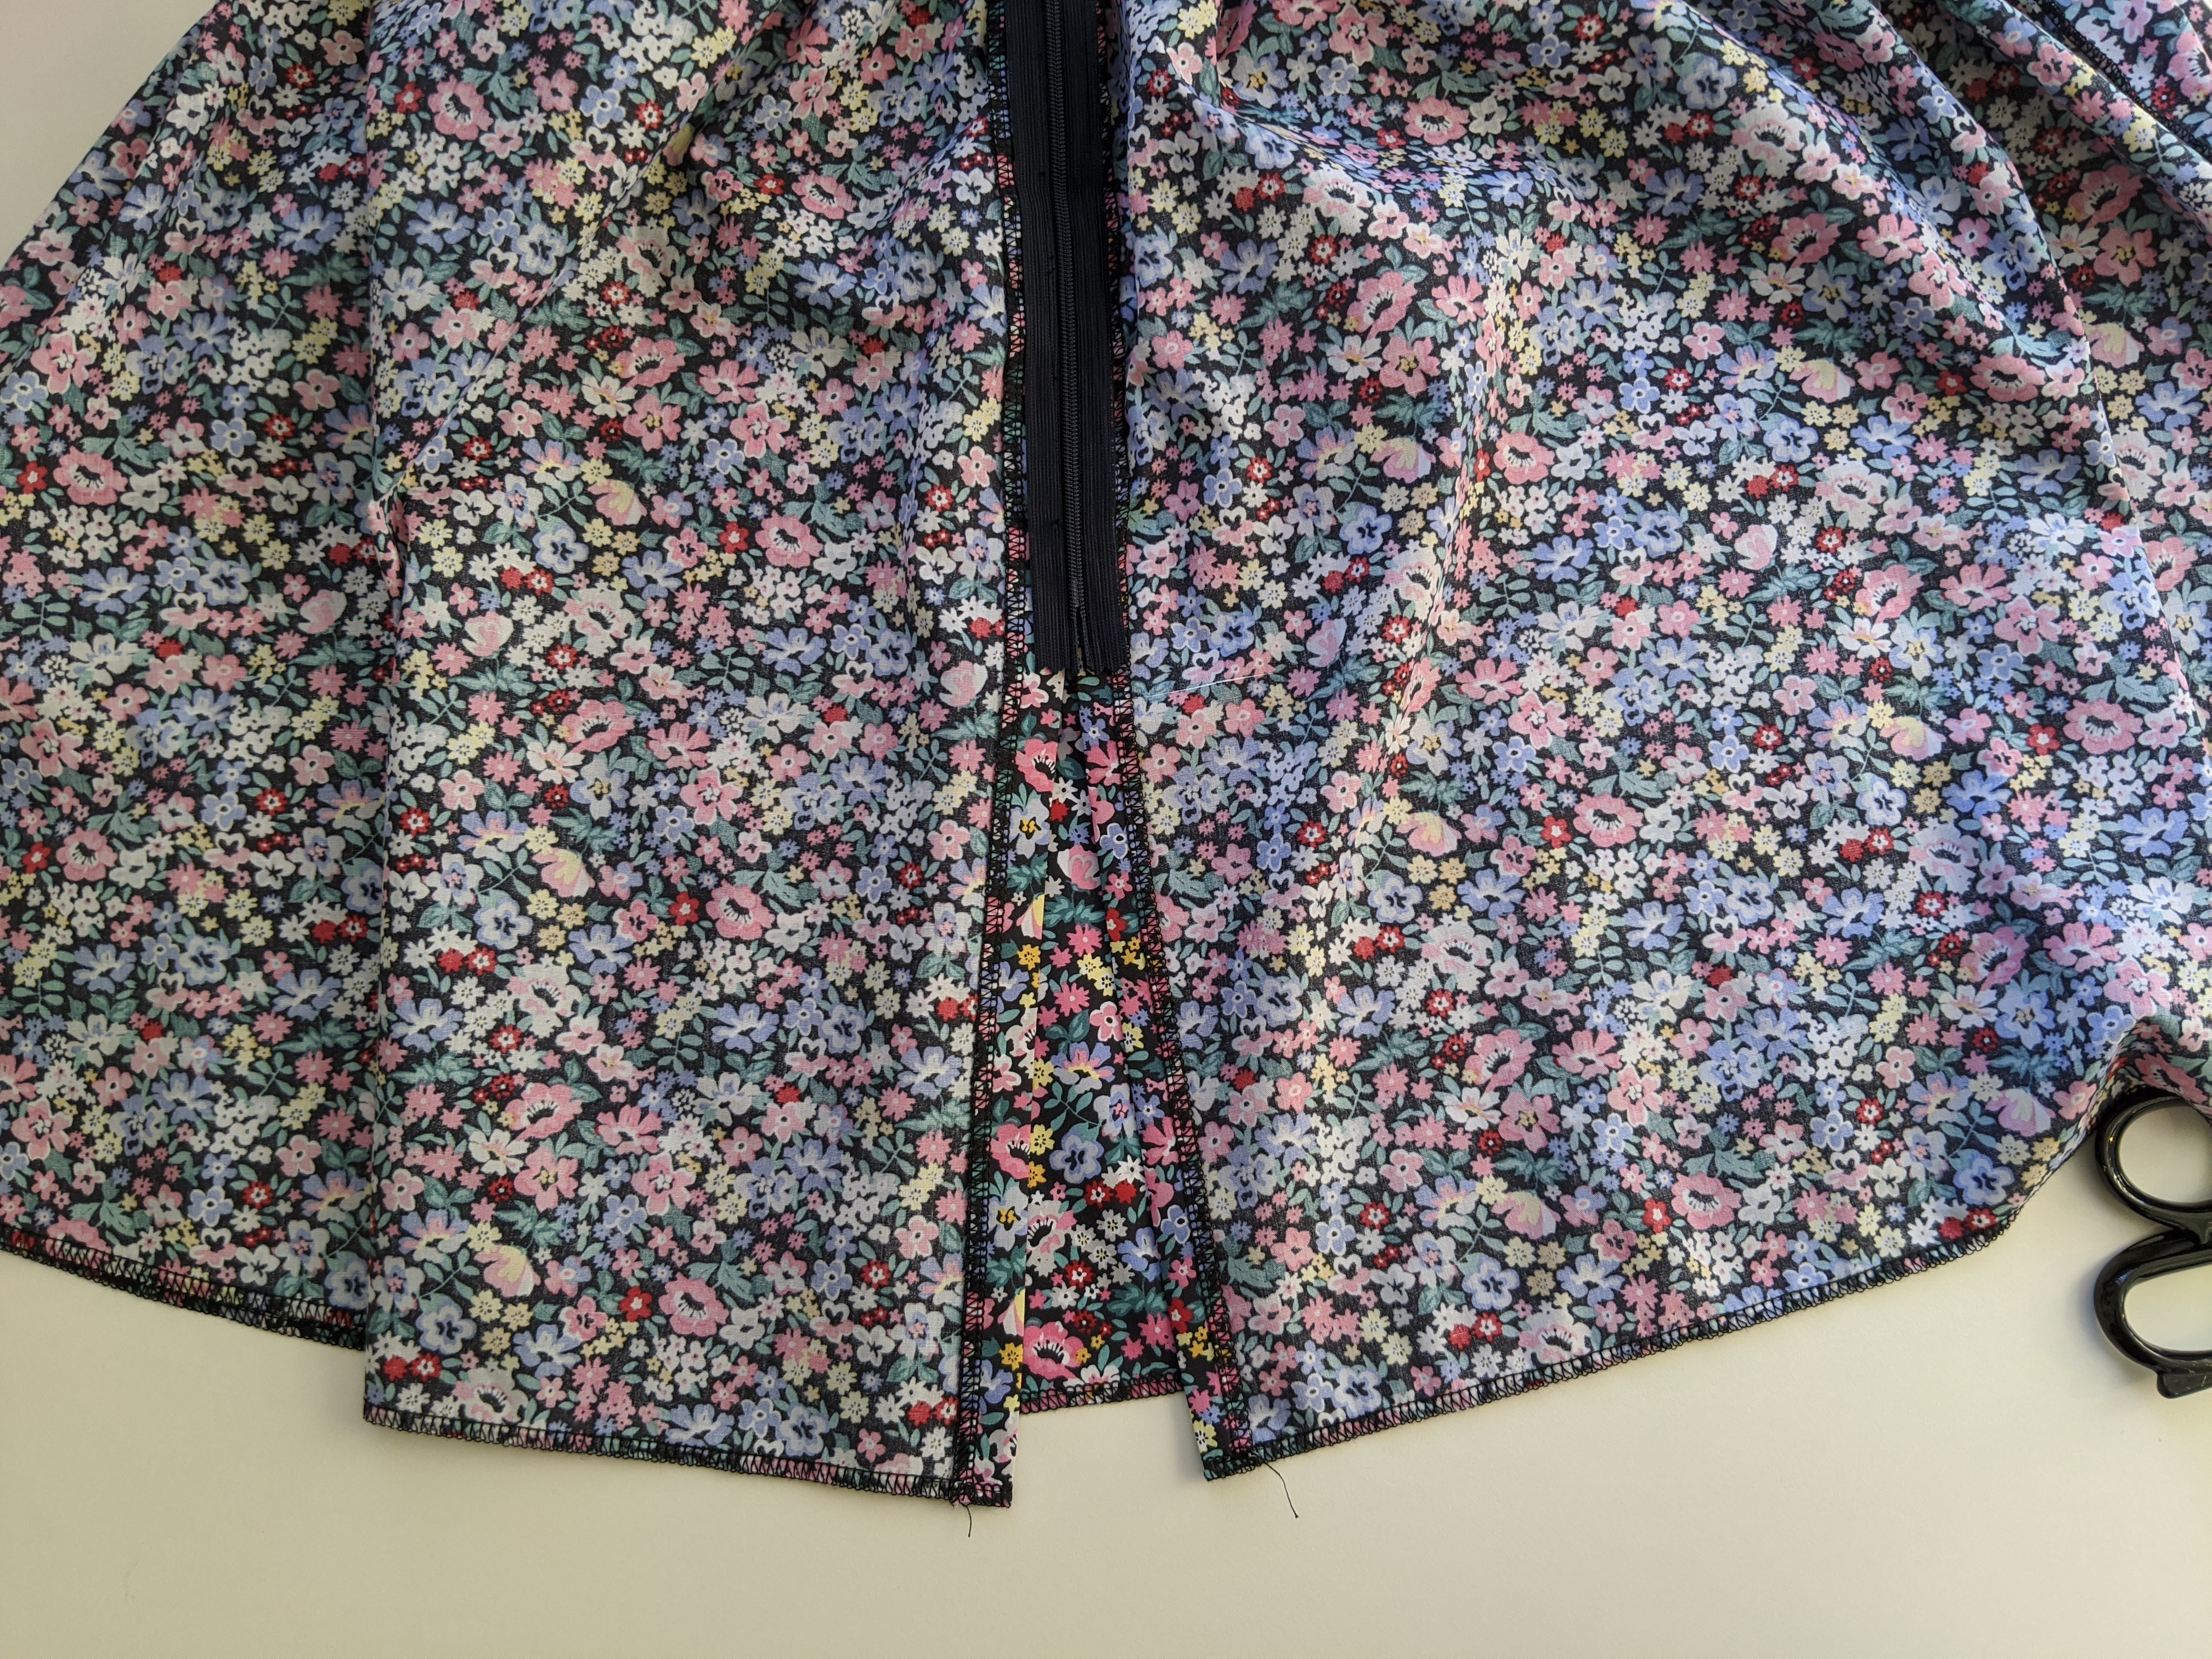
Sew the center back seam closed from the hem to the bottom of the zipper, then press seam open.
Step 15
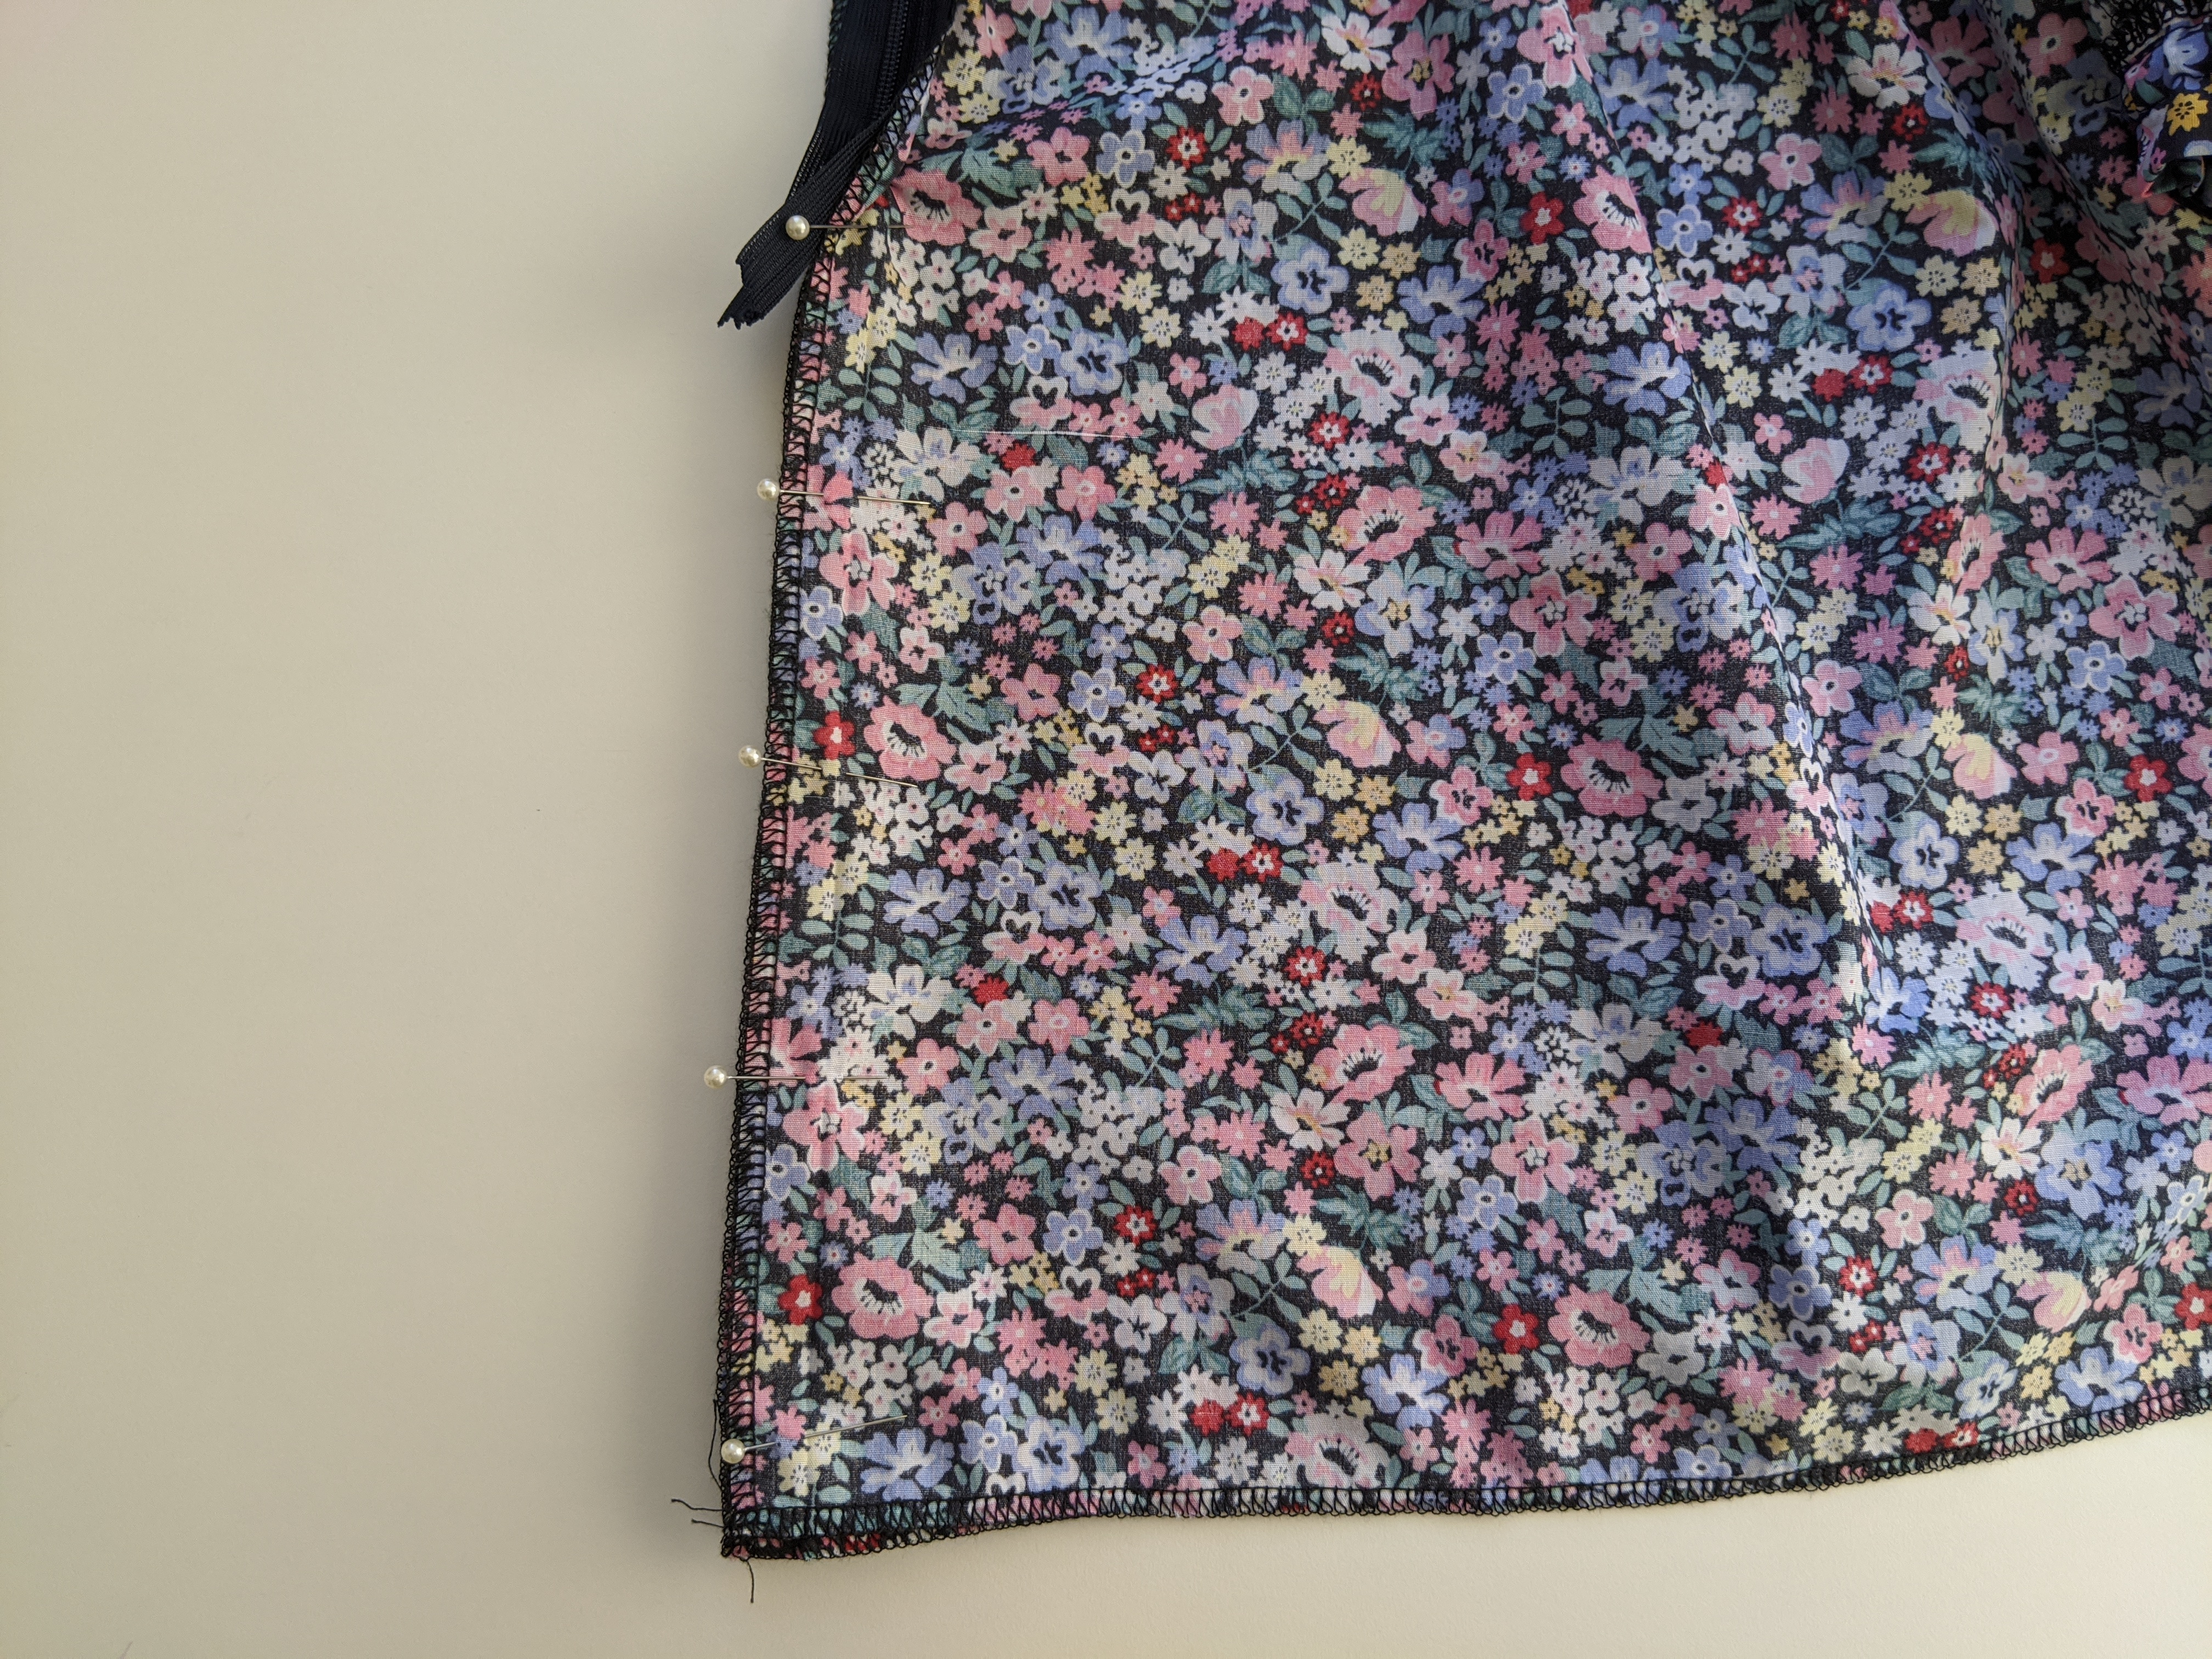
Overlock the hem of the skirt.
Step 16
Using your iron, fold the hem over twice and press. Continue until the whole hem is done, then stitch down with a standard straight stitch.
Step 17
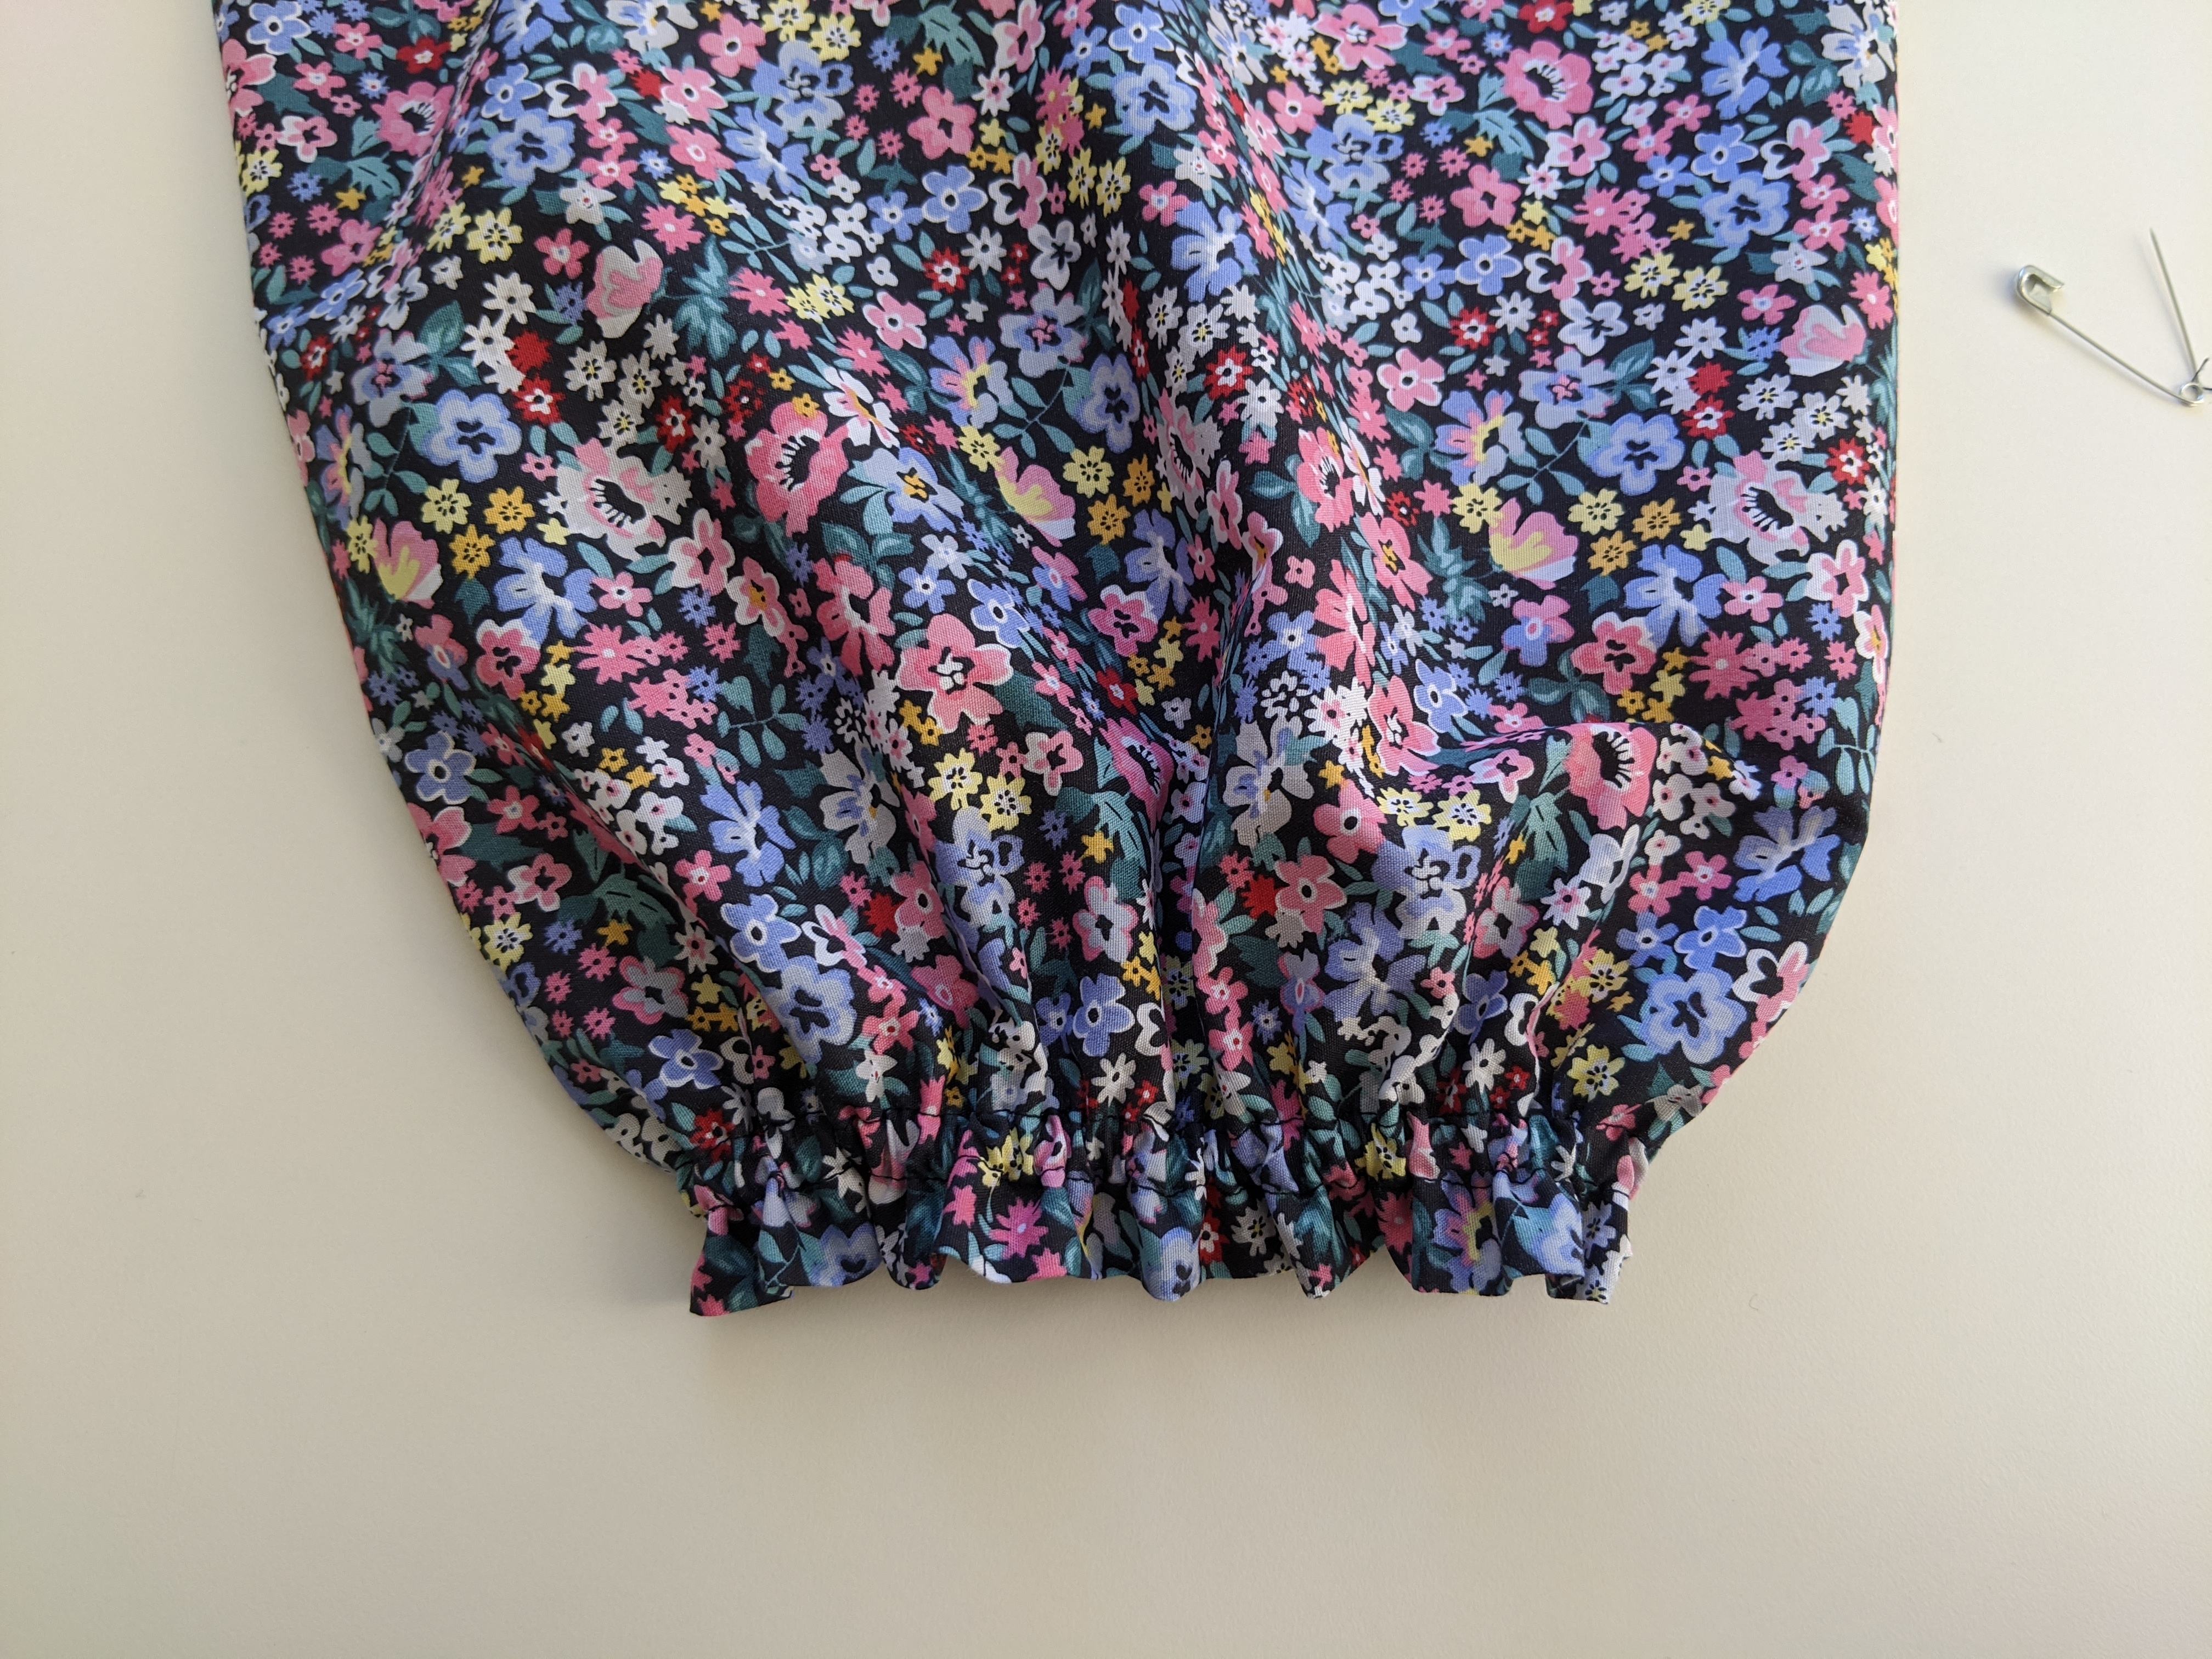
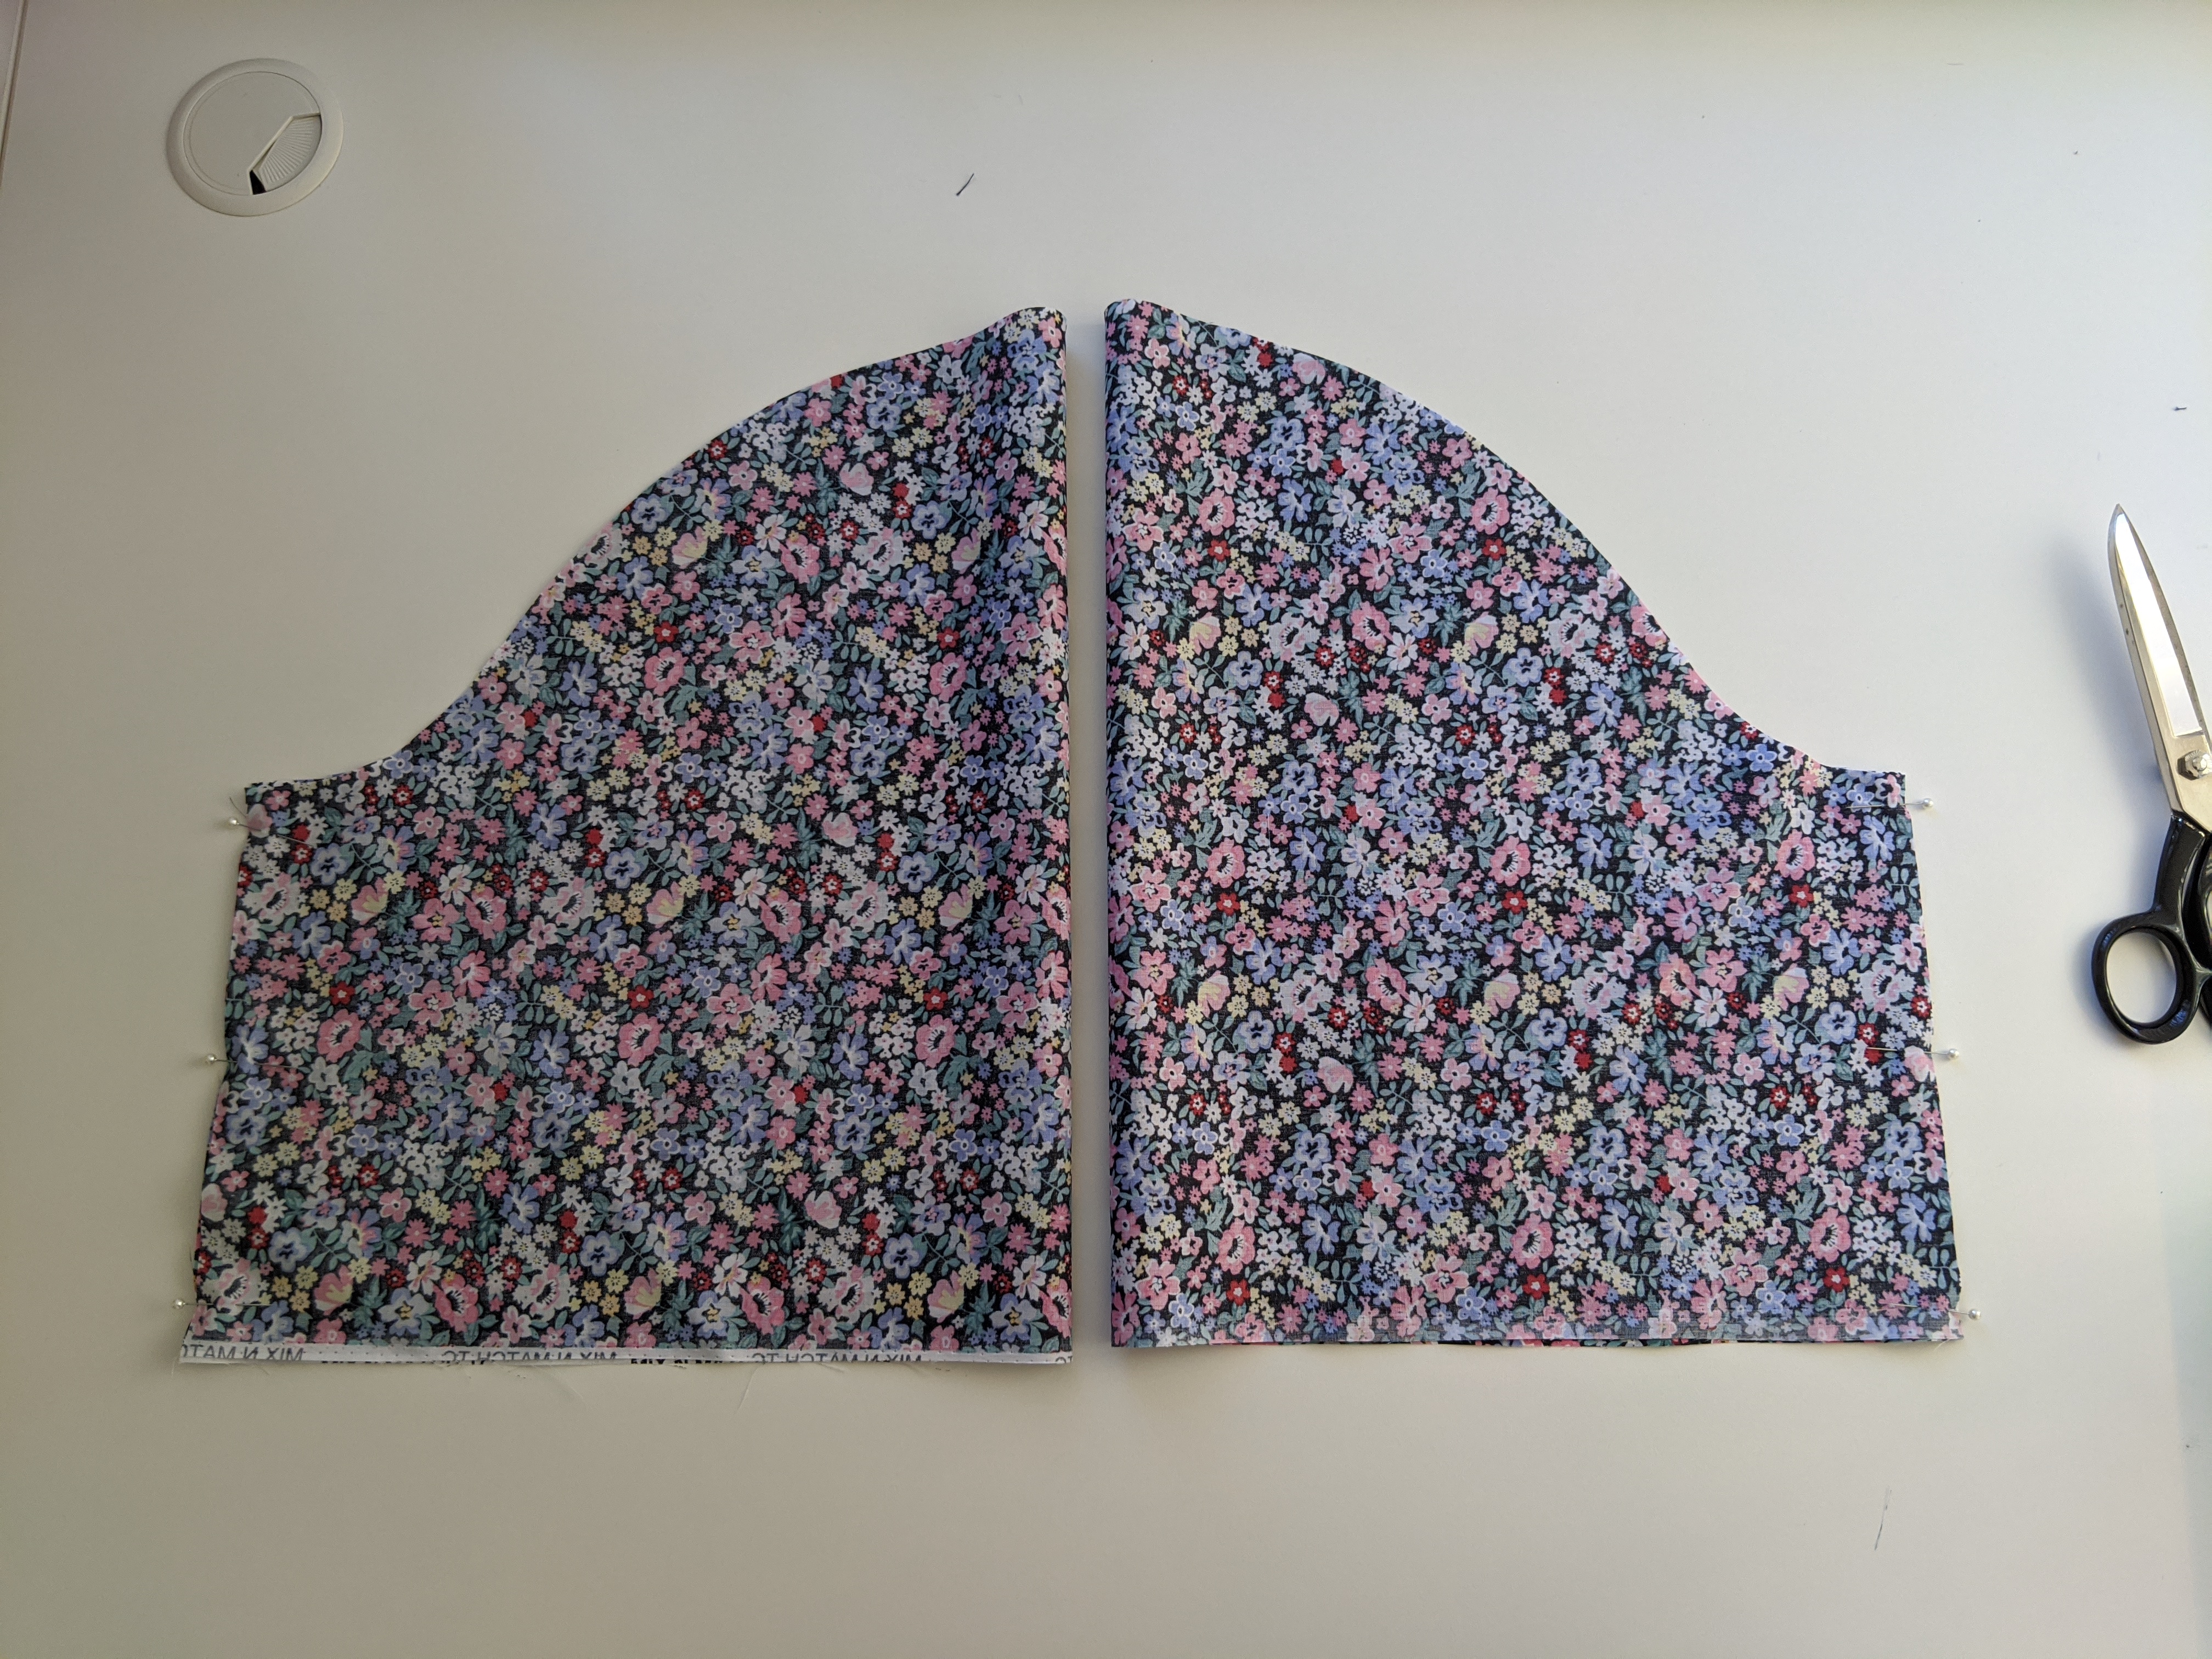
Next take each sleeve. Pin sleeve inseams right sides together stitch closed with a 1.5cm seam then and overlock closed trimming the seam allowance back to 7mm, then press back. (trimming the seam allowance back to 7mm will make step 20 easier)
Step 18
Overlock the hem of the sleeve from the right side of the fabric, then fold and press a 3cm hem.
Stitch the hem down by sewing on top of the overlocking.
Step 19
Then stitch a 2nd row of stitching, closer to the hem of the sleeve, 8mm from the 1st row of stitching.
This will make your elastic casing (if using wider or thinner elastic, adjust the 8mm accordingly)
Step 20
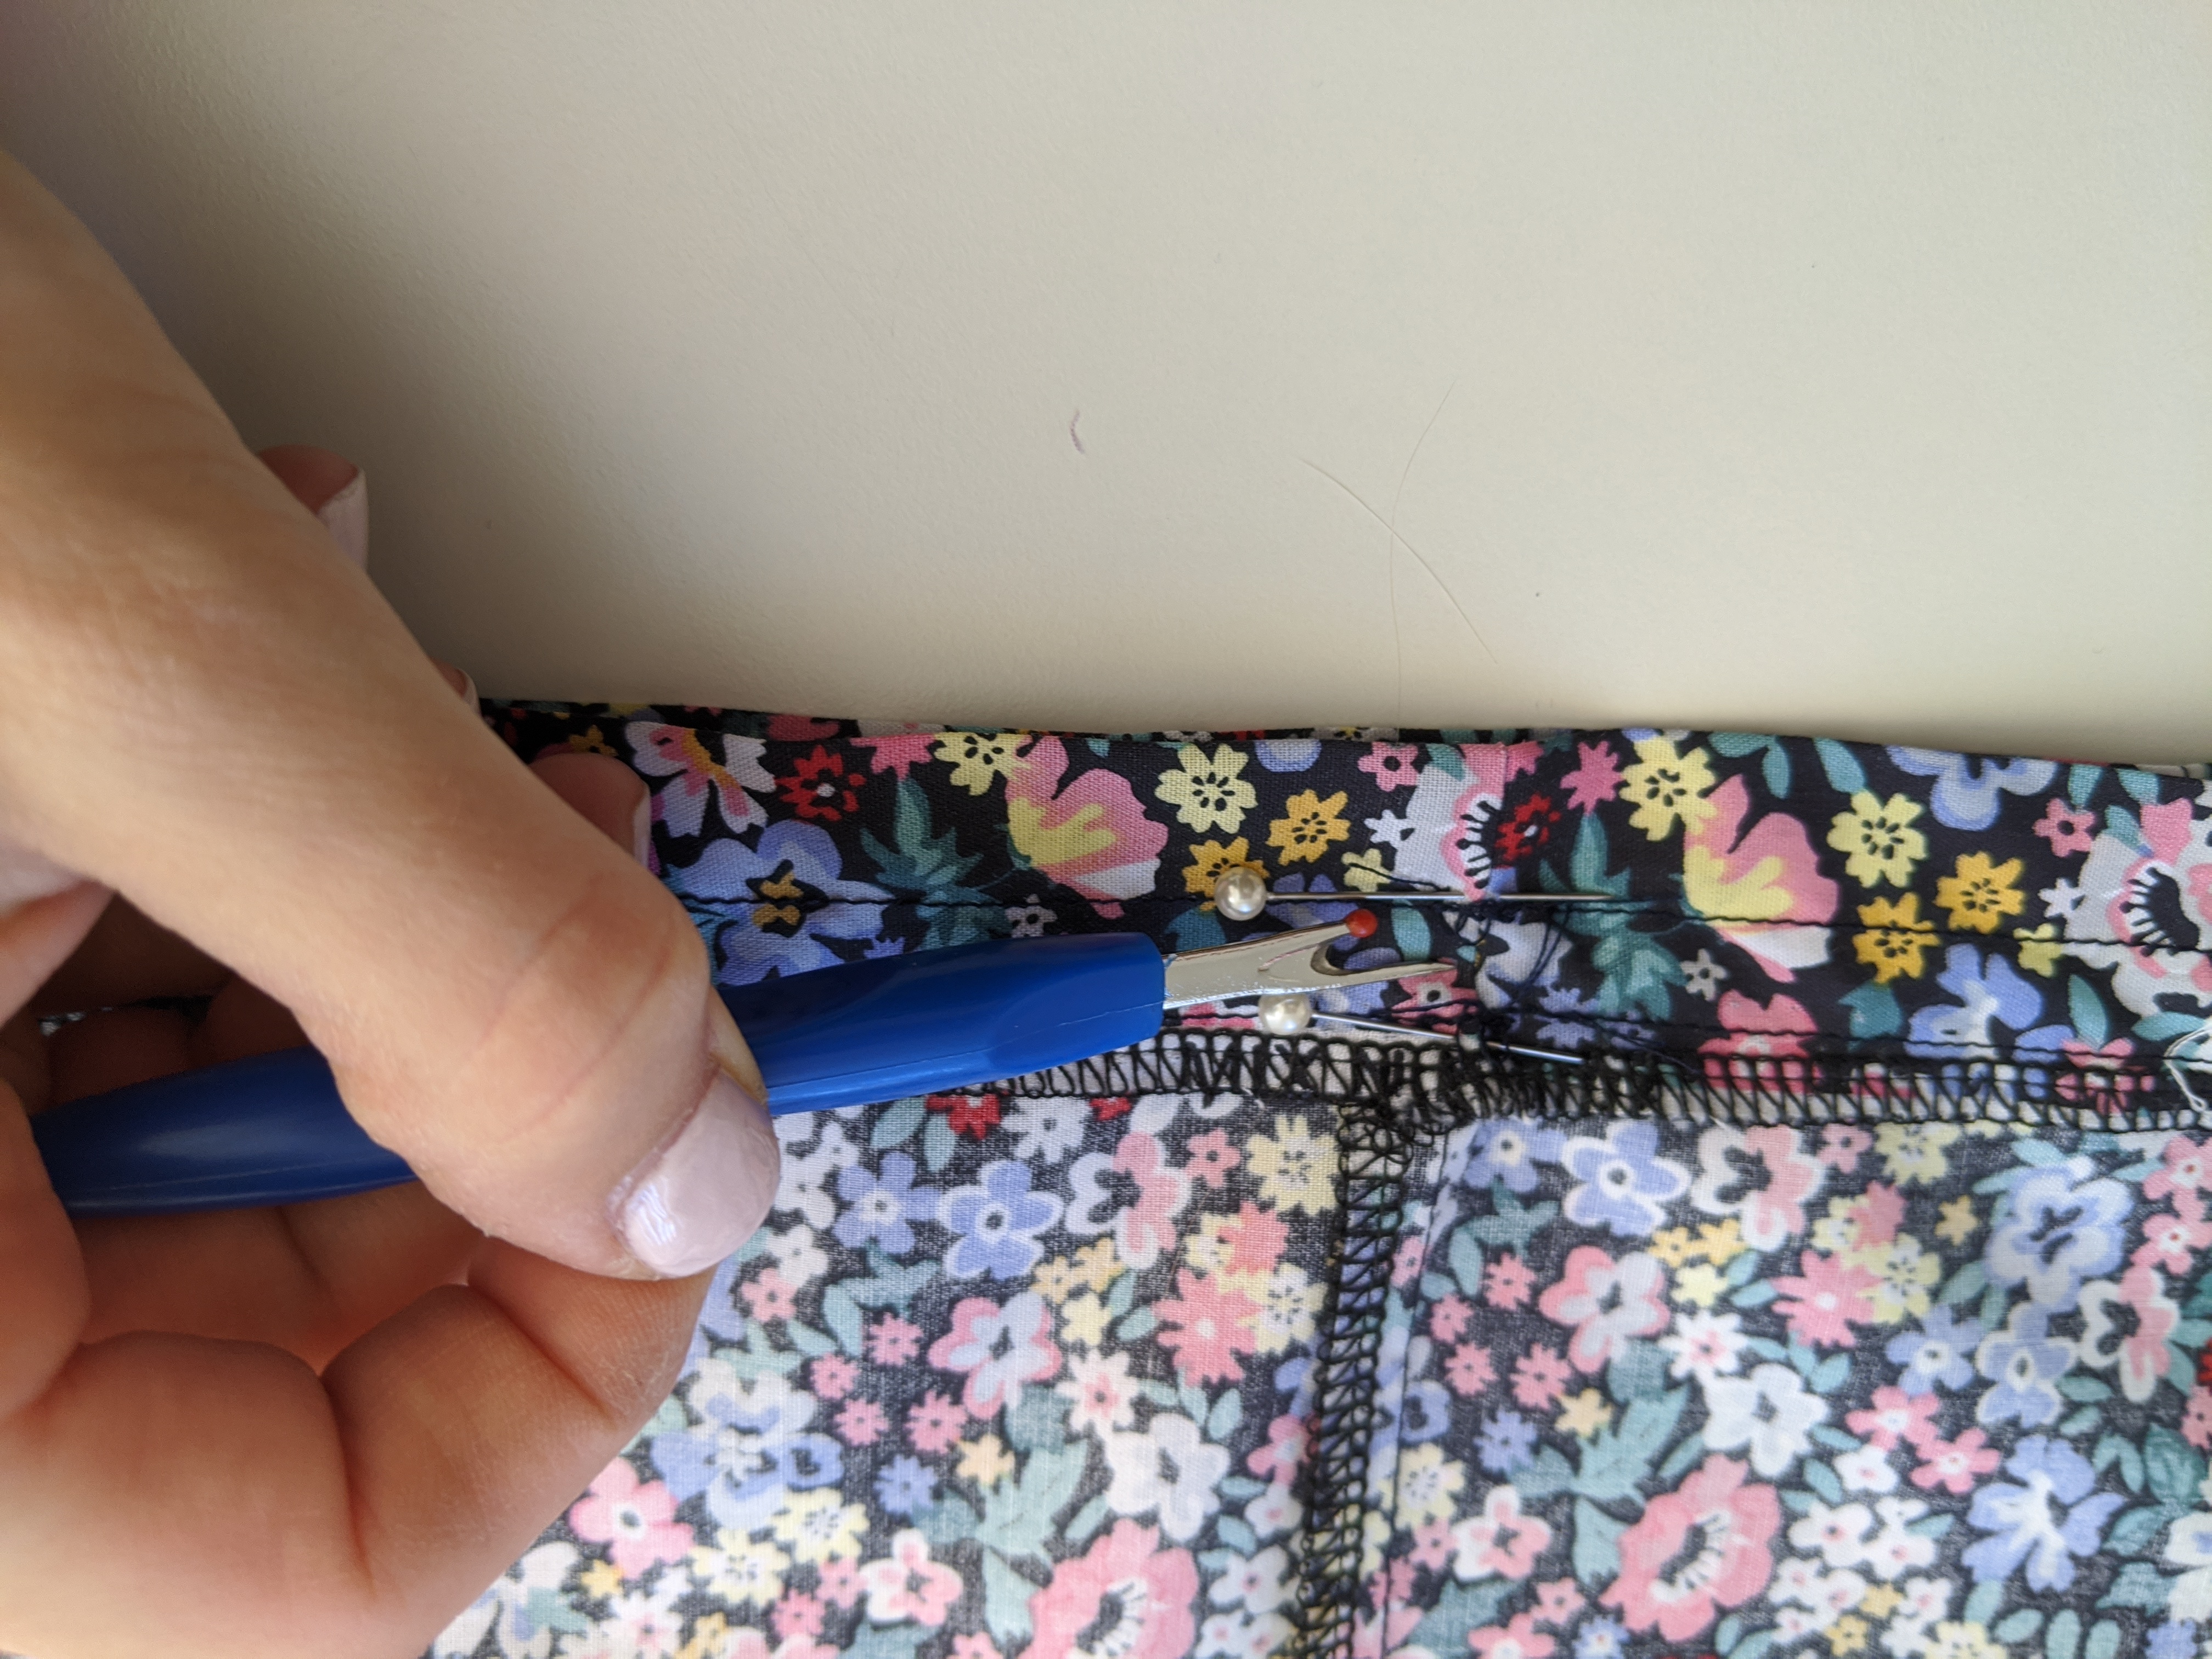
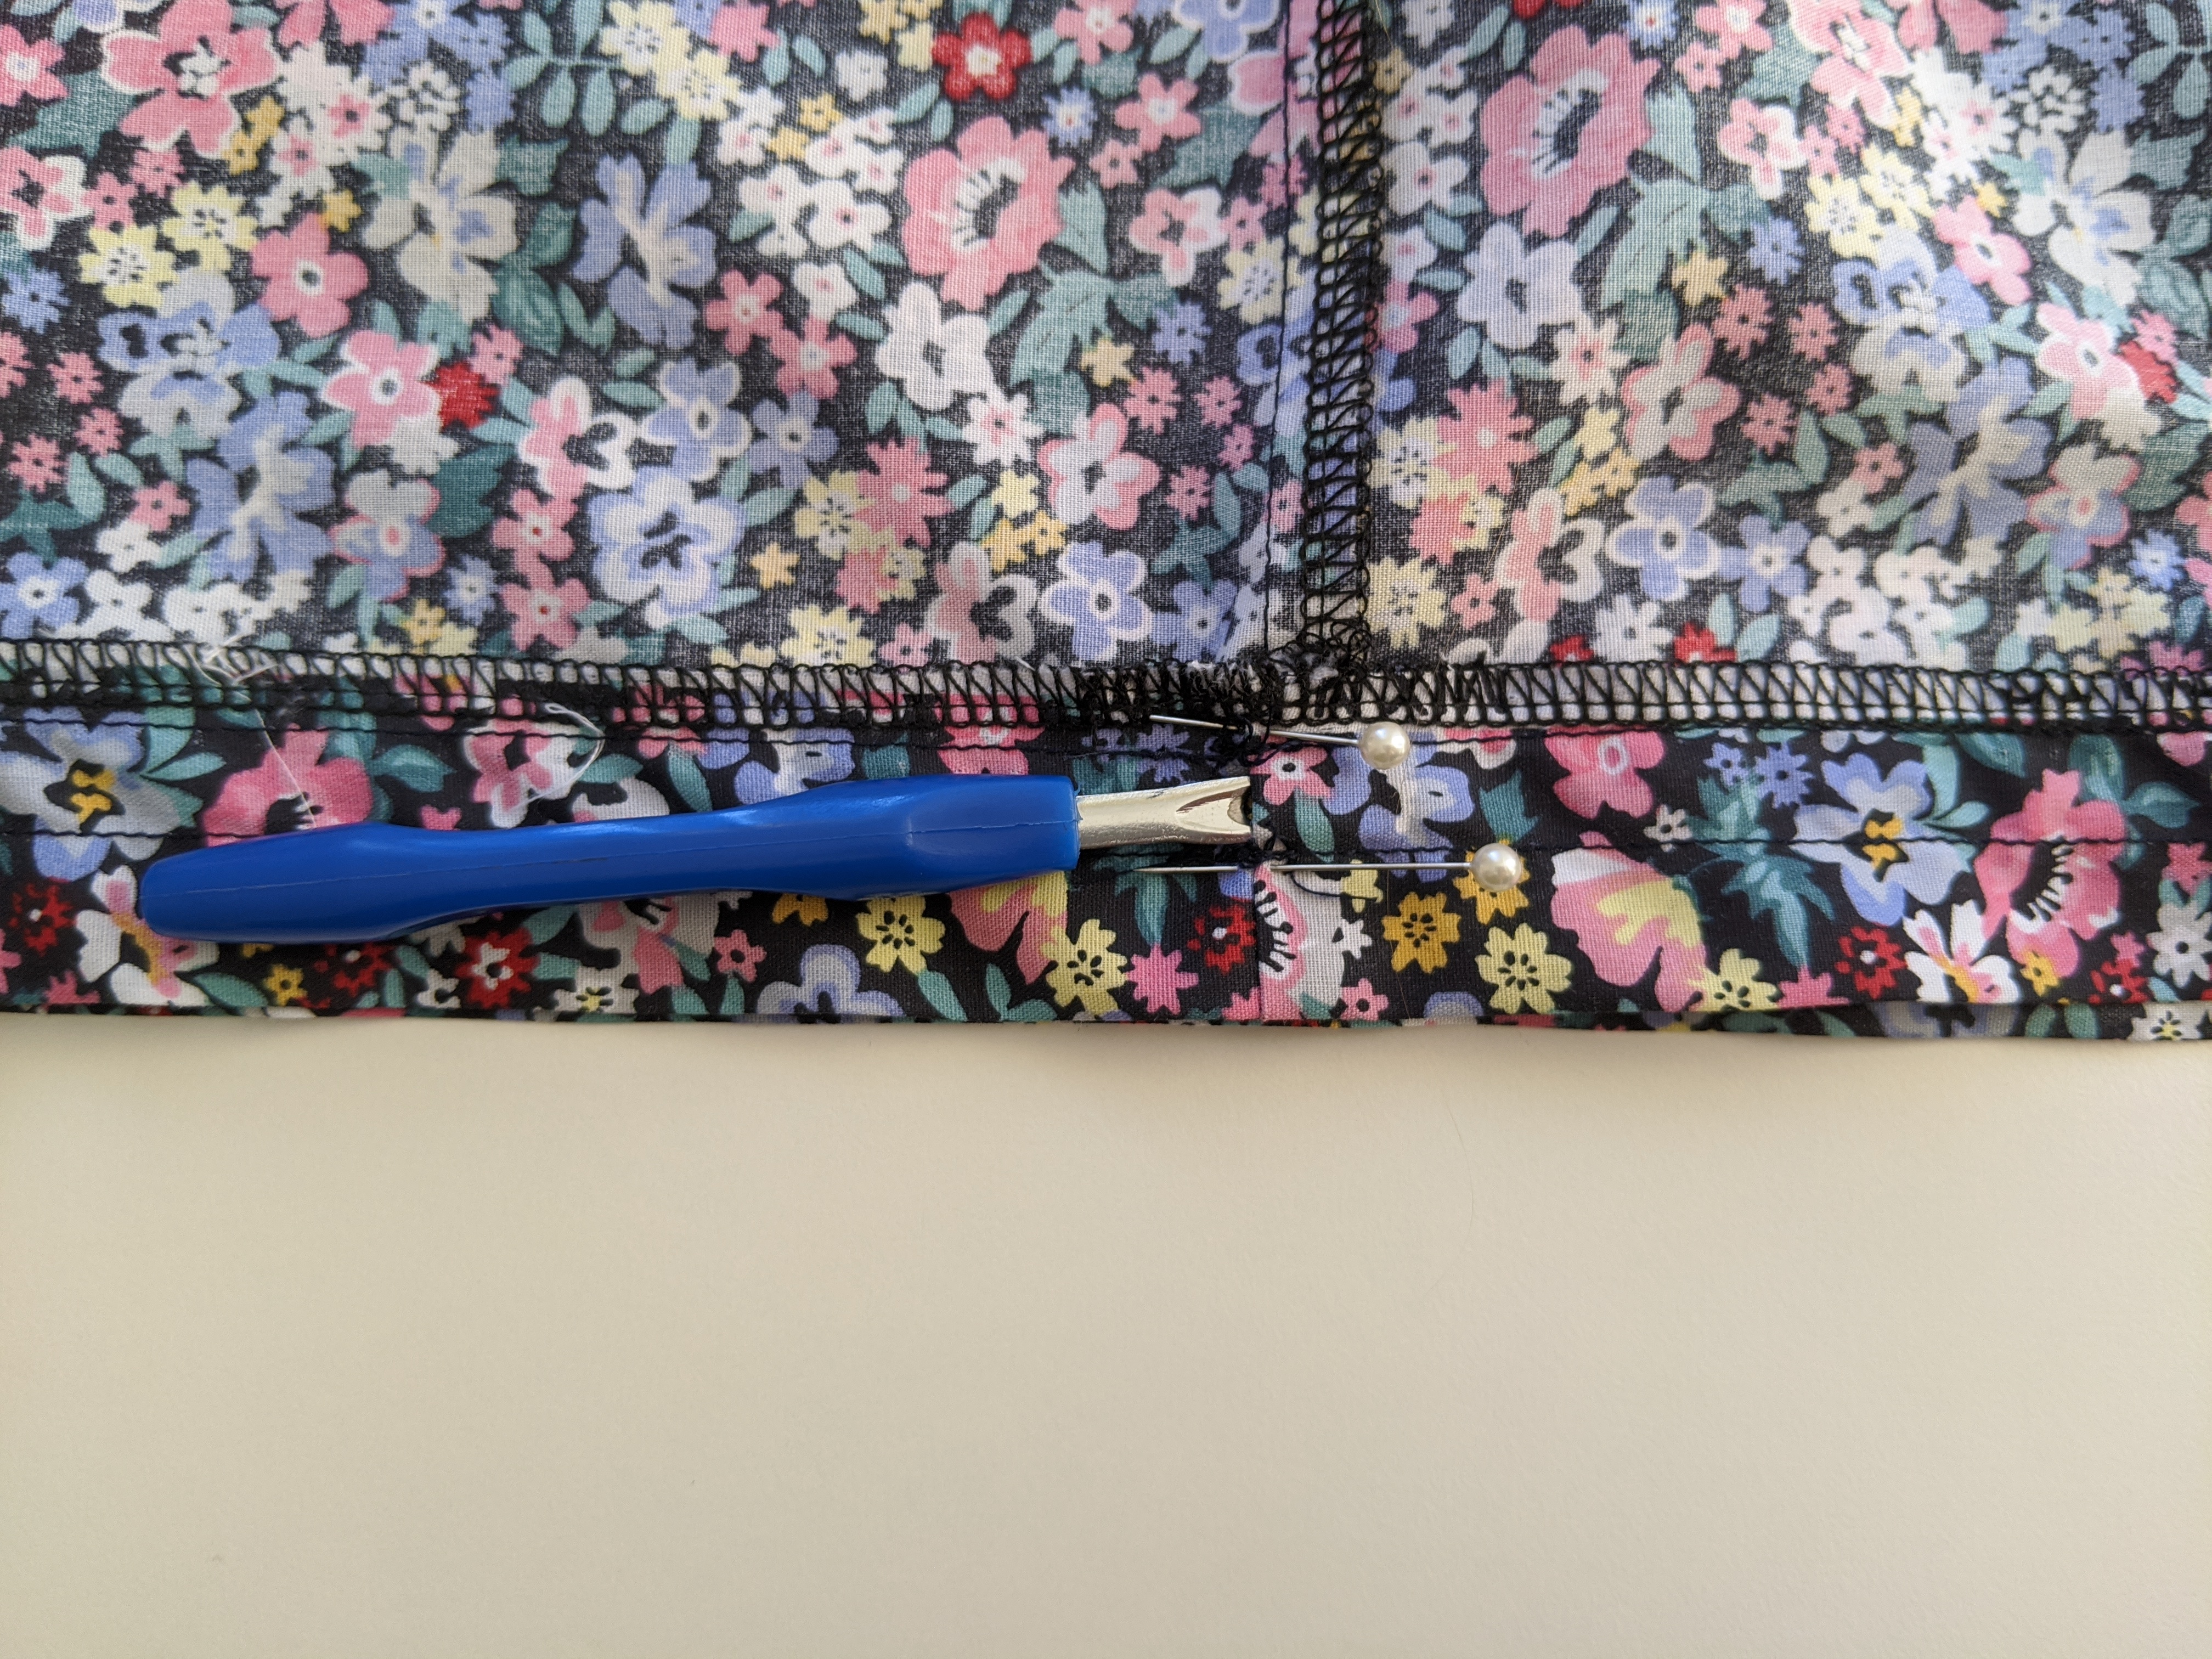
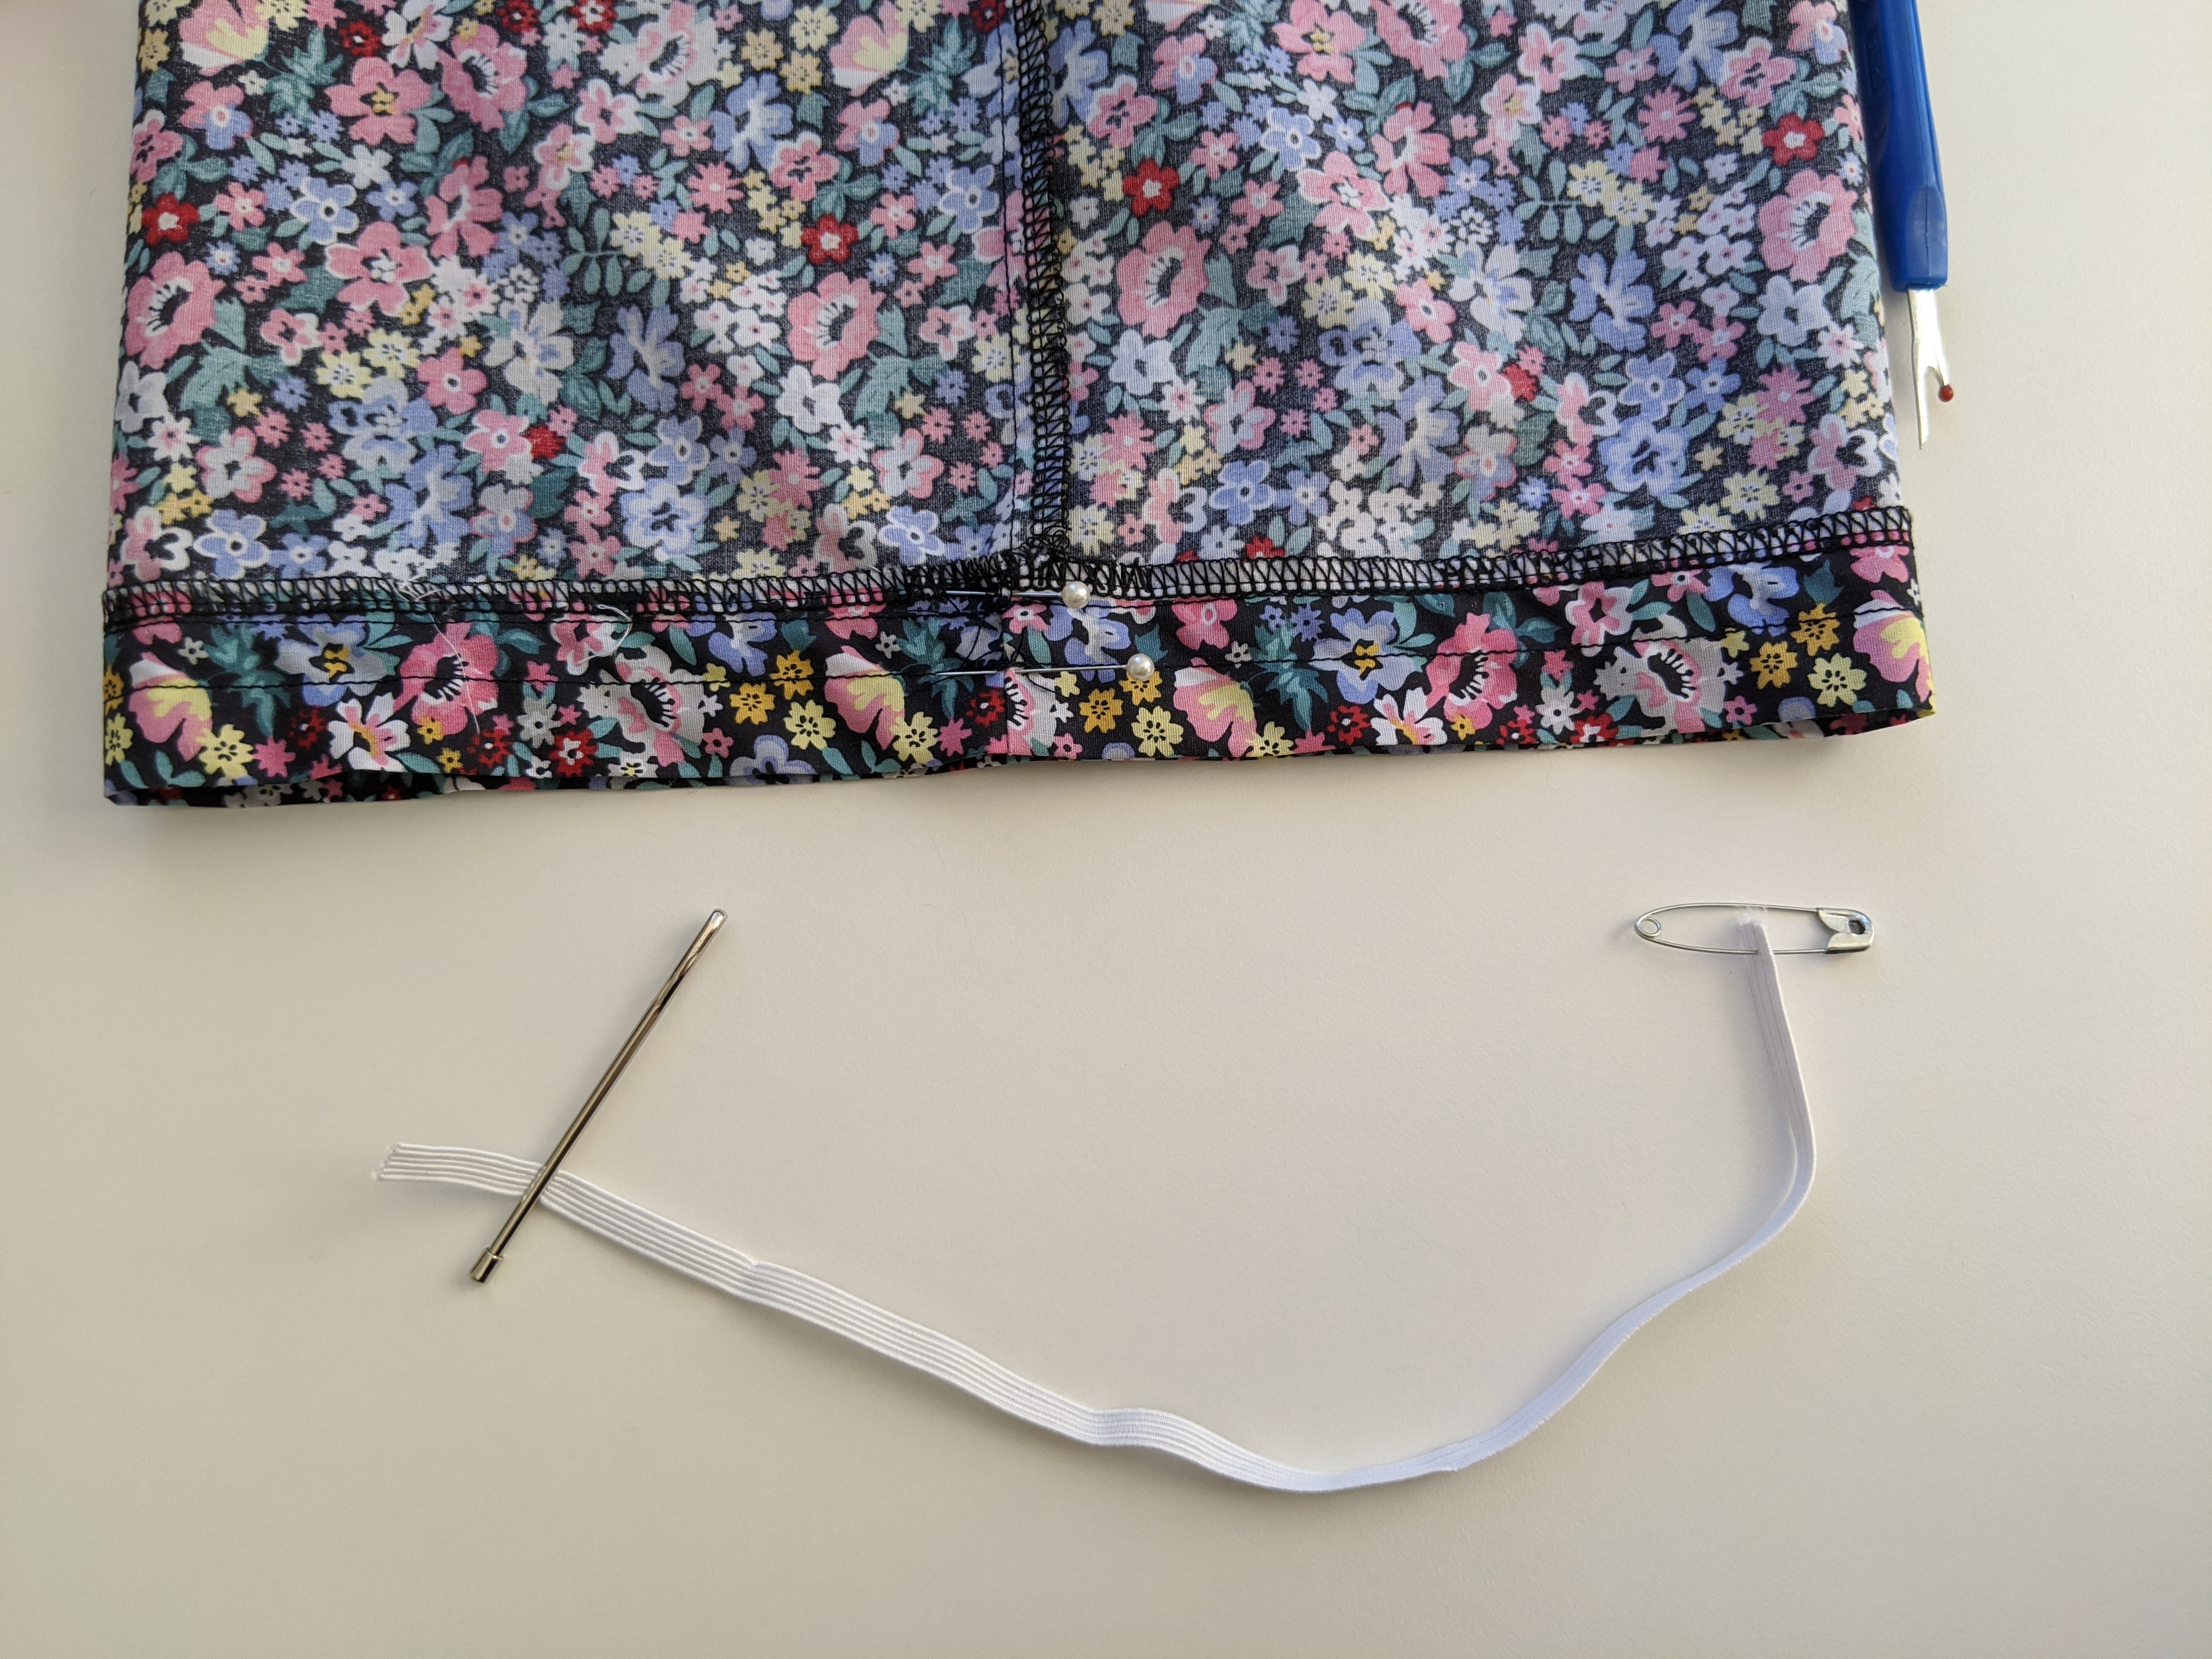
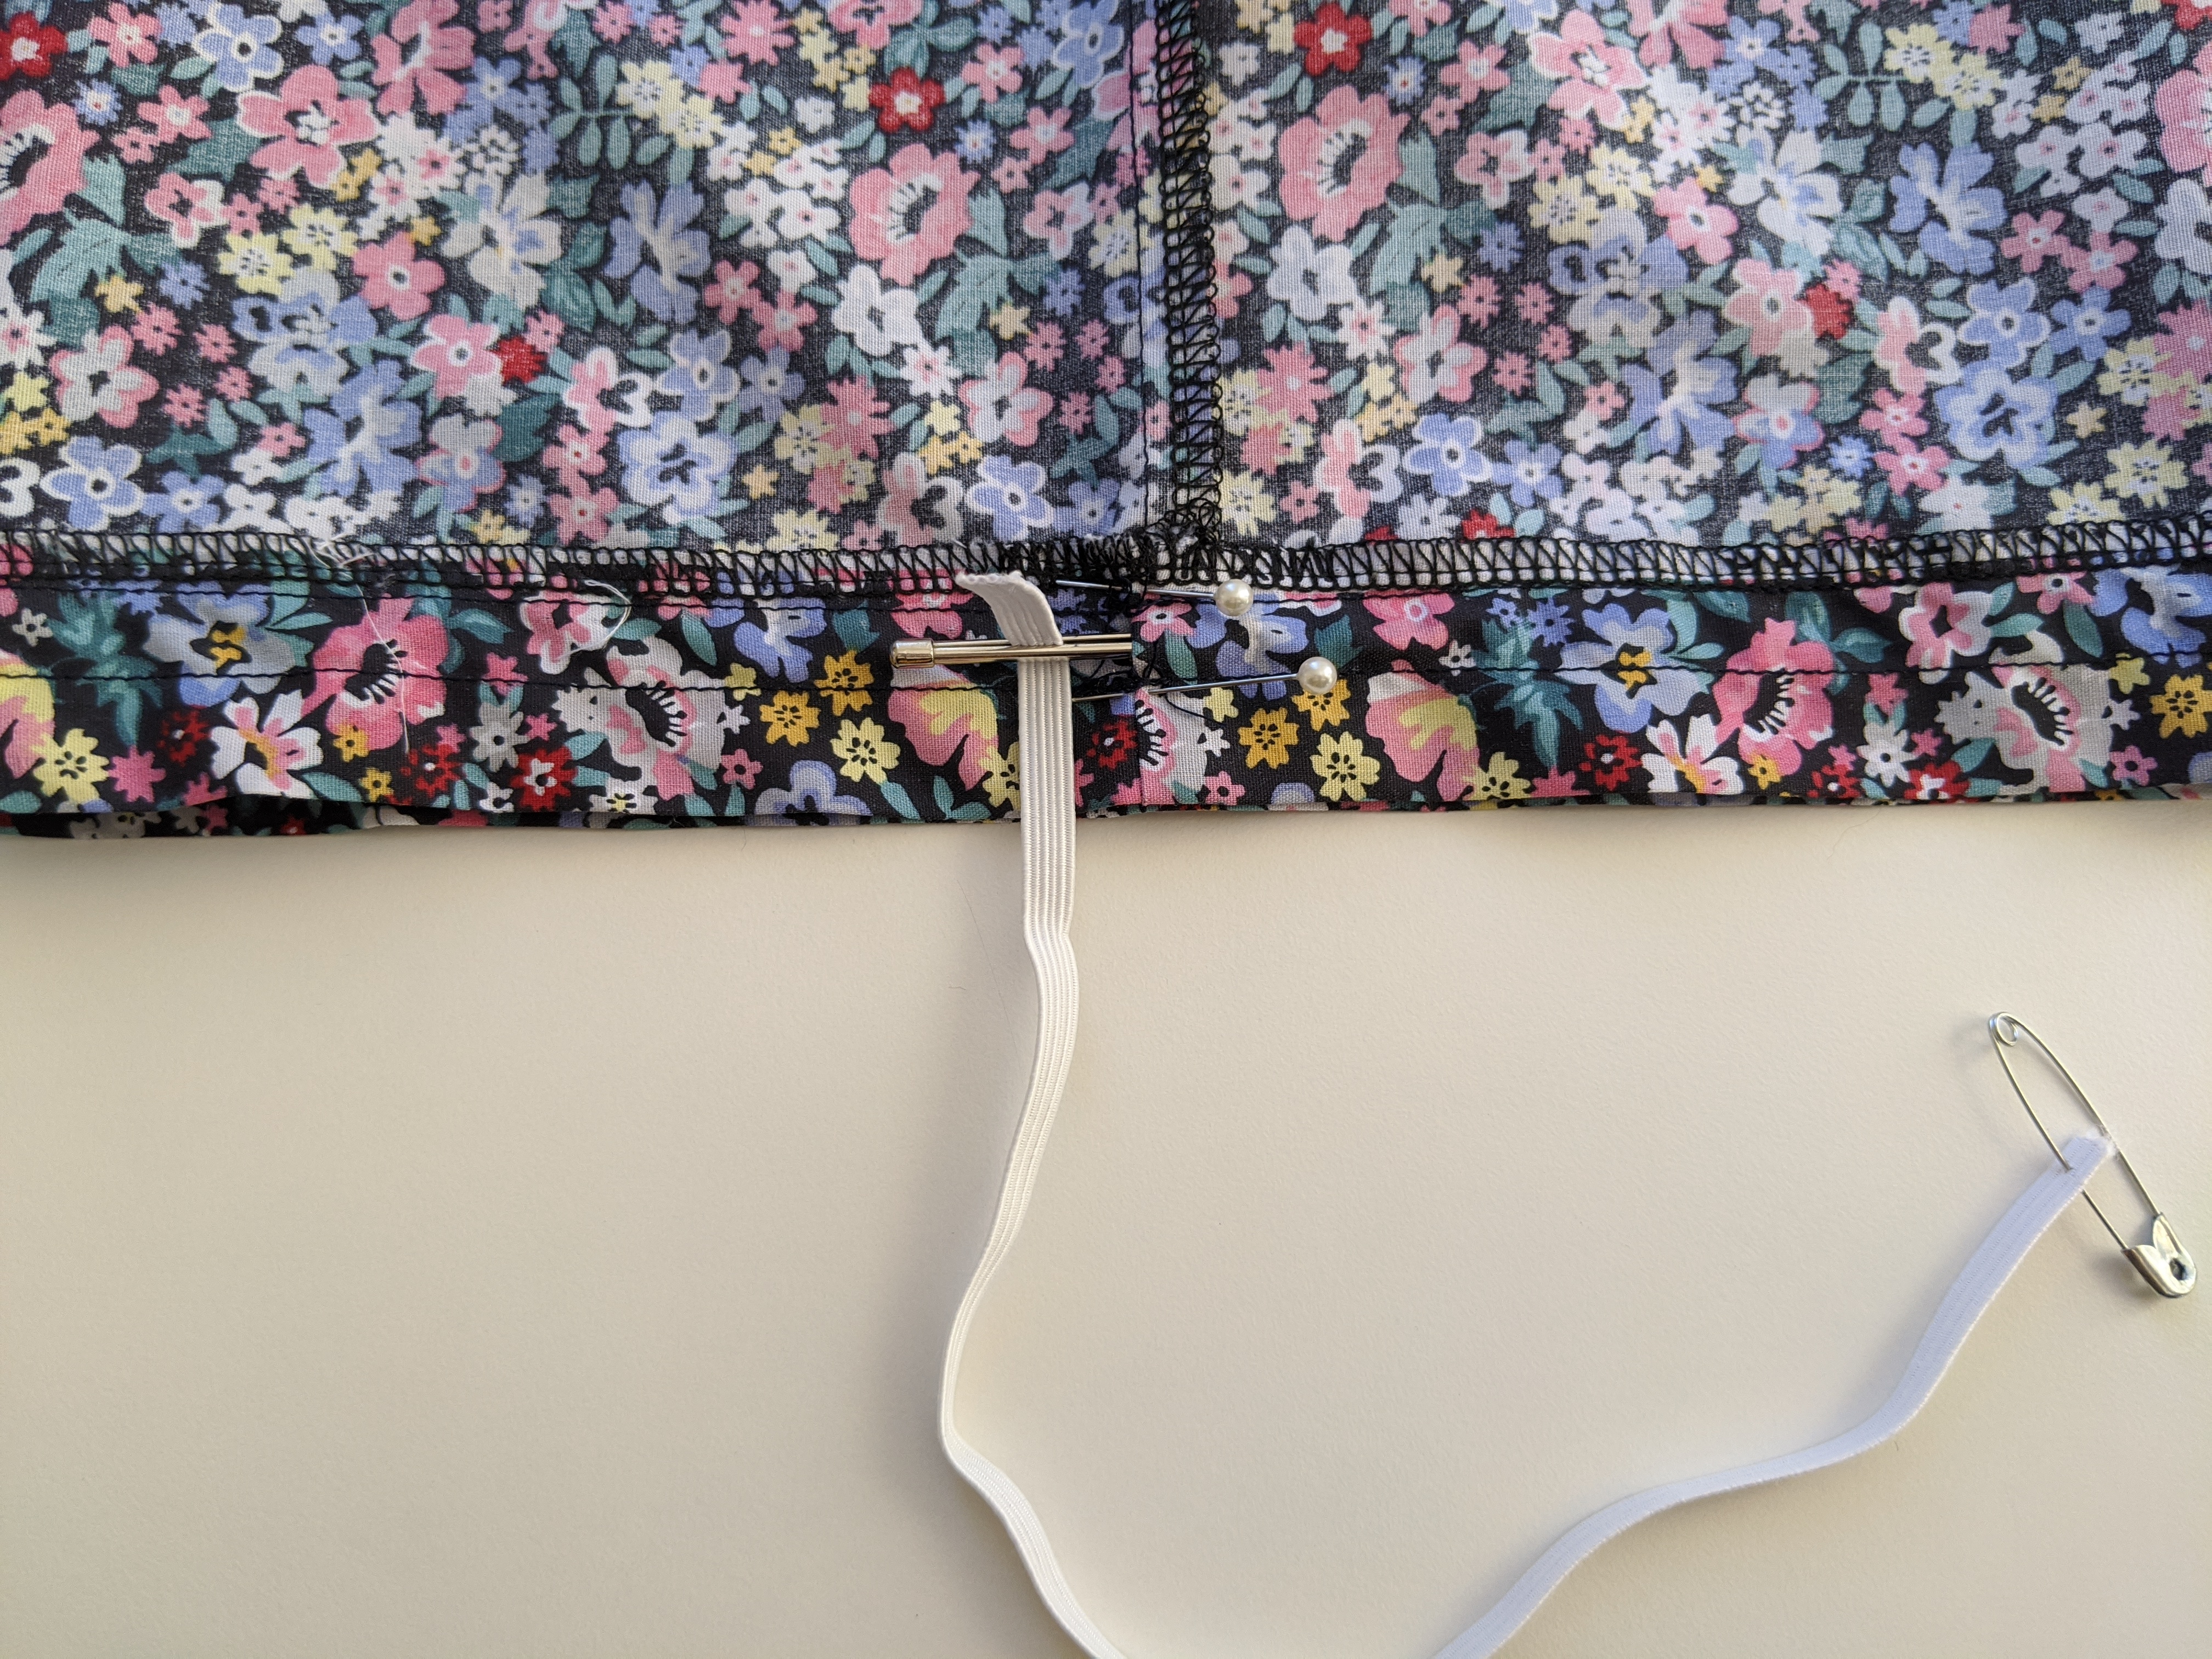
Turn the sleeve inside out and unpick the stitching on the inseam to thread the elastic through, getting it through on the other end can be tricky (if you struggle to get the elastic through on the other side a small hole can be cut, then sealed with a small drop of clear nail polish to prevent fraying)
Step 21
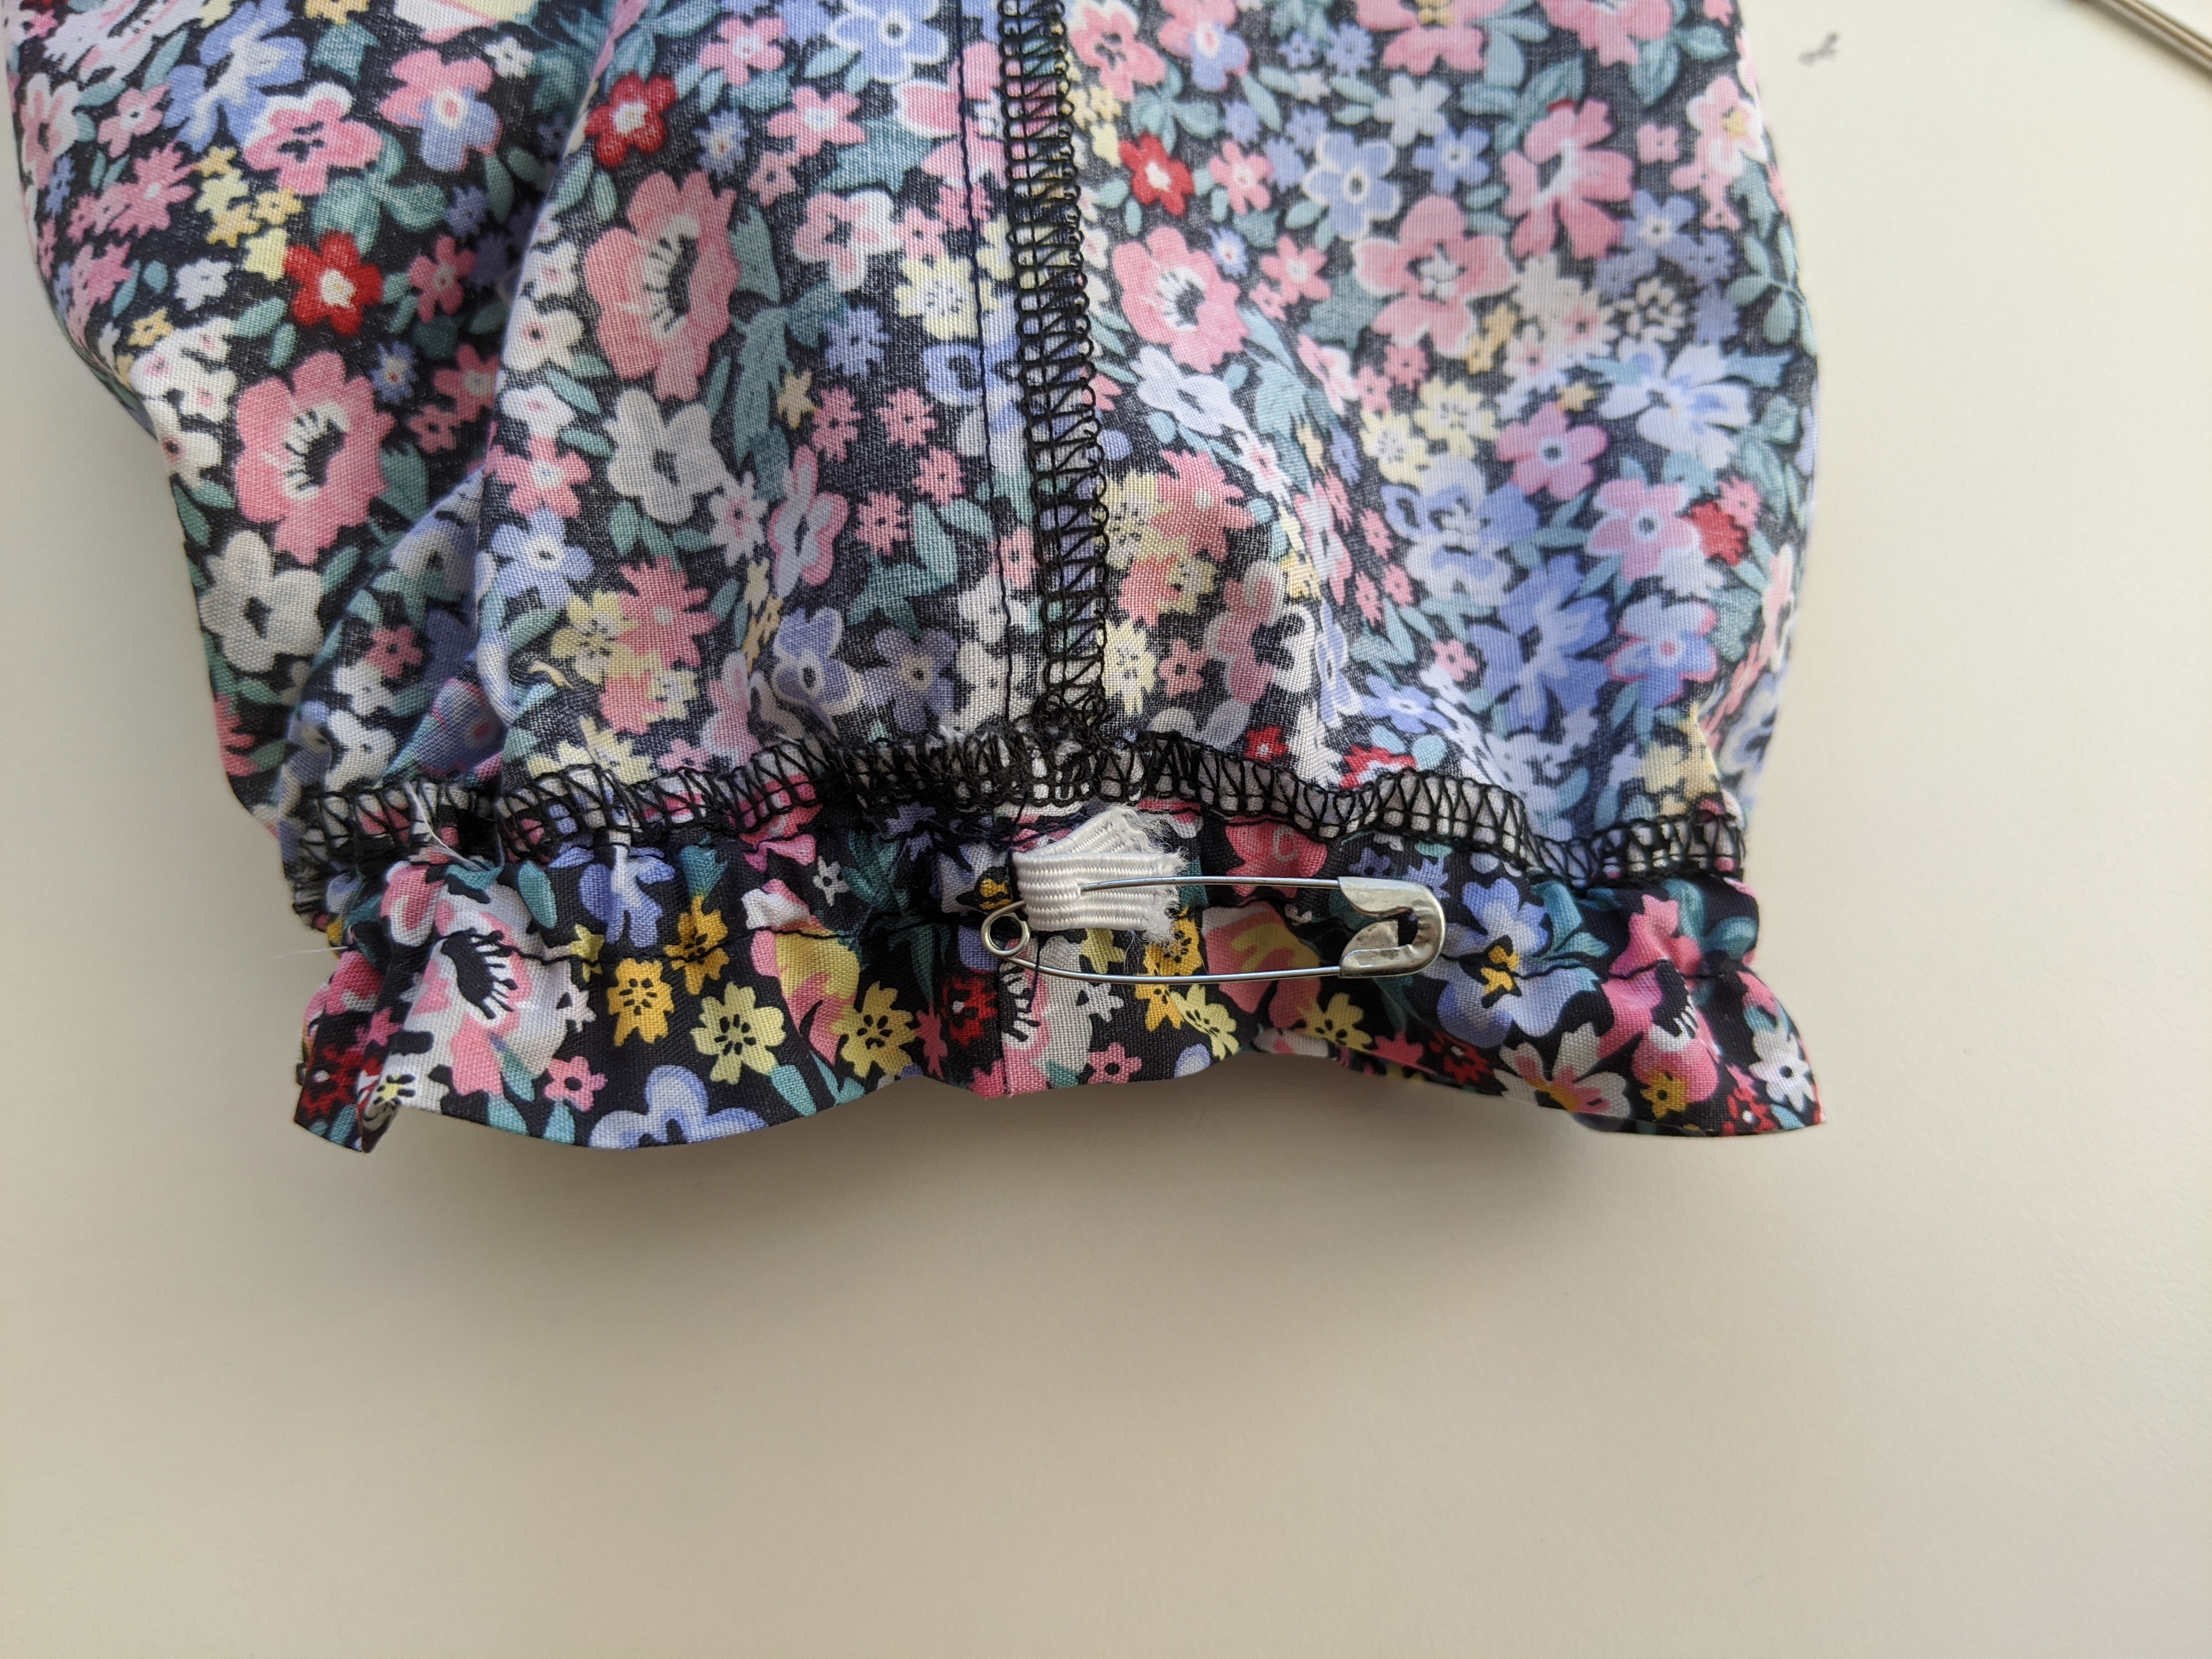
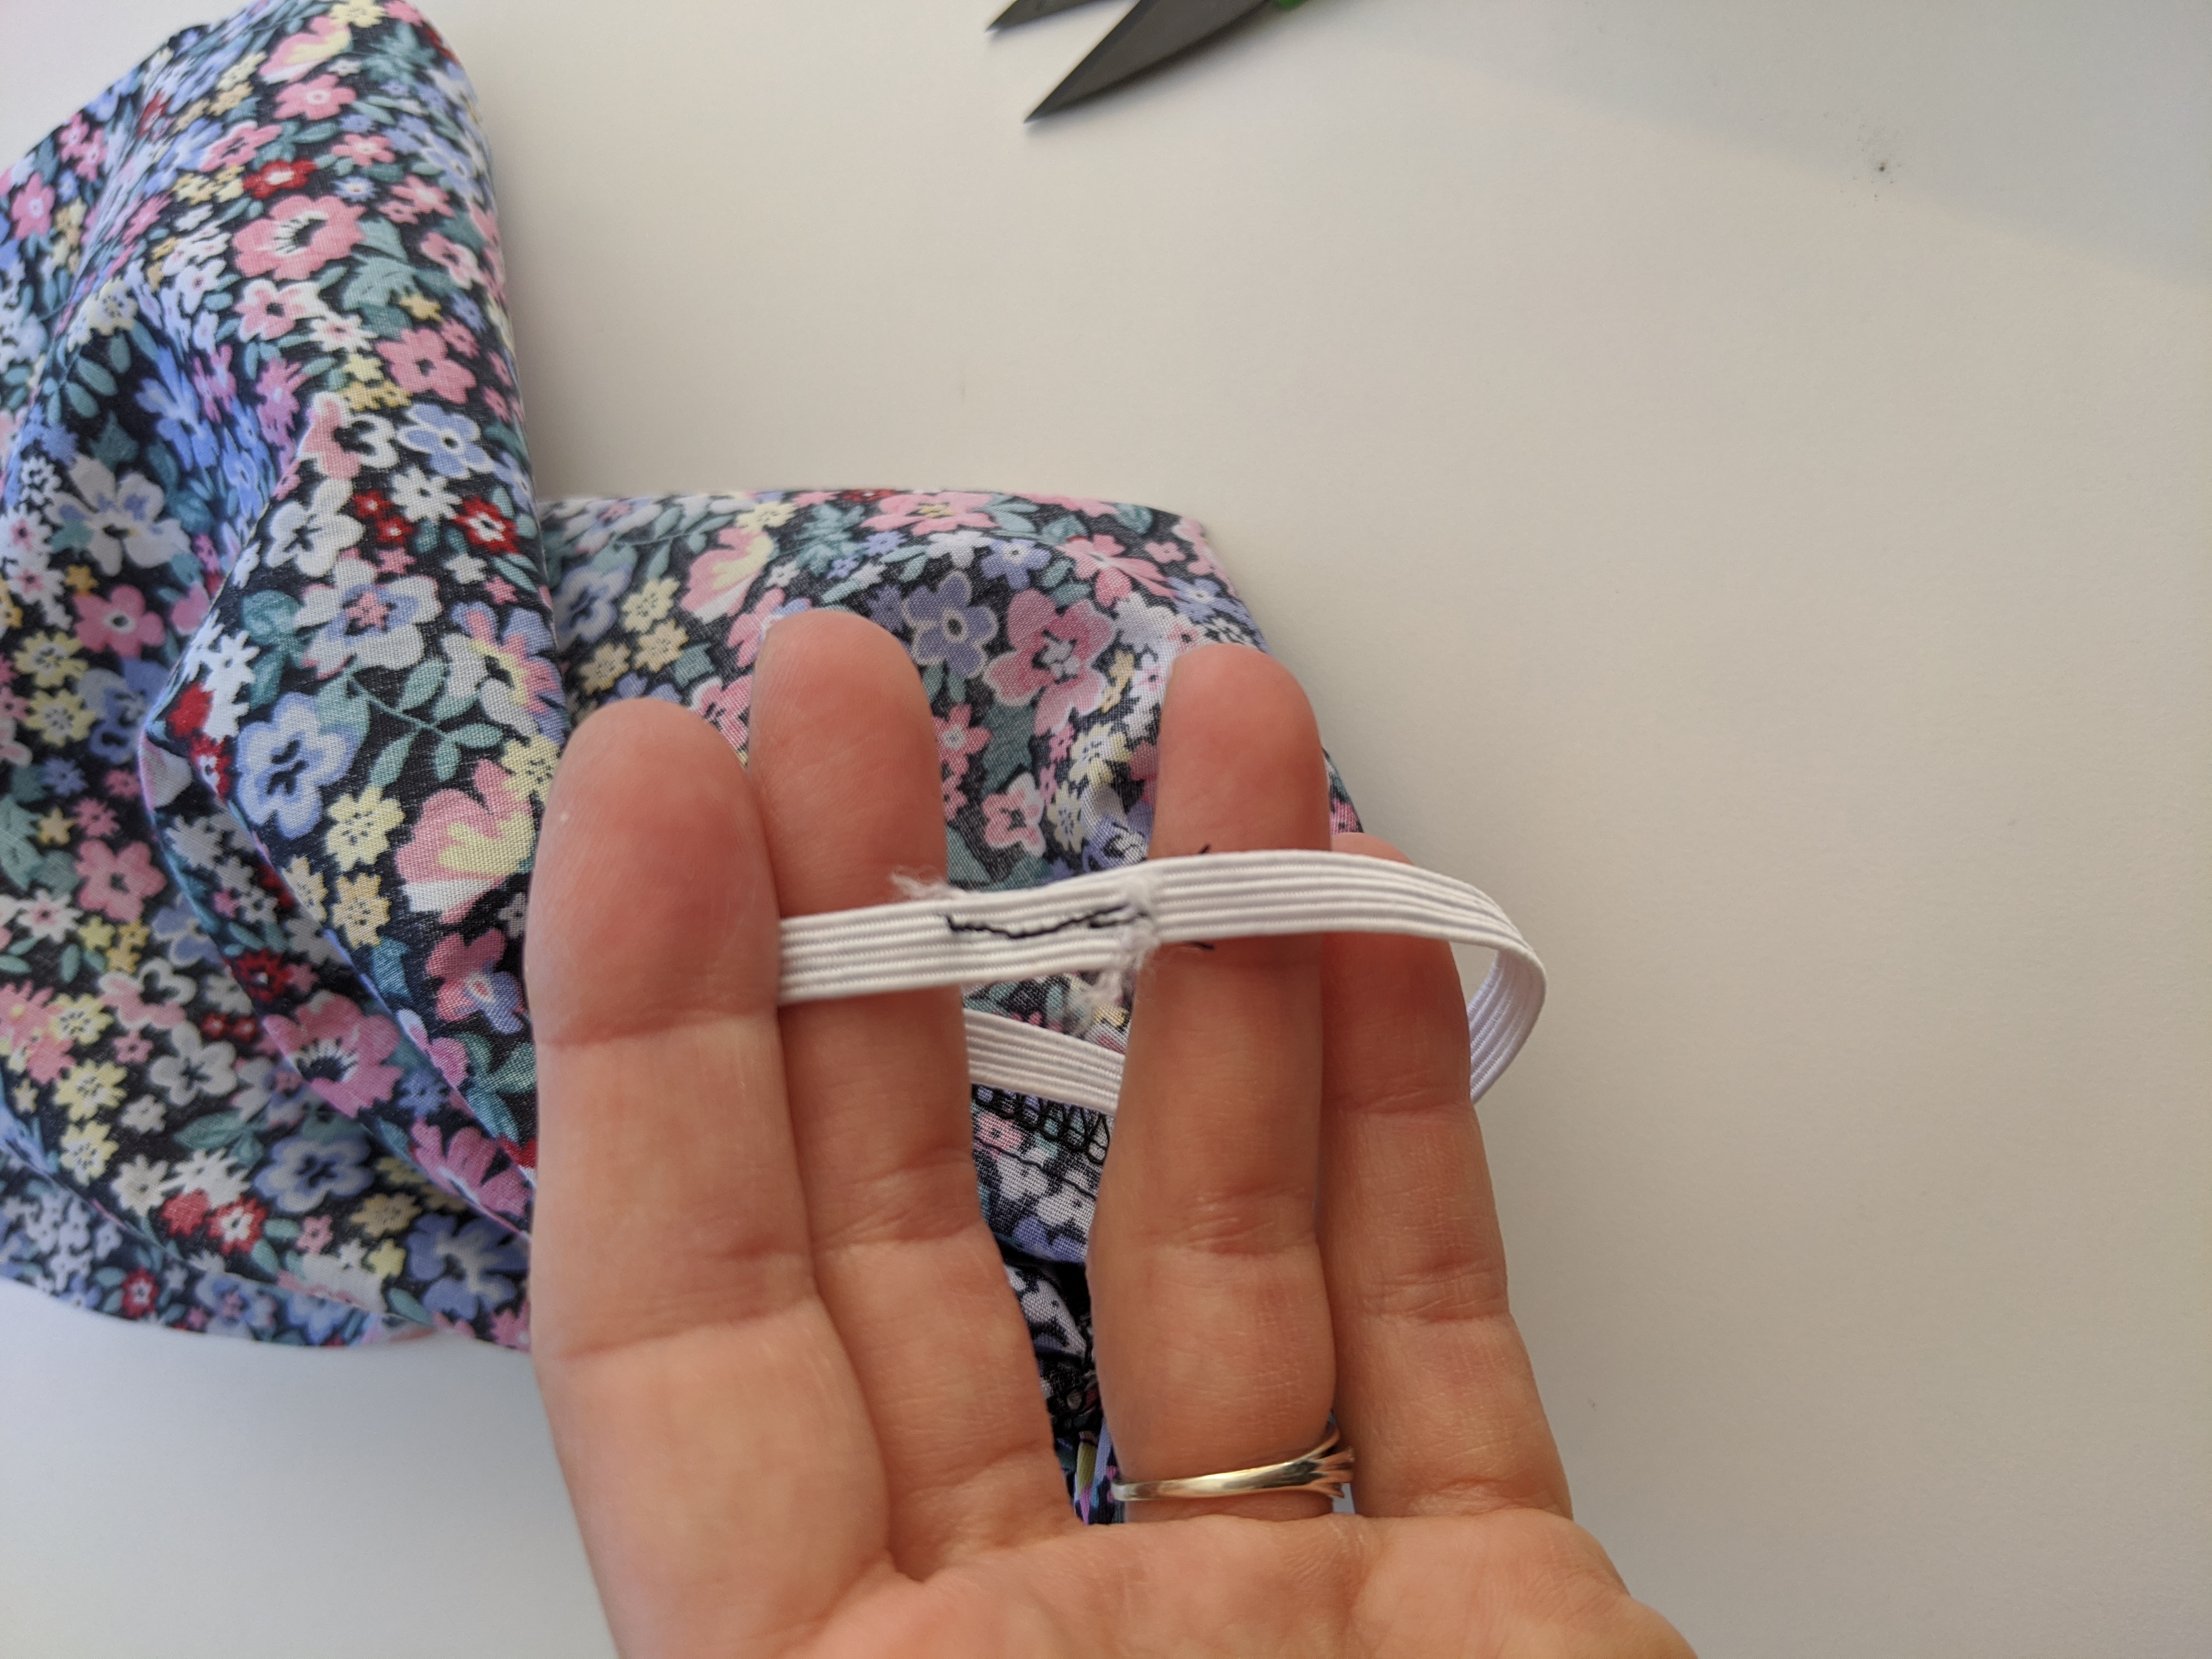
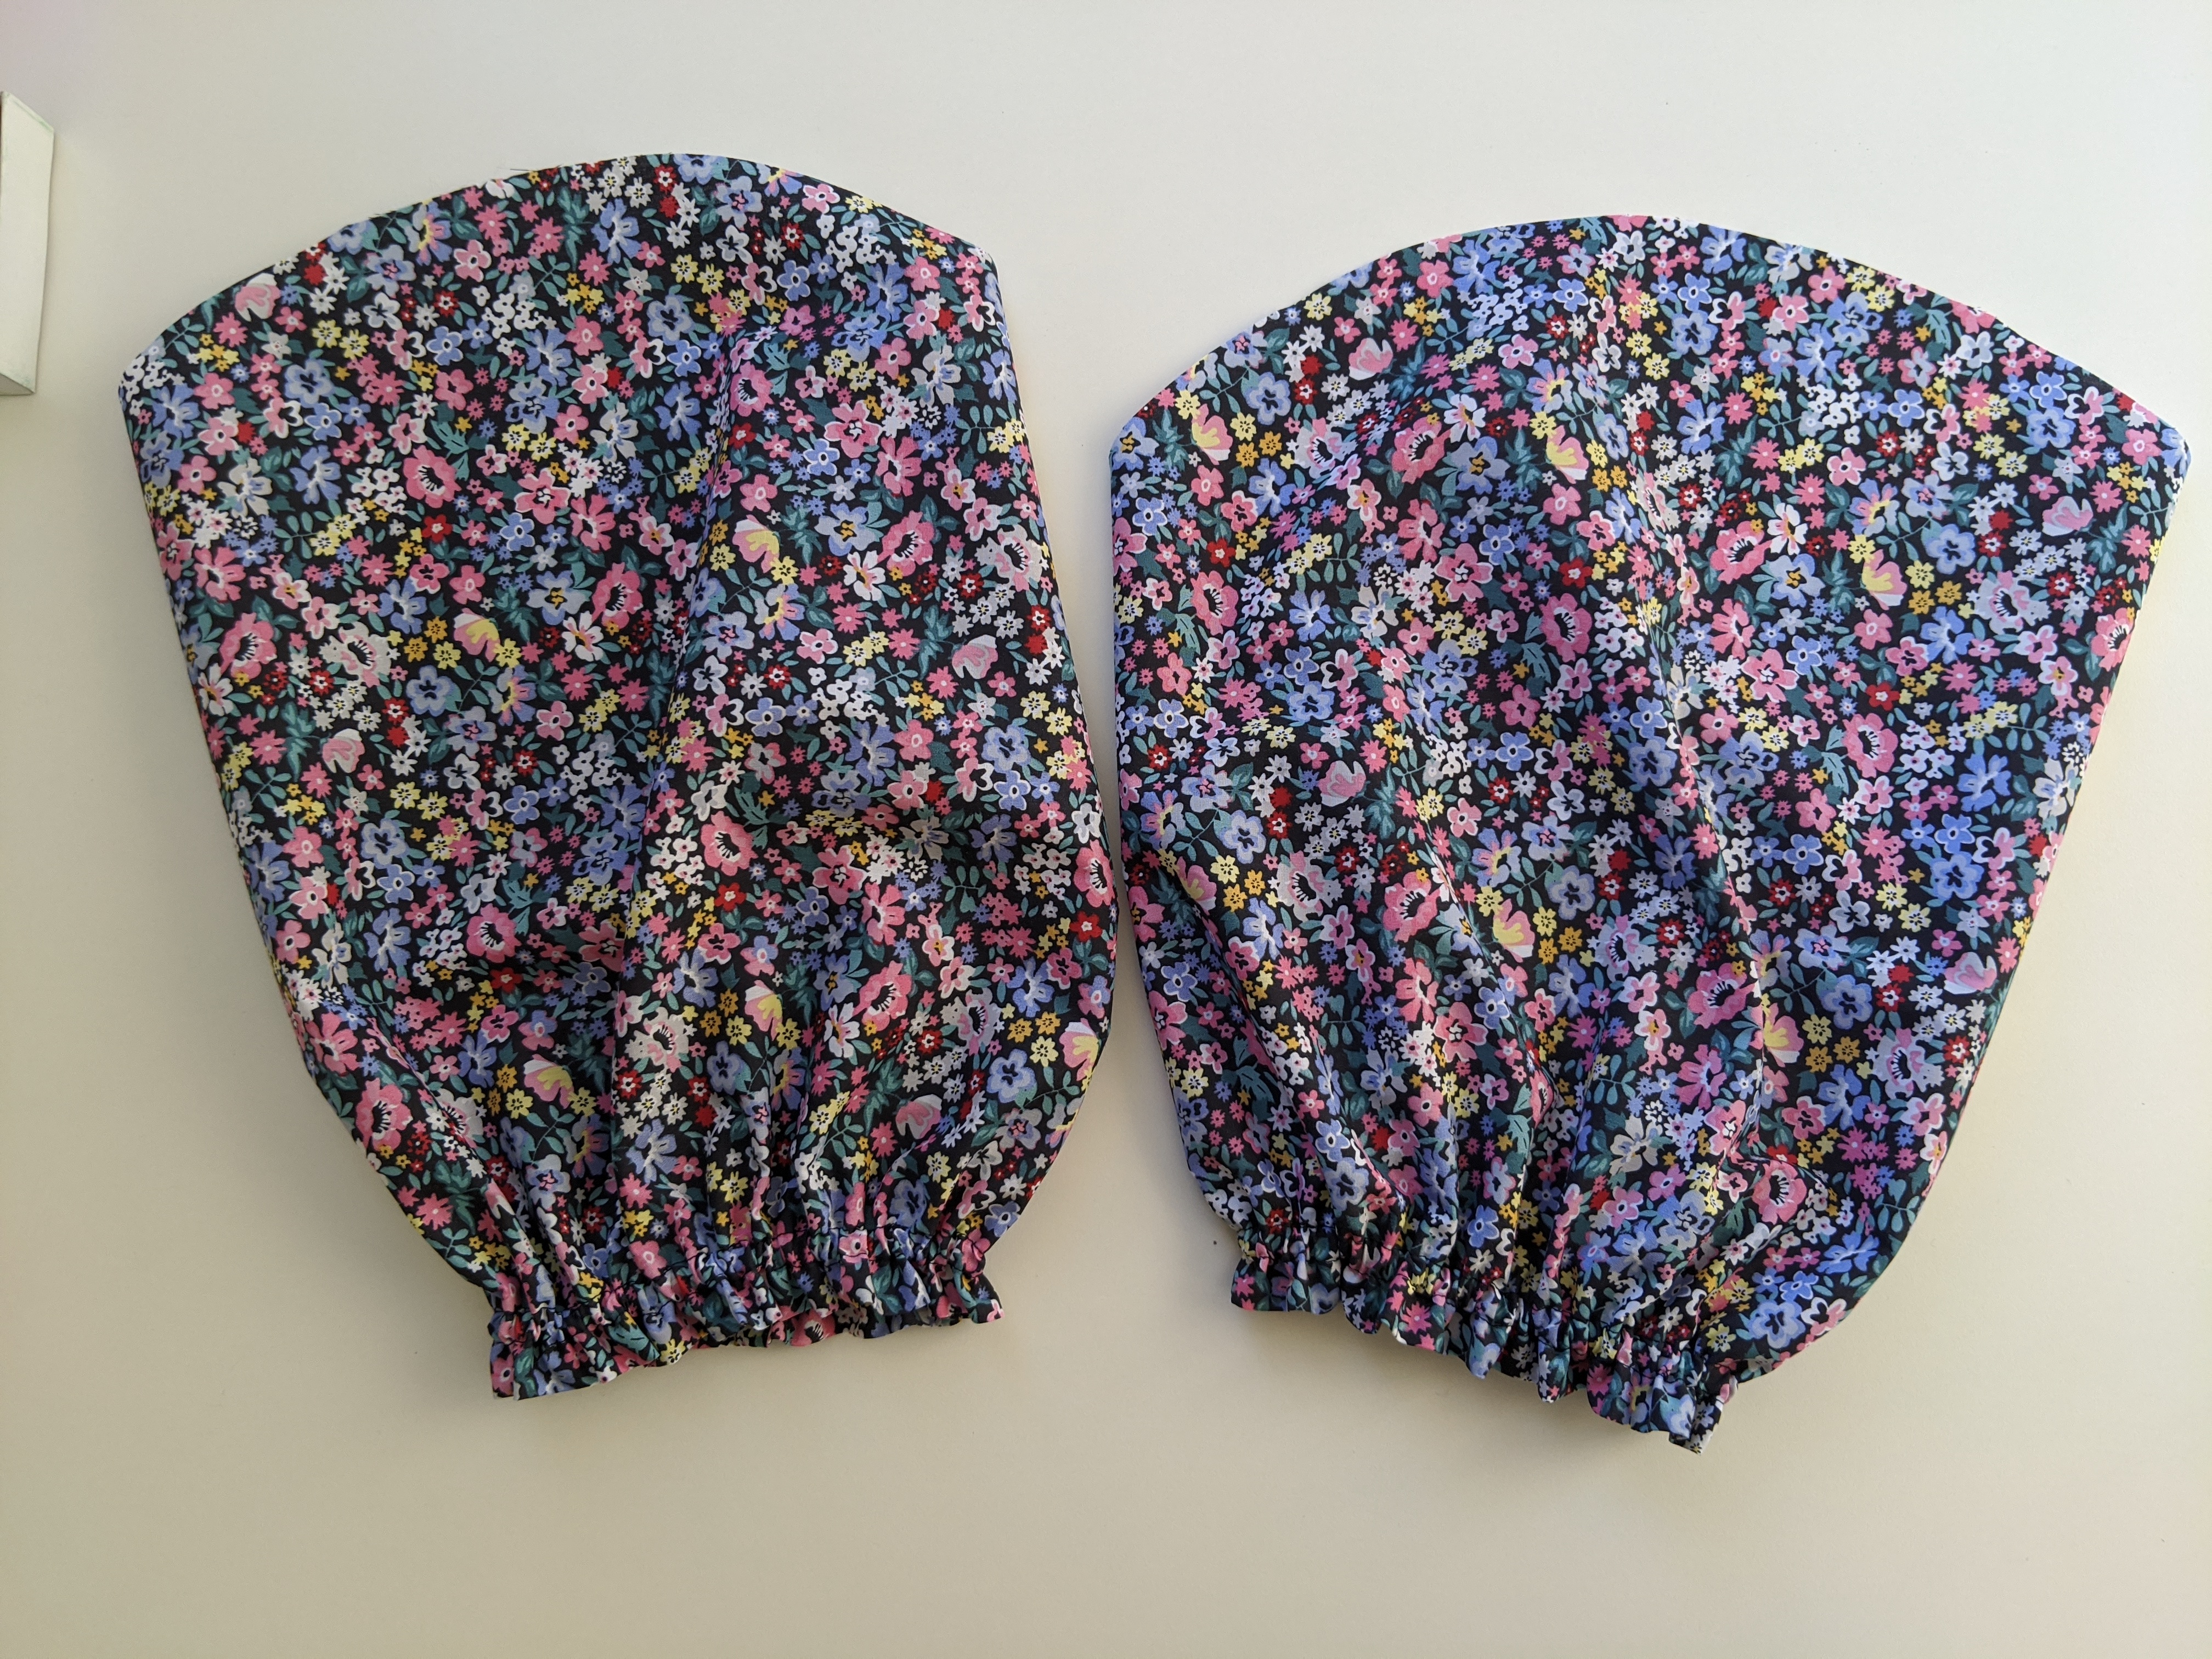
Once the elastic is threaded through the sleeve hem secure the ends of the elastic together and let it slip back into the casing. Slide the fabric along the elastic until the gathers are evenly spread.
Step 22
Repeat steps 17-21 on the other sleeve.
Step 23
Across the top of the sleeve head between the front and back notches run a gathering thread (the same as step 6)
Step 24
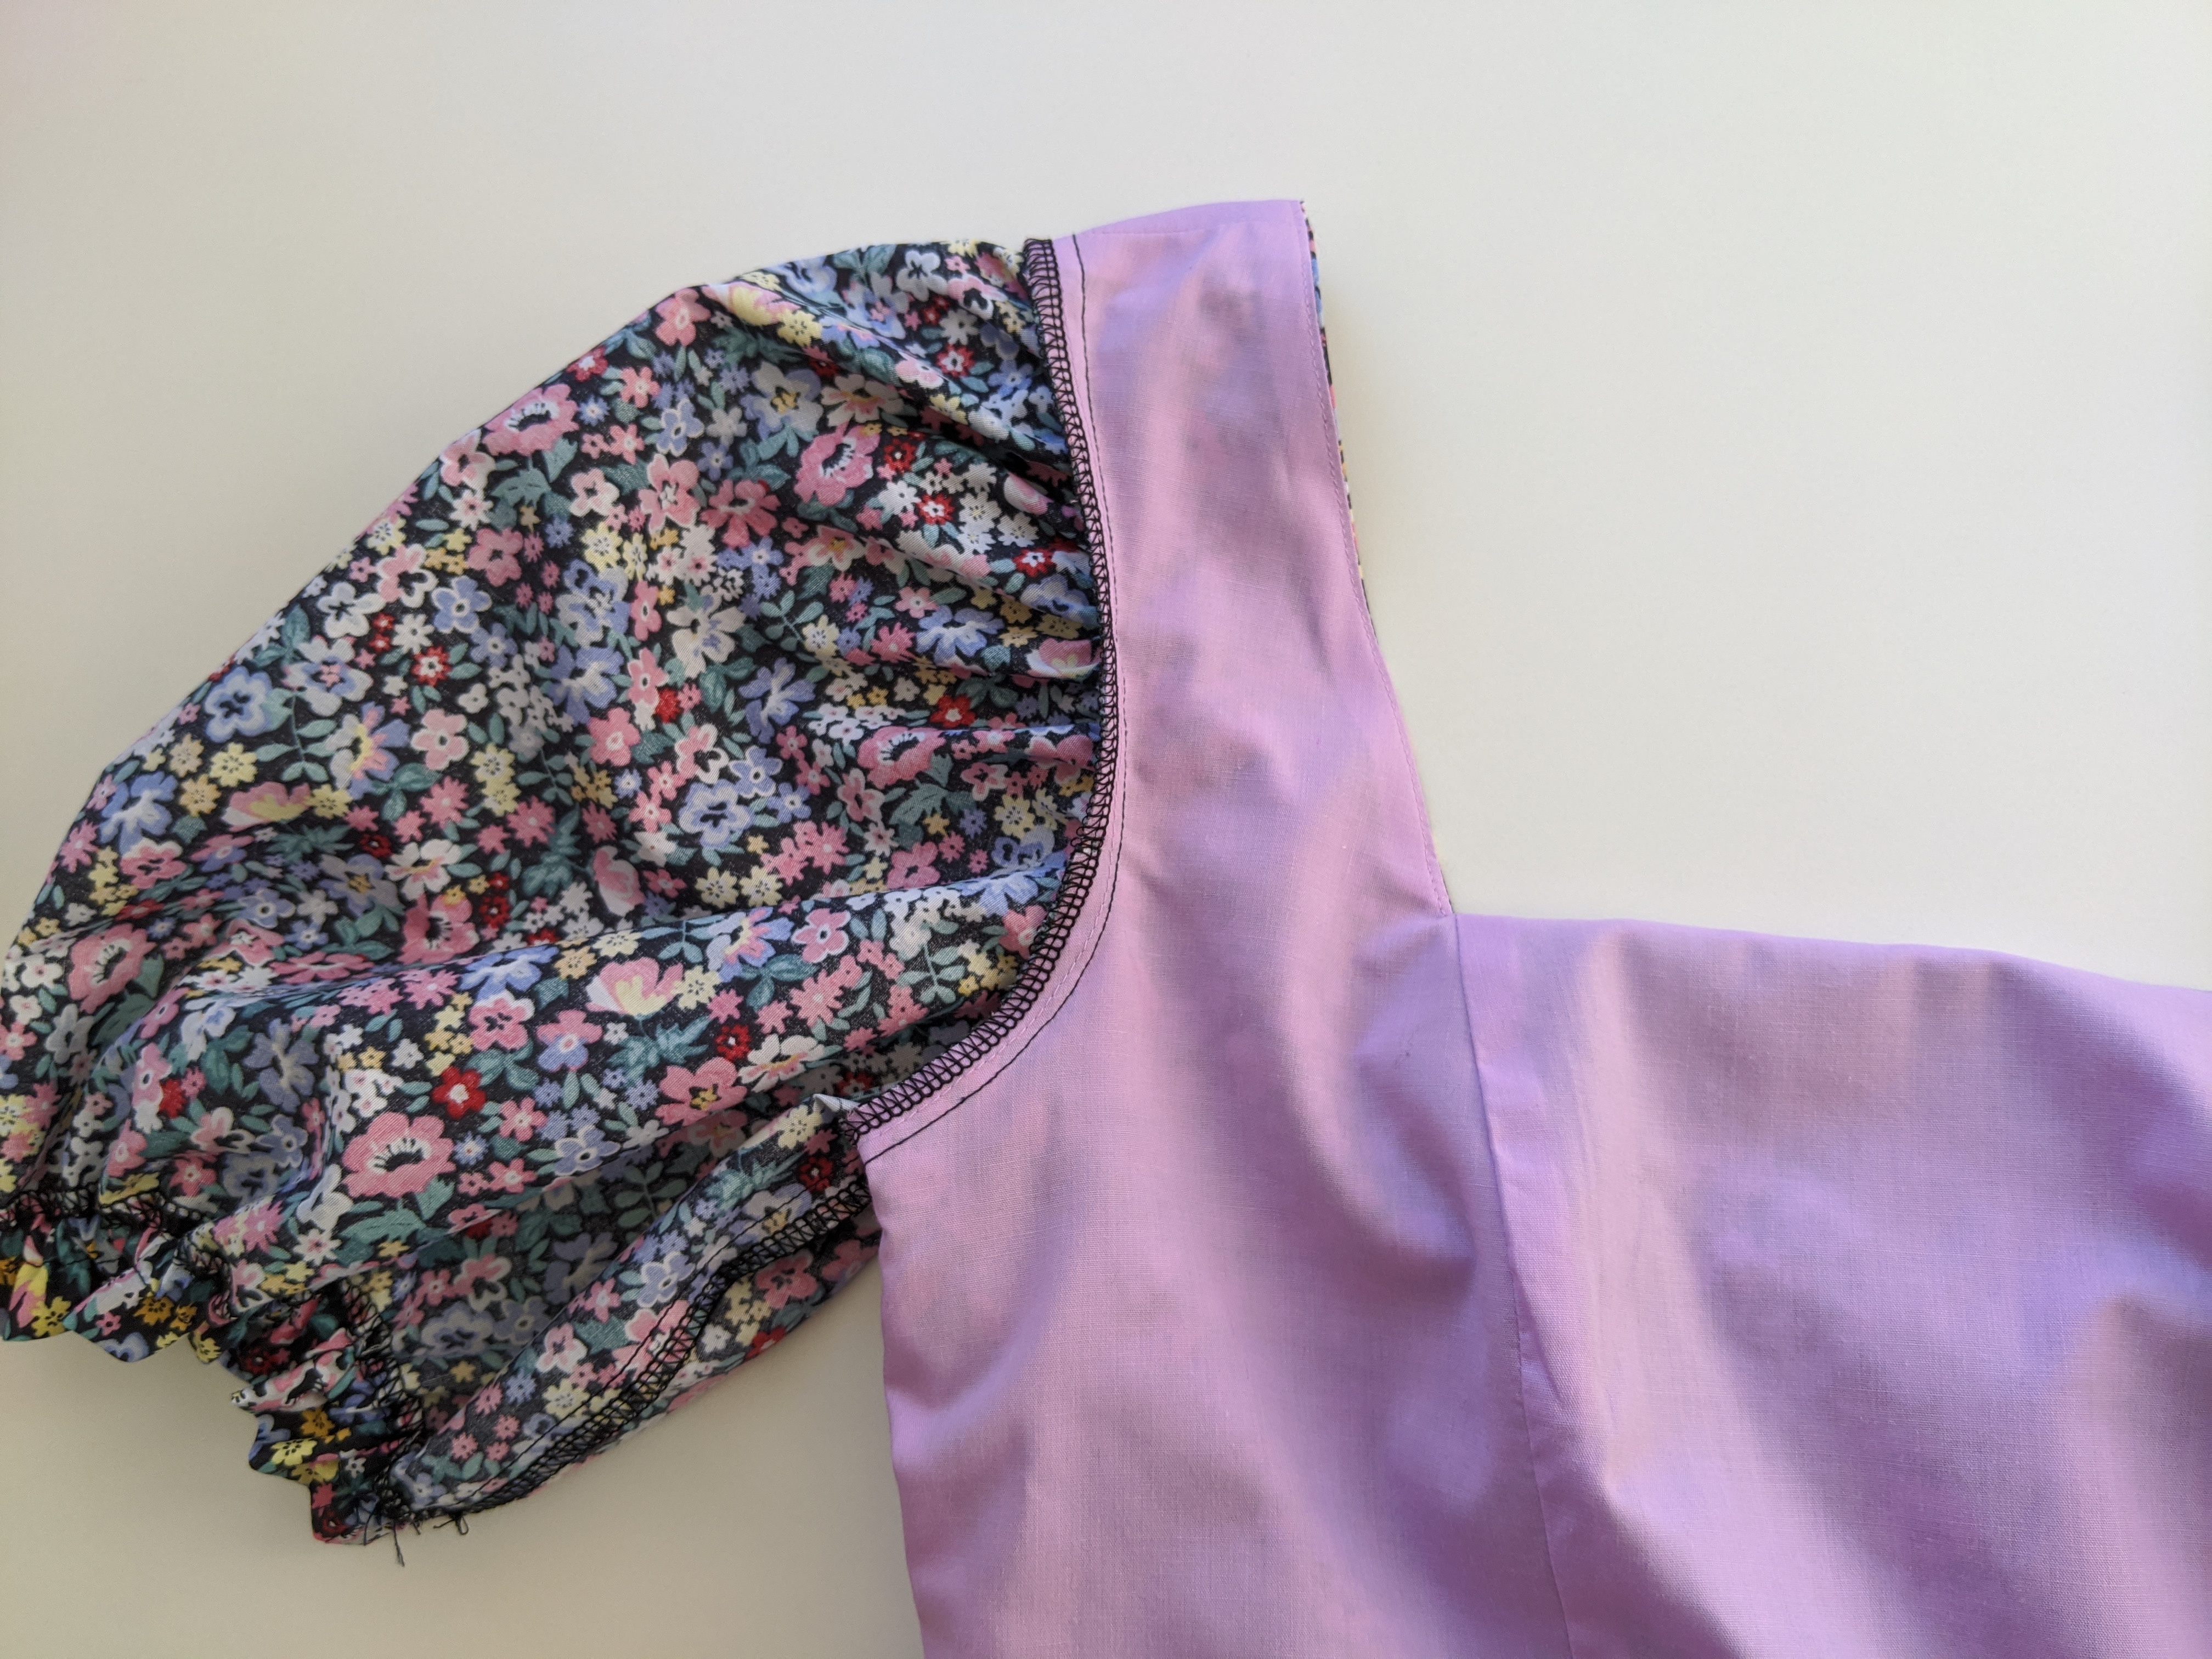
Pin the sleeve into the armhole right sides together at the shoulder seam, inseam and front and back notches, then use the gathering thread to gather the sleeve to fit the armhole.
Step 25
Check that gathers are even and stitch closed, then overlock and press seam outwards (if your fabric is slightly thicker, the seam allowance may need to be pressed inwards.
Step 26
The final step is to attach the lining to the dress at the waist seam. This can be done one of the following ways.
– Tacked down at side seams
– Machine stitch in the ditch of the seam
– Fold under overlocked edge and hand sew to main If using this step the overlocked edge will need to be folded under when sewing step 13.
The Amelia Puff Sleeve Dress is now complete.
Want to make this style in plus size? The same instructions can be used and the pattern can be found here.
I’d love to see your creations, either drop an image in the comments below or tag me on Instagram at @at_the_seams_patterns
x
